
How I Built a DIY Built-In Bunk Bed in a Tiny NYC Bedroom (Using Two Old Beds)
New York City bedrooms are small. With two kids, one shared room, two beds, and the aspiration for two desks, I had serious constraints to work with — and a design problem I'd been circling for longer than I'd like to admit.
Custom built-in bunk beds were the right answer. They were also well outside the budget. So I did what I always do when what I want is too expensive: I got creative.
Here is the complete build — how I repurposed the two beds we already owned into a DIY built-in bunk bed, added Ikea storage, salvaged a dresser, and painted the entire structure to create something that looks like it was always there. It took longer than I anticipated. It is also the project I'm most proud of.
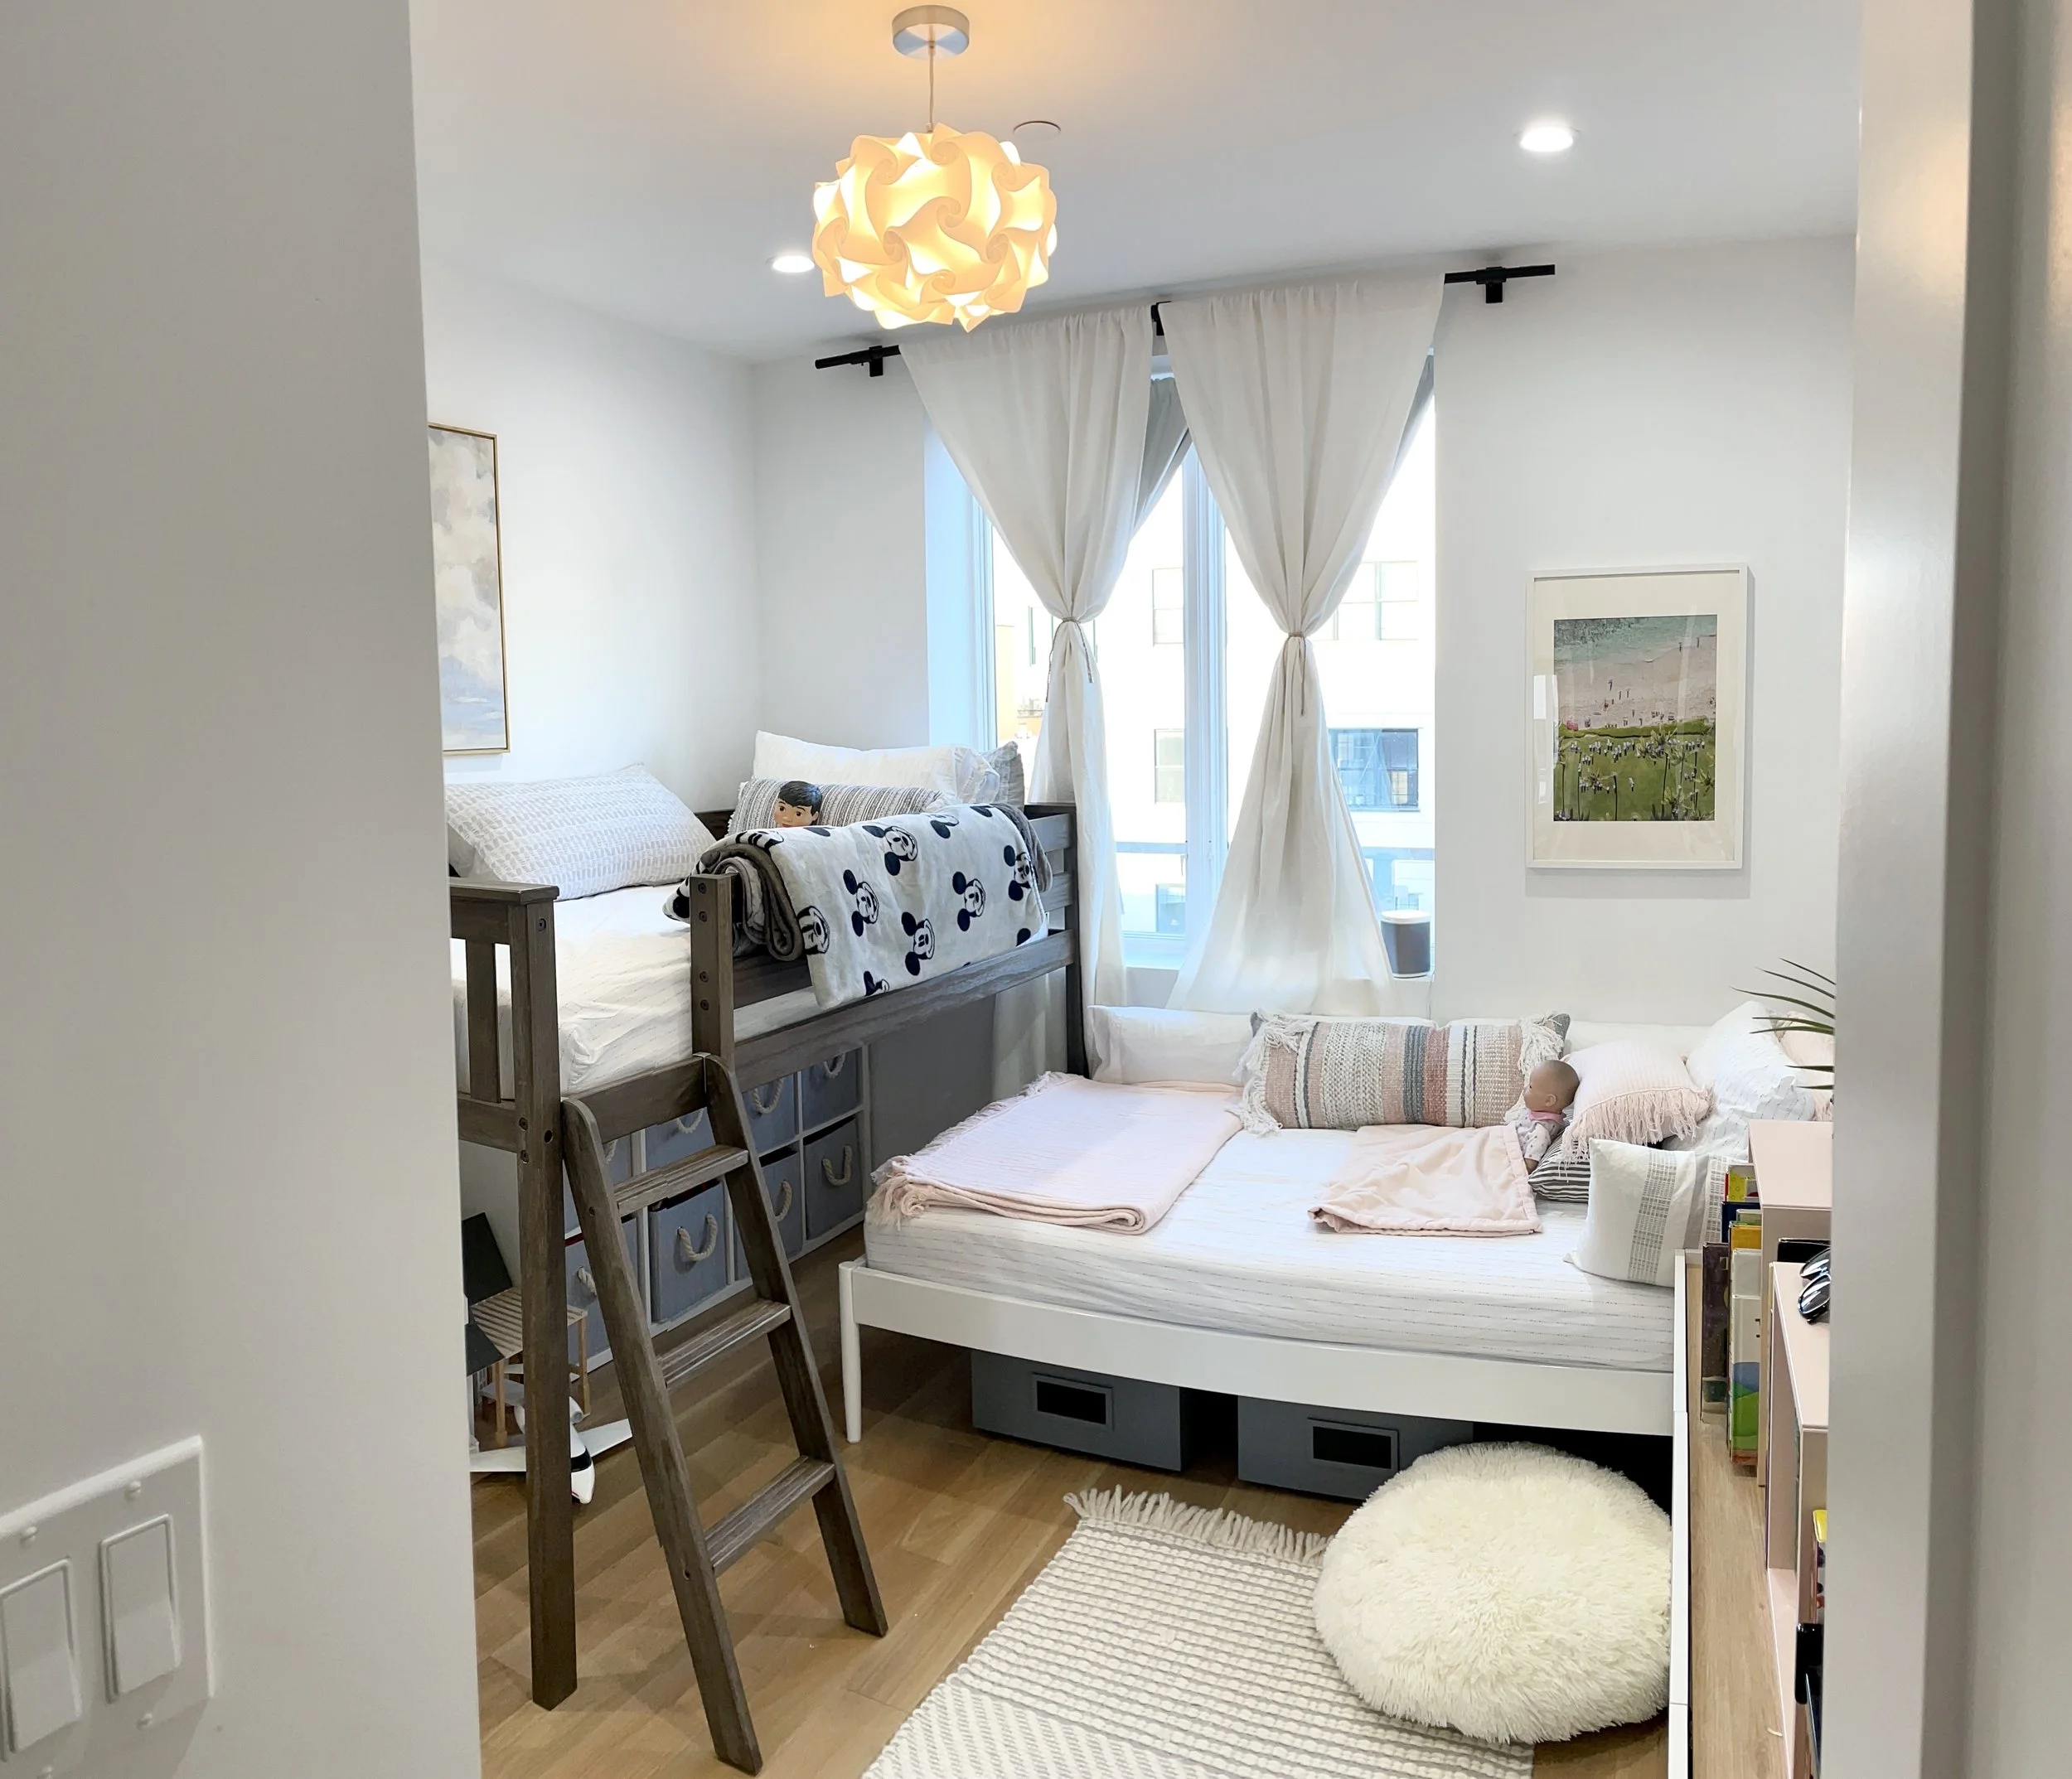
B E F O R E

A F T E R
The Starting Point
The kids' room is approximately 10 × 10 feet. When we first moved in, they were quite young, and I wasn’t comfortable with a traditional high bunk. I opted for a low loft bed, which gave us space underneath for storage and play. (In the “before,” you can see cube storage tucked below—great for corralling toys.) We also tried a side-by-side layout, but the walkway between the beds was too tight. Eventually, we landed on an L-shaped configuration.
That worked—until it didn’t.
When homework became part of the daily routine, I realized both kids needed their own dedicated workspace. Two desks were never going to fit in the room with the L-shaped configuration. The only solution was to go vertical.
Now, it would have been easier to buy a retail bunk bed and call it a day. But something I've learned about city living with kids is that when you're truly space-constrained, custom is the only way to ensure you're making use of every inch. A retail bunk gives you the beds. It doesn't give you the storage.
The Decision to DIY
In New York, custom built-ins can easily run into the thousands. If this were a forever home, maybe. But for a shared kids’ room with an unknown lifespan, that didn’t feel like the right investment. The DIY path was the only way, and to make the project more interesting, I wanted to try to repurpose the beds we already had. I really dislike throwing things away, and I haven't quite mastered Facebook Marketplace in Brooklyn.
The goal was simple: make it look like it was always there.
Secure the structure. Anchor it to the studs. Add trim, paint, and integrated storage so it reads as a true built-in.
This post contains affiliate links. I may earn a commission on purchases made through these links, at no additional cost to you.
Safety First — How I Secured the Structure
The biggest challenge was figuring out how to “bunk” two beds that were never designed to be stacked.
The solution: simple box braces built from 2×4s.
The top bunk isn't actually sitting on the bottom bunk — it's lifted above it by the box braces, which freed me from having to structurally modify either bed frame.
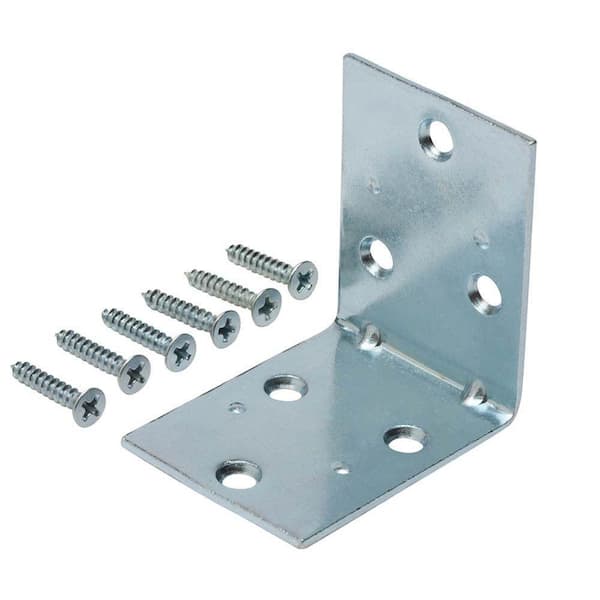
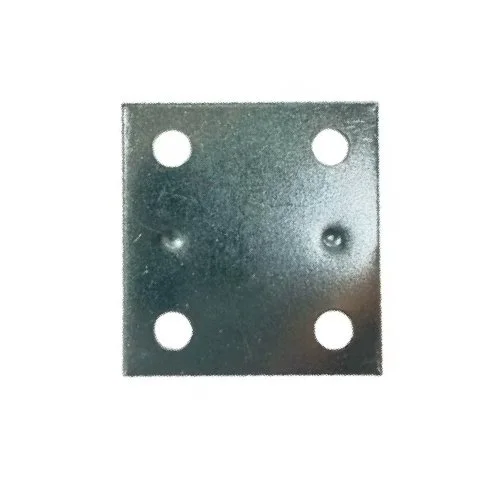
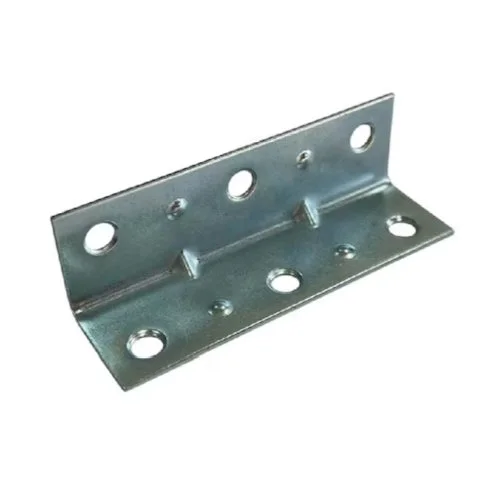
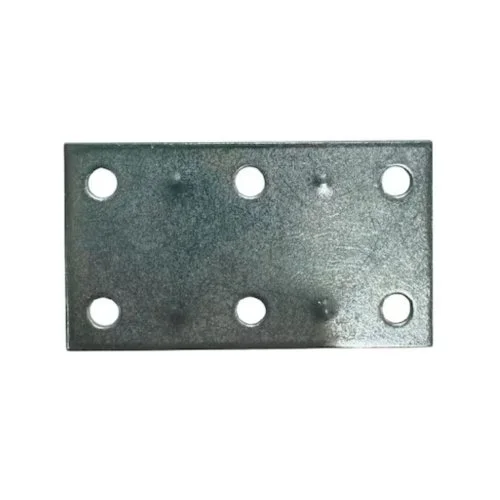
Once the basic structure was in place, I focused entirely on securing everything to the studs on both walls. Every corner and every edge is reinforced with mending plates and corner braces. Studs were located with a magnetic stud finder. We're talking hundreds of screws. That was intentional — this bunk is not moving.
One note worth mentioning: I did not screw into the floor or ceiling, only the walls. I can't imagine taking this apart anytime soon, but I wanted to preserve the option — and keep the ceiling and floors as close to original as possible.
If you're building your own version: do not skip this step. Find the studs, use the right hardware, and build in redundancy. Especially when you're building for kids. The last thing my kids are thinking as they climb all over this is I should be careful. The structure needs to withstand daily, enthusiastic abuse.
The Build
Framing
To build the box frames, I first needed to determine how high the top bunk needed to be. I wanted an adult to be able to sit in the bottom bunk comfortably, so I accounted for 36 inches from the top of the bottom mattress to the underside of the top bunk. Mattress height matters here — measure from the top of the mattress, not the top of the bed frame.
From there, building the box frames was straightforward. A few things I learned: select your 2×4s individually and inspect each one for warping. At big box retailers, twisted and warped lumber is common, and a warped 2×4 in a structural frame is a headache you don't want once you've started building. I had to make a return run mid-project. I also picked up corner clamps to hold the box frames in place while screwing everything together — a small purchase that makes the job significantly easier.
The Dresser Conversion
The space along the wall beside the bunk was dedicated to a built-in storage unit combining a repurposed dresser and Ikea Sektion cabinets. The dresser was an ah-ha moment — it had been sitting in our primary bedroom and I wasn't sure what to do with it. When I examined the construction, I realized that by removing the left and right side panels, the drawer slides would still function perfectly, and the 6-drawer dresser would simply become a 3-drawer dresser that could be integrated directly into the built-in. I'm not embarrassed to say how ingenious I felt at that moment. It was also the easiest part of the entire build.
Ikea Sektion Cabinets (My Favorite Hack)
I used 15-inch depth Sektion boxes as bookshelves above the dresser conversion. I already had experience with Sektion from a previous project, so the assembly was familiar. Integrating them into a built-in unit required careful planning around trim to make everything read as one cohesive piece — but the bones of the system are well-suited for this kind of hack. (More details about this coming soon in another post.)
Headboard Cubbies
The cubbies were something I knew I wanted from the start. More storage, always. And I knew the kids would like having dedicated shelf space for books and treasures — something to occupy themselves with when they are supposed to be sleeping. I measured the available space, built additional box frames, secured them in place, and used trim to cover gaps and add dimension.
Design Details
Once the bunk bed was built and secured, it was functional. The design details are what make it feel personal.
The Fluted Trim
I knew from the beginning that I wanted the room to feel classic but contemporary and the furniture to be timeless rather than kid-specific. Right now it's a shared bedroom, but in a few years it may belong to just one of them, and I wanted the built-in to be able to transition easily. I chose fluted shiplap because it feels both classic and contemporary. It also allowed the lower drawers to visually disappear into the design.
It was, admittedly, tedious. Cutting, sanding, and aligning every piece—while ensuring the drawers still functioned—took patience. But the payoff was worth it.
The remaining trim was simple flat pieces at varying widths, layered to create subtle dimension. I spent a lot of time in the trim aisle comparing trim profiles.
The Ladder
The ladder from our previous bunk bed was repurposed here. It was originally angled; the new configuration is straight up and down, so I drilled new holes to modify it. It works exactly as needed.
The Paint and the Repaint
The entire built-in is painted Sherwin Williams Debonair. But it wasn't always.
I initially painted it Sherwin Williams Urbane Bronze. Yes, the entire built-in. We lived with it for a week before I admitted it wasn't right. Based on the lighting in the room, it was too dark — and my daughter kept telling me it looked sad. (Sigh.)
But that's the process. You have an idea, you try it. Sometimes it works and you feel like a genius. Sometimes it doesn't and now you have to repaint the whole thing. (Sigh again.)
I painted by hand the first time. I sprayed the second. Spraying was messy but fast. Pick your poison.
Debonair was the right call. It reads light — not sad — but the gray in it keeps it grounded and prevents it from reading as baby blue. I primed everything, sanded, and painted with Sherwin Williams Emerald Urethane Trim Enamel. I was skeptical going in (I usually am) but several months later with two kids making full use of this structure daily, it has held up beautifully.
The Result
This was my most ambitious standalone project. The final result was worth every extra hour it took to get right — or at least mostly right. And while I can still see the tiny imperfections (recovering perfectionist), the result is exactly what I hoped for: functional, intentional, and fully integrated into the space.
There are still a few things I may add—a patinated brass handle on the ladder (my son shimmies up just fine, but I'd find one useful when it's time to change the sheets), brass gallery rods for the headboard cubbies (too much?), and eventually the exact sconces I've been looking for.
Design is just living and iterating. We're never static — so why should our homes be?
Resources


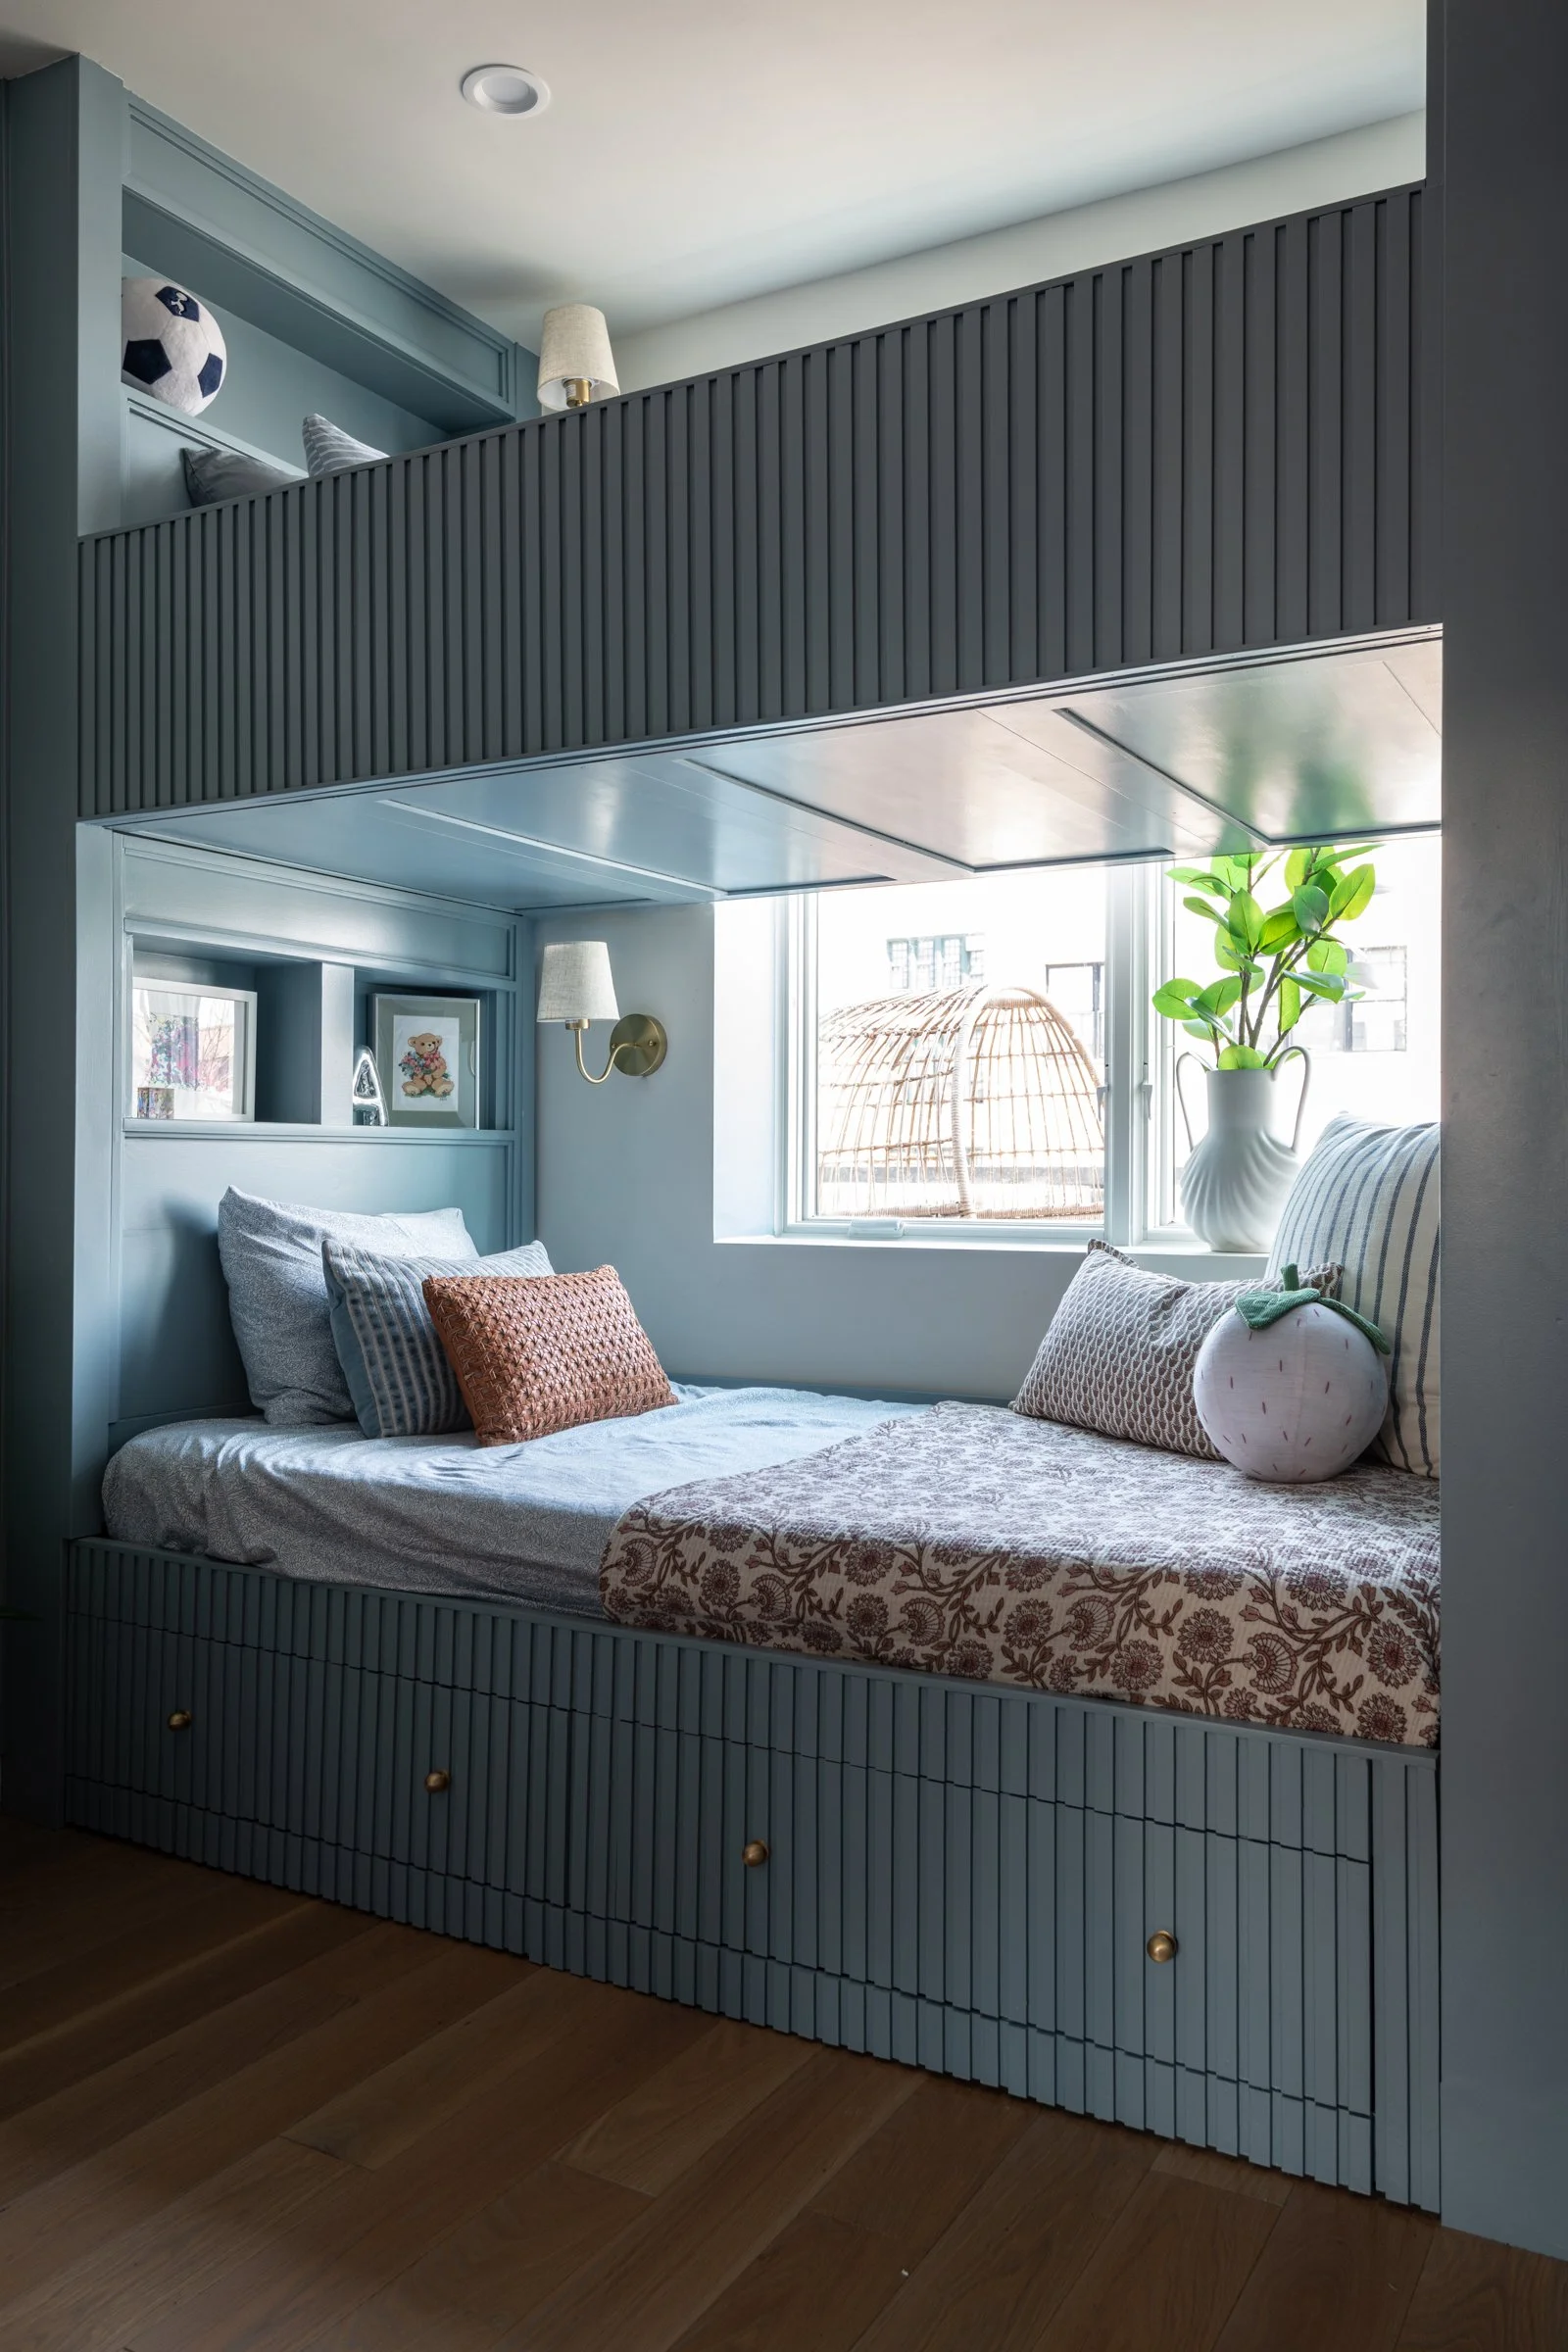
Bunk Bed in Front of a Window?
While it may not seem like the most likely placement, it was the best placement based on the “traffic pattern” in the room. Bonus from my son, he gets a nightly view of the Freedom Tower all lit up.