How to Hang Wallpaper for the First Time: 10 Tips That Make All the Difference

First‑timer’s guide to flawless wallpaper installs — from paste‑the‑wall vs peel‑and‑stick to priming, seams, trimming, and tools that save time.
Wallpaper is one of the most transformative decisions you can make in a room. Wallpaper can anchor a space, introduce pattern and depth, and bring a kind of character that paint — for all its versatility — simply can’t replicate. But installing wallpaper for the first time can feel daunting.
These tips come from my own installations — the ones that went beautifully and the ones that absolutely did not. If you’re tackling wallpaper for the first time, this is what I wish someone had told me before I started.
This post contains affiliate links. I may earn a commission on purchases made through these links, at no additional cost to you.
What You’ll Need
3/8‑inch nap roller and tray
Level
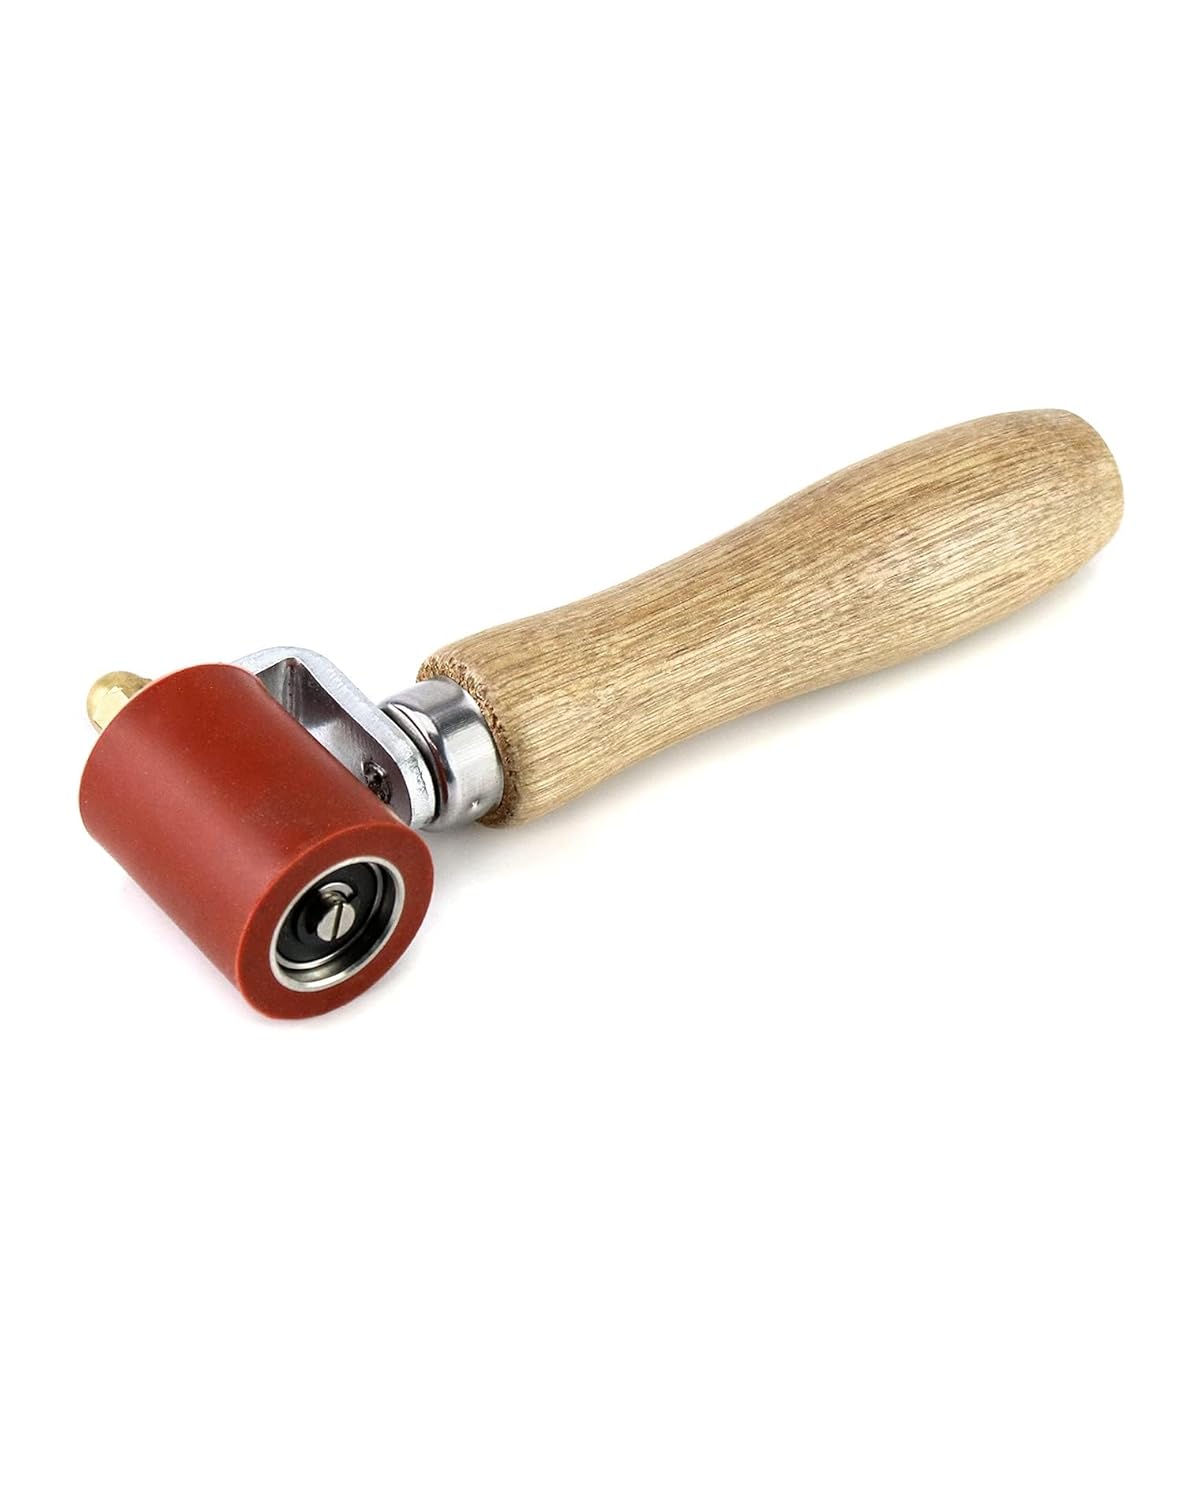
Seam roller
Wide putty knife
X-acto knife with extra blades
Wallpaper primer (Roman PRO‑999 Sealer and Primer)
Wallpaper adhesive (Roman PRO‑880 Wallpaper Adhesive)
10 Tips for a First-Time Wallpaper Installation
1. Use paste‑the‑wall wallpaper.
Peel-and-stick seems like the easier path — and it looks like one. But it isn’t forgiving. If you need to reposition a panel, the adhesive grabs quickly and can crease or stretch the paper. Paste-the-wall lets you slide panels into place and adjust as you go. The process is more methodical, but the results are more reliable. I haven’t completely given up on peel-and-stick (trying a new brand soon) but I prefer paste-the-wall for ease of installation and appearance.
2. Order samples. Always.
Wallpapers often look very different in person than they do on screen. Check texture, color, and scale in your actual space — at different times of day and under different lighting. I can’t count the times I was certain I didn’t need a sample, and the moment it arrived I knew the color was wrong. The cost is minimal, and many brands offer samples for free. There is no good reason to skip this step.
3. Buy more than you think you need.
Wallpaper is printed in batches, and color can vary slightly between lots. If you run short and have to reorder, those last panels may not match the first. When in doubt, order extra. Returning an unused roll is far less painful than trying to match a dye lot after the fact. (NOTE: Not all unused wallpaper can be returned. However, if you purchase from a big box retailer, you will likely be able to return unused wallpaper assuming it is within their return window and unopened.)
4. Prime the wall. Do NOT skip this step.
PRO TIP
Apply primer with a 3/8‑inch nap roller. I always use Roman PRO‑999 Sealer and Primer and Roman PRO‑880 Wallpaper Adhesive.
Primer creates “slip” — it allows pasted panels to glide and align cleanly instead of grabbing the moment they touch the wall. On my first attempt on new drywall, I skipped the primer. The paste soaked straight into the wall, panels wouldn’t move, alignment was impossible, and when I tried to remove a panel it tore the drywall surface. With primer, I finished a powder-room wall in about 30 minutes because every panel floated into place. Roman PRO-999 Primer is what I use and recommend. (NOTE: Use a 3/8-inch nap roller to apply the primer to smooth or lightly textured walls. A 1/2-inch nap roller suits slightly rougher surfaces.)
5. Plan your layout before you start.
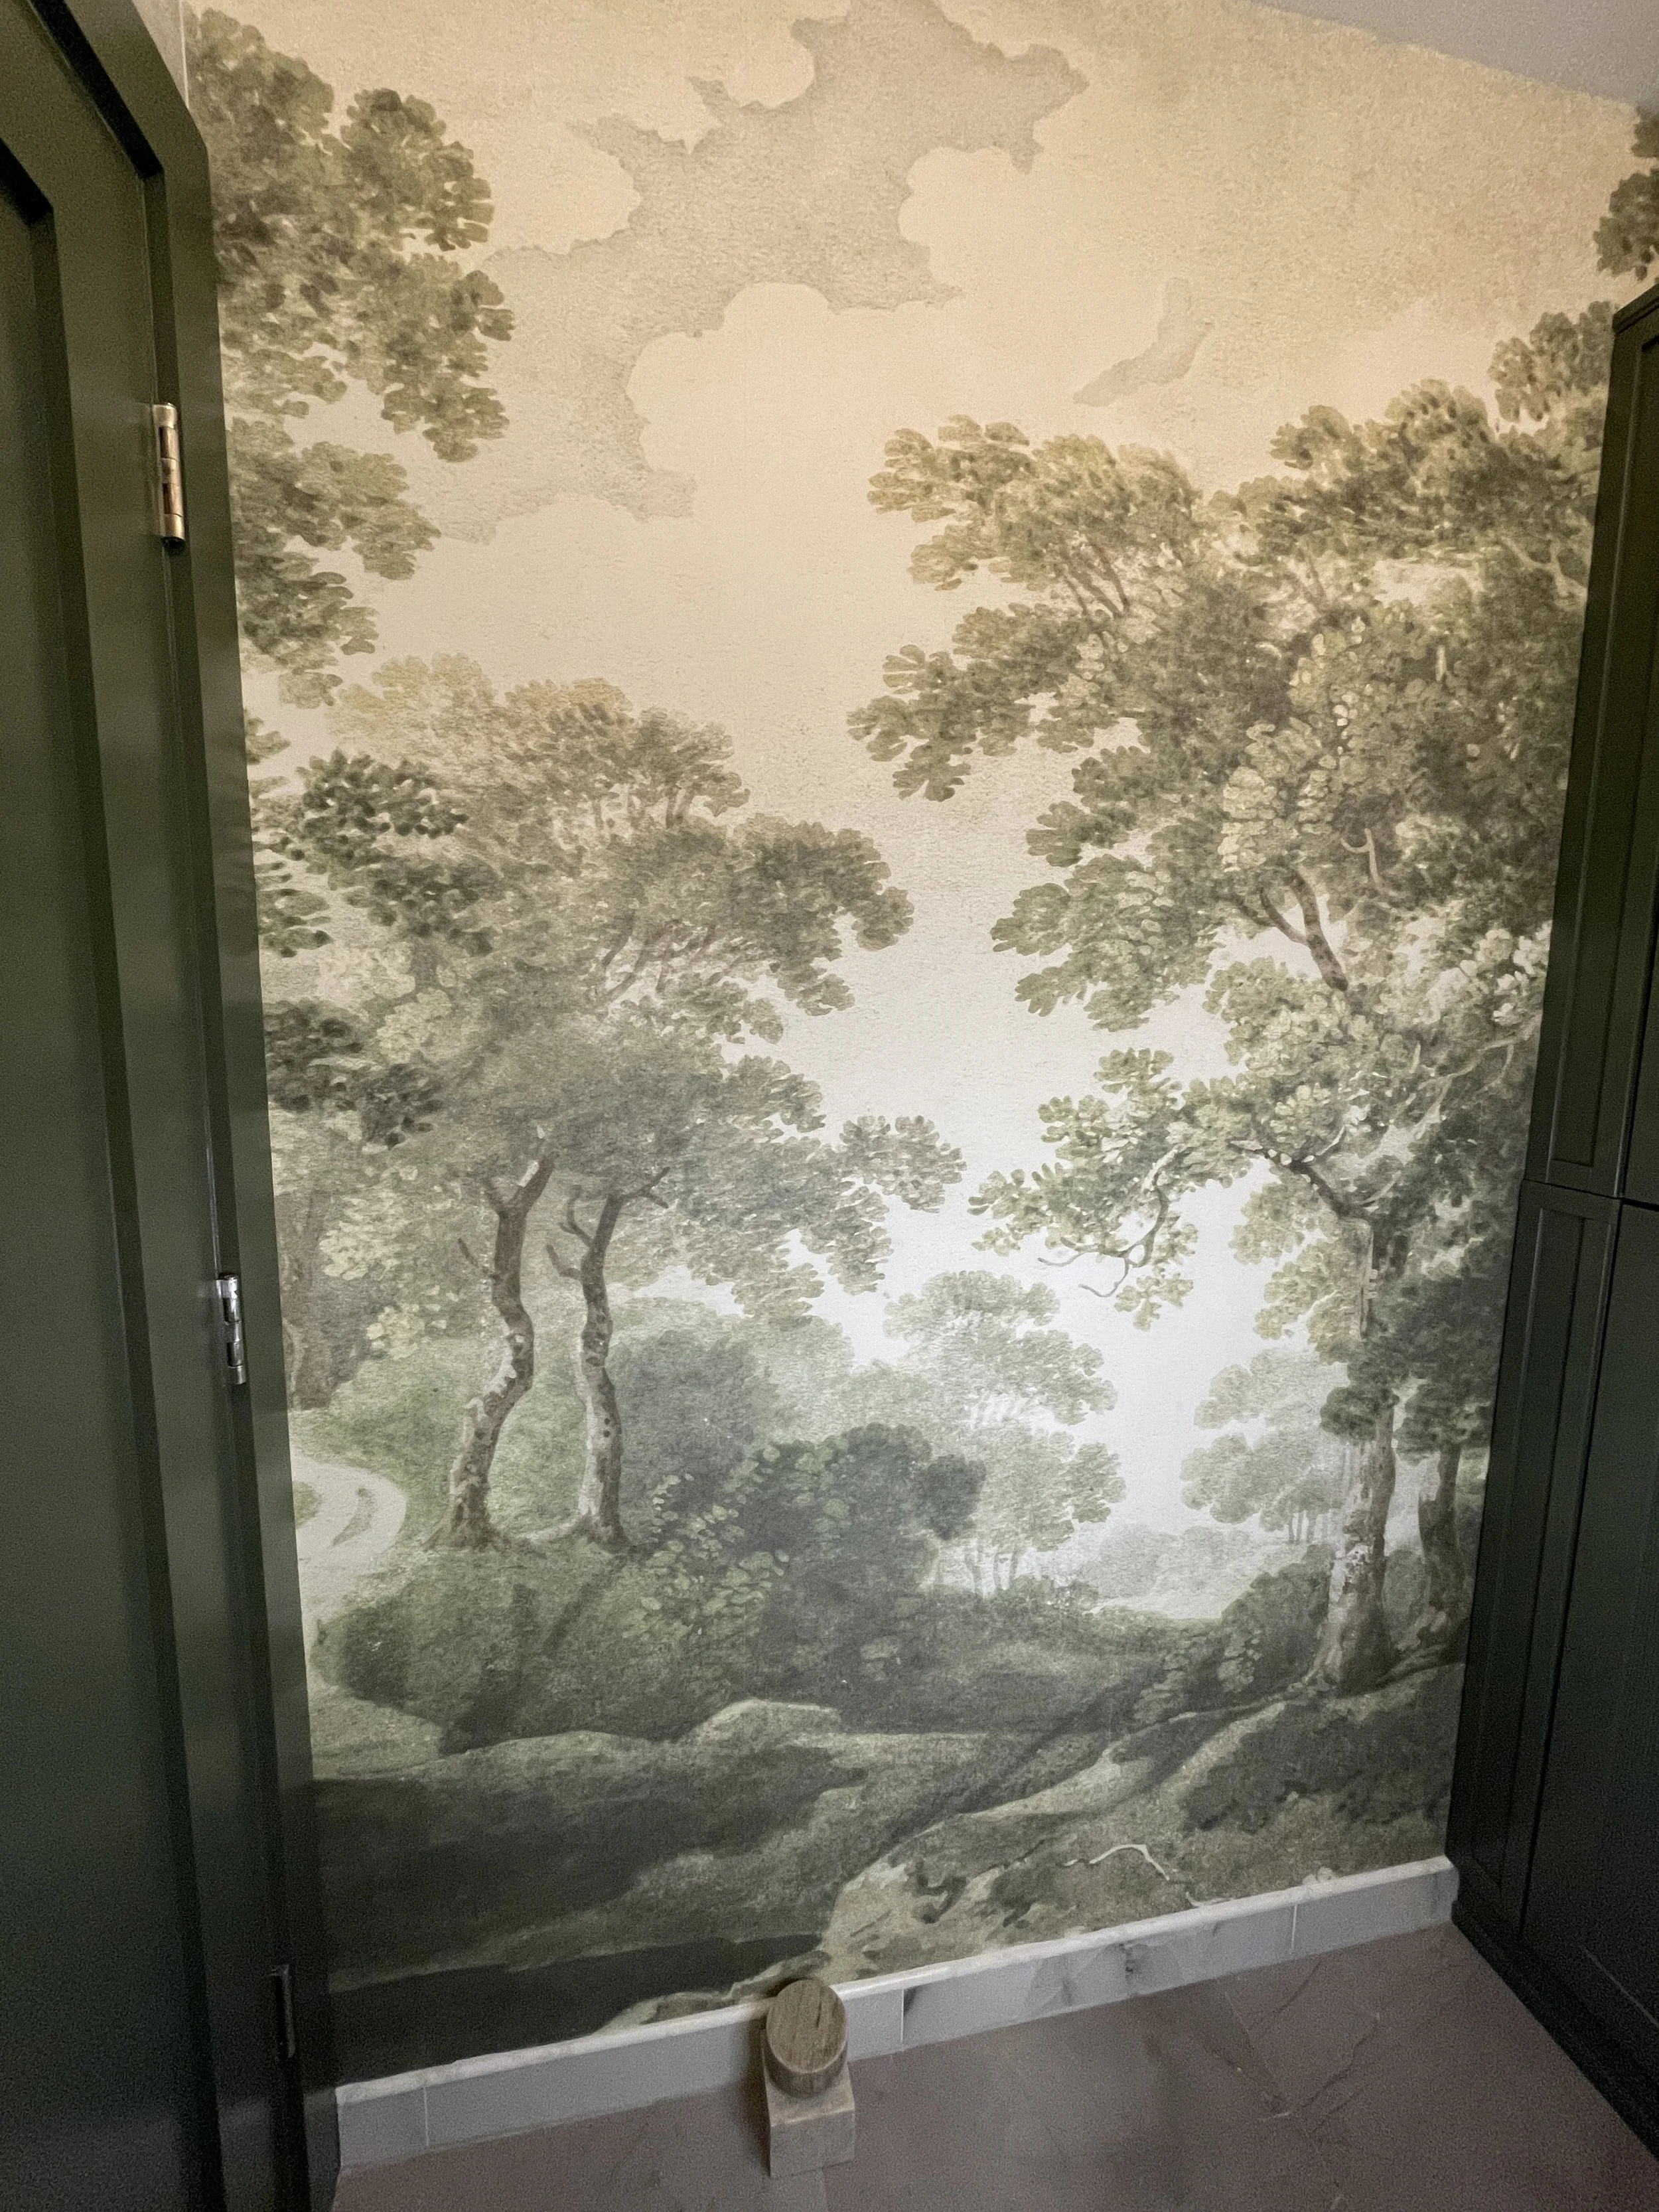
Are you hanging a mural or a repeating pattern? For a custom-sized mural, start at one end and work across. For a repeat, consider centering the main motif on the focal wall and working outward. Either way, aim to finish in the least visible spot — away from doors and windows, where an imperfect seam will be least noticeable. And always double-check your wall measurements against your wallpaper dimensions before you order. I once installed a mural that came up 1.5 inches short. I managed to fill the gap with trim, but a second measurement would have caught it before it became a problem.
6. Trust your level, not your walls.
Ceilings are rarely level. Corners are rarely square. This is true even in new construction. Get the first panel perfectly plumb and every panel after it will follow. Subtle, organic patterns are more forgiving; stripes demand precision. After years of projects, my working assumption is that nothing is ever square. Once you accept that, the level becomes your best friend.
7. Paint or tint the wall at the seams before you begin.
If your paper has a consistent background color, lightly paint the wall where seams will fall. This camouflages hairline gaps if the paper shifts slightly during drying. You can also tint your primer or color the cut edges of the paper itself so the white core doesn’t show through. This matters most when there’s high contrast — a dark paper on a white wall, or vice versa.
8. Use your seam roller on every seam.
Press each seam firmly as you hang. It promotes adhesion and keeps edges from lifting as the paste dries. Don’t skip it to save time — it’s a few seconds per panel that prevents a lot of repair work later.
9. Cut with a fresh, sharp blade.
Use a wide putty knife or taping knife pressed flush against the paper in corners and along edges. Cut above the blade with light, controlled strokes — and replace your blade frequently. A dull blade drags and tears. Take your time here. The quality of your cuts is the quality of your finished wall.
10. Give the preparation more time than feels necessary.
With wallpaper, the quality of the result is almost entirely determined before the first panel goes up. A measured layout, a primed wall, a sharp blade, a clean level line — these aren’t extra steps. They are the work. Rushing the preparation to get to the “real” work is how beautiful paper ends up looking amateurish on a finished wall. Give yourself more time than you think you need, especially on your first installation. The precision pays off every time you walk into that room.
Save this post before you start — and come back when you’re standing in front of a wall that isn’t square. (It won’t be.)
Resources