
10 Wallpaper Tips I Wish I Knew Before I Started
First‑timer’s guide to flawless wallpaper installs — from paste‑the‑wall vs peel‑and‑stick to priming, seams, trimming, and tools that save time.
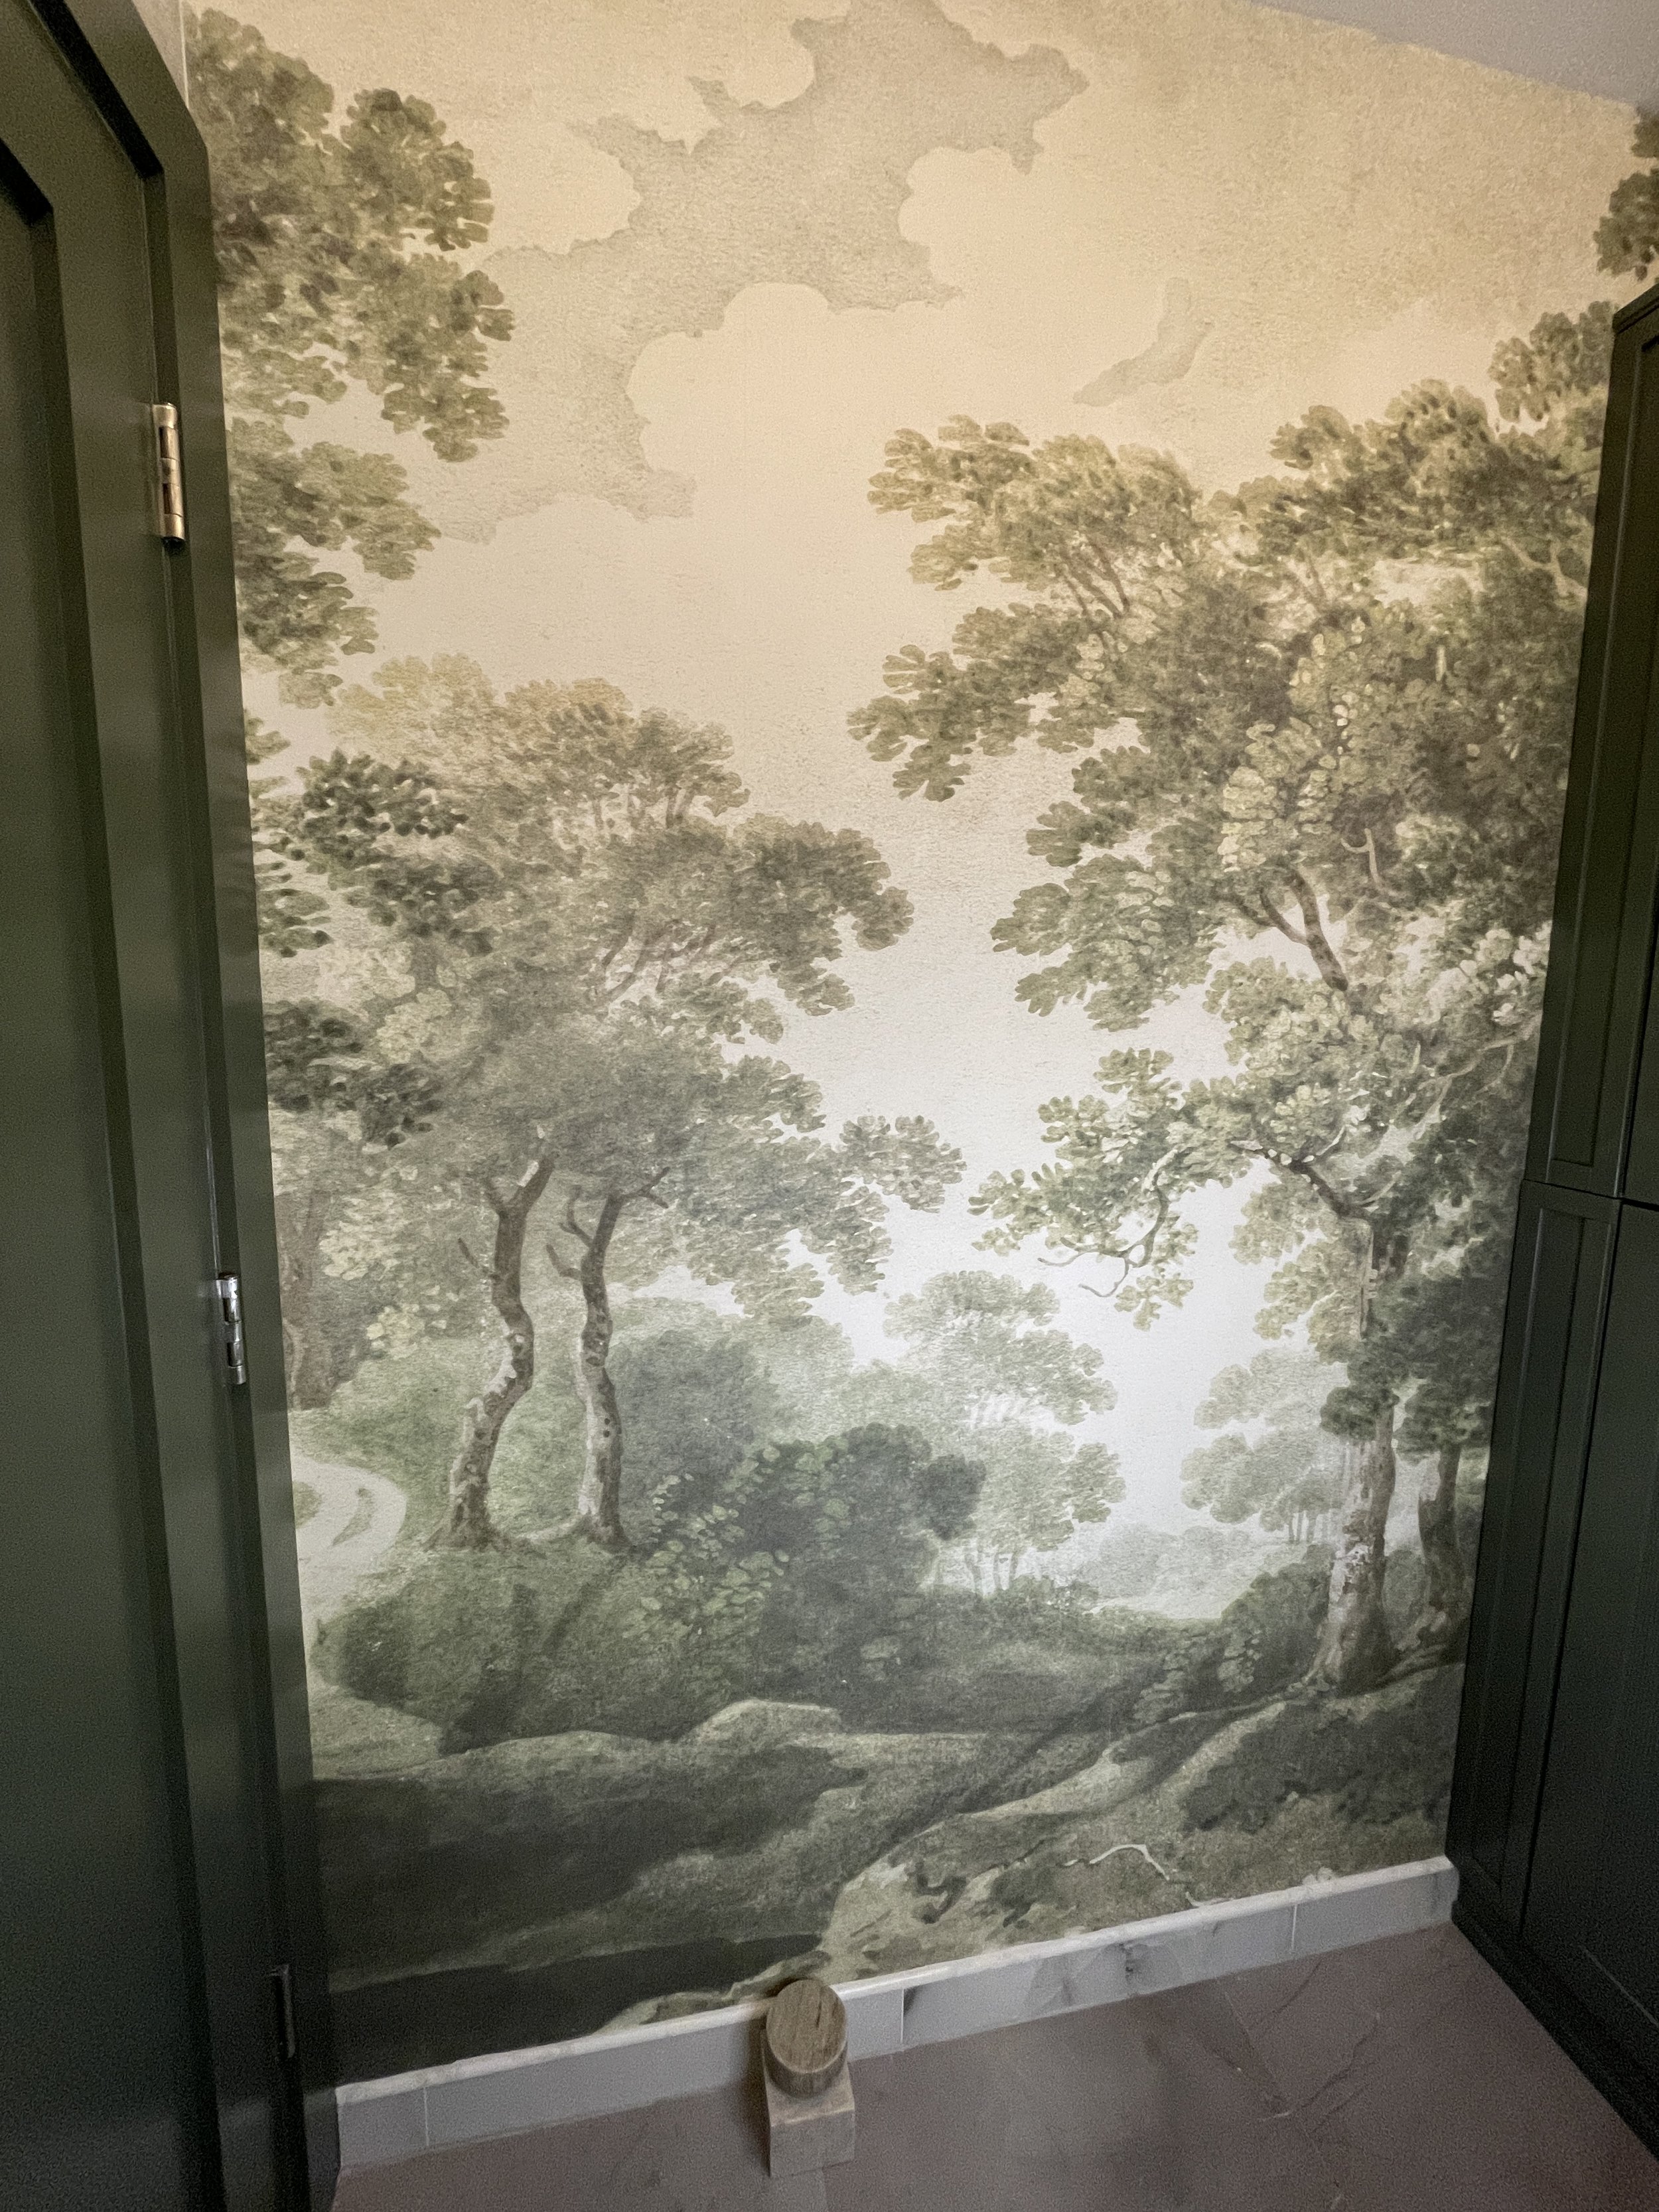
Rebel Walls, The Vintage Grove in Spring Green
TOOLS & MATERIALS
3/8‑inch nap roller and tray
Level
Seam roller
Wide putty knife
Xacto knife with extra blades
Wallpaper primer (I use Roman PRO‑999 Sealer and Primer)
Wallpaper adhesive (Roman PRO‑880 Wallpaper Adhesive)
WHAT WORKED FOR ME
A few lessons from lots of trial and error. If you’re tackling wallpaper for the first time, these tips will save you time, stress, and rework.
Use paste‑the‑wall wallpaper. Peel‑and‑stick seems easier because it’s a sticker, but it’s not forgiving. If you need to reposition, the adhesive grabs and can crease or stretch. Paste‑the‑wall lets you slide panels into place and adjust as you go.
Order samples. Sampling is essential. Wallpapers often look different in person than they do online. Check texture, color, and scale in your space at different times of day and with different lighting. I can’t tell you how many times I was sure I didn’t need a sample and then when I saw the sample, I knew the color was wrong. Always get the sample. The cost is minimal and some brands even offer free samples.
Buy enough wallpaper. When in doubt, get extra. Wallpaper is printed in batches, and color can vary slightly between lots. If you run out and need a new batch, those last panels may not match perfectly.
Use wallpaper primer. Do NOT skip this step. Primer creates “slip” so pasted panels glide and align cleanly. My first attempt on new drywall (without primer) was a mess: the paste soaked in, panels wouldn’t slide, alignment was impossible, and removing paper tore the drywall surface. With primer, I finished a powder‑room wall in about 30 minutes because panels floated into place.
Plan your first panel. Is your paper a mural or a repeating pattern? For a custom‑sized mural, start at one end and work across. For a repeat, consider centering the main motif on the wall, then work outward. Aim to finish in the least noticeable spot, away from doors and windows. Double check the measurements of your wall with the measurements of your wallpaper. This is especially important with murals. I once installed a mural that was 1.5 inches short of the wall. I was able to fill the space with trim but had I measured twice, I would have avoided that error.
Use a level. Do not trust ceilings or corners to be square, even in new construction. Get the first panel perfectly plumb so every subsequent panel follows. Subtle patterns are more forgiving; stripes demand precision. If I have learned anything in years of projects is that nothing is ever square. Just assume that and you’ll be fine.
Paint or tint the seams before you start. If your paper has a consistent background color, lightly paint the wall where seams will land to camouflage hairline gaps after drying. You can also tint the primer and/or color the paper’s cut edges so white cores don’t peek through. This is important if your base wall is white or light colored and you wallpaper is dark (or vice versa).
Use a seam roller. Press seams firmly for strong adhesion. This helps prevent lifting and keeps edges tight.
Trim with a sharp blade. Use a straightedge or taping knife to hold the paper in corners and along edges, then cut above the blade with light, controlled strokes. Replace blades frequently; don’t drag the knife and straightedge together. Take your time. You may accidentally tear the wallpaper if you work with haste.
Take your time. Preparation and methodical steps make the install go smoothly. Precision pays off in the final result.
“PRO TIP — Apply primer with a 3/8‑inch nap roller. I always use Roman PRO‑999 Sealer and Primer and Roman PRO‑880 Wallpaper Adhesive.”
SUMMARY
Paste‑the‑wall is more forgiving than peel‑and‑stick
Always order samples and buy extra from the same batch
Primer adds “slip” so panels align easily
Start in the right spot and level the first panel
Pre‑tint seams and use a seam roller for clean edges
Sharp blades and slow, steady trimming = pro finish