
How to Wallpaper a Desk with Peel-and-Stick Grasscloth
Wallpapering a desk is one of those projects that looks far more complicated than it actually is. The key is starting with the right piece—something that can be easily disassembled so you can wrap each component before assembly, concealing seams and edges where they won’t be seen.

Can any desk be wallpapered?
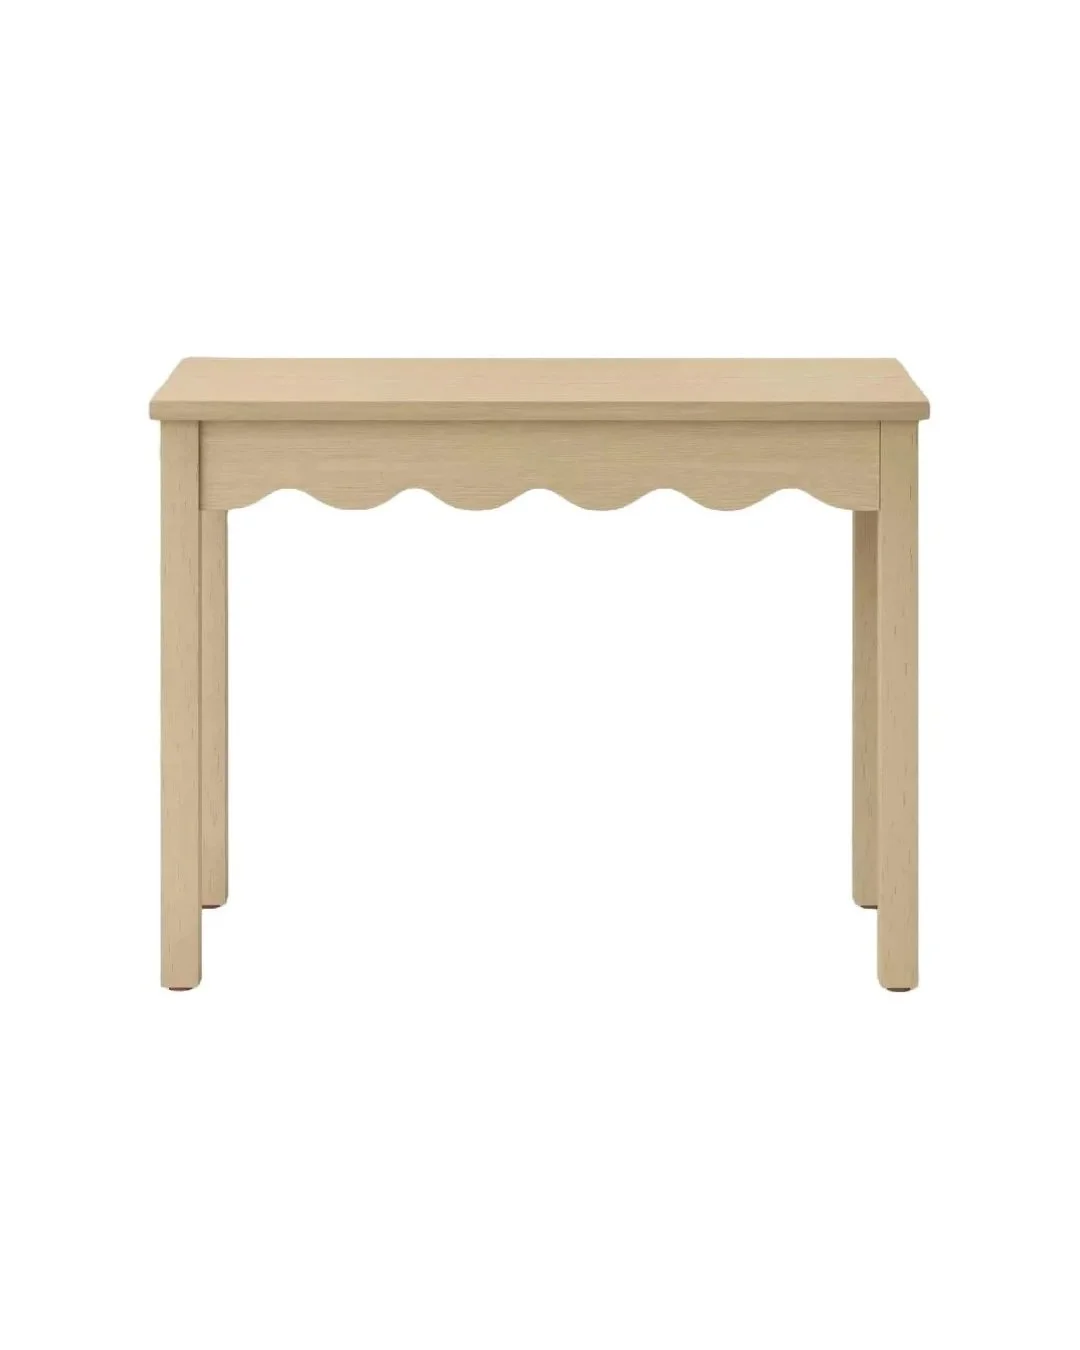
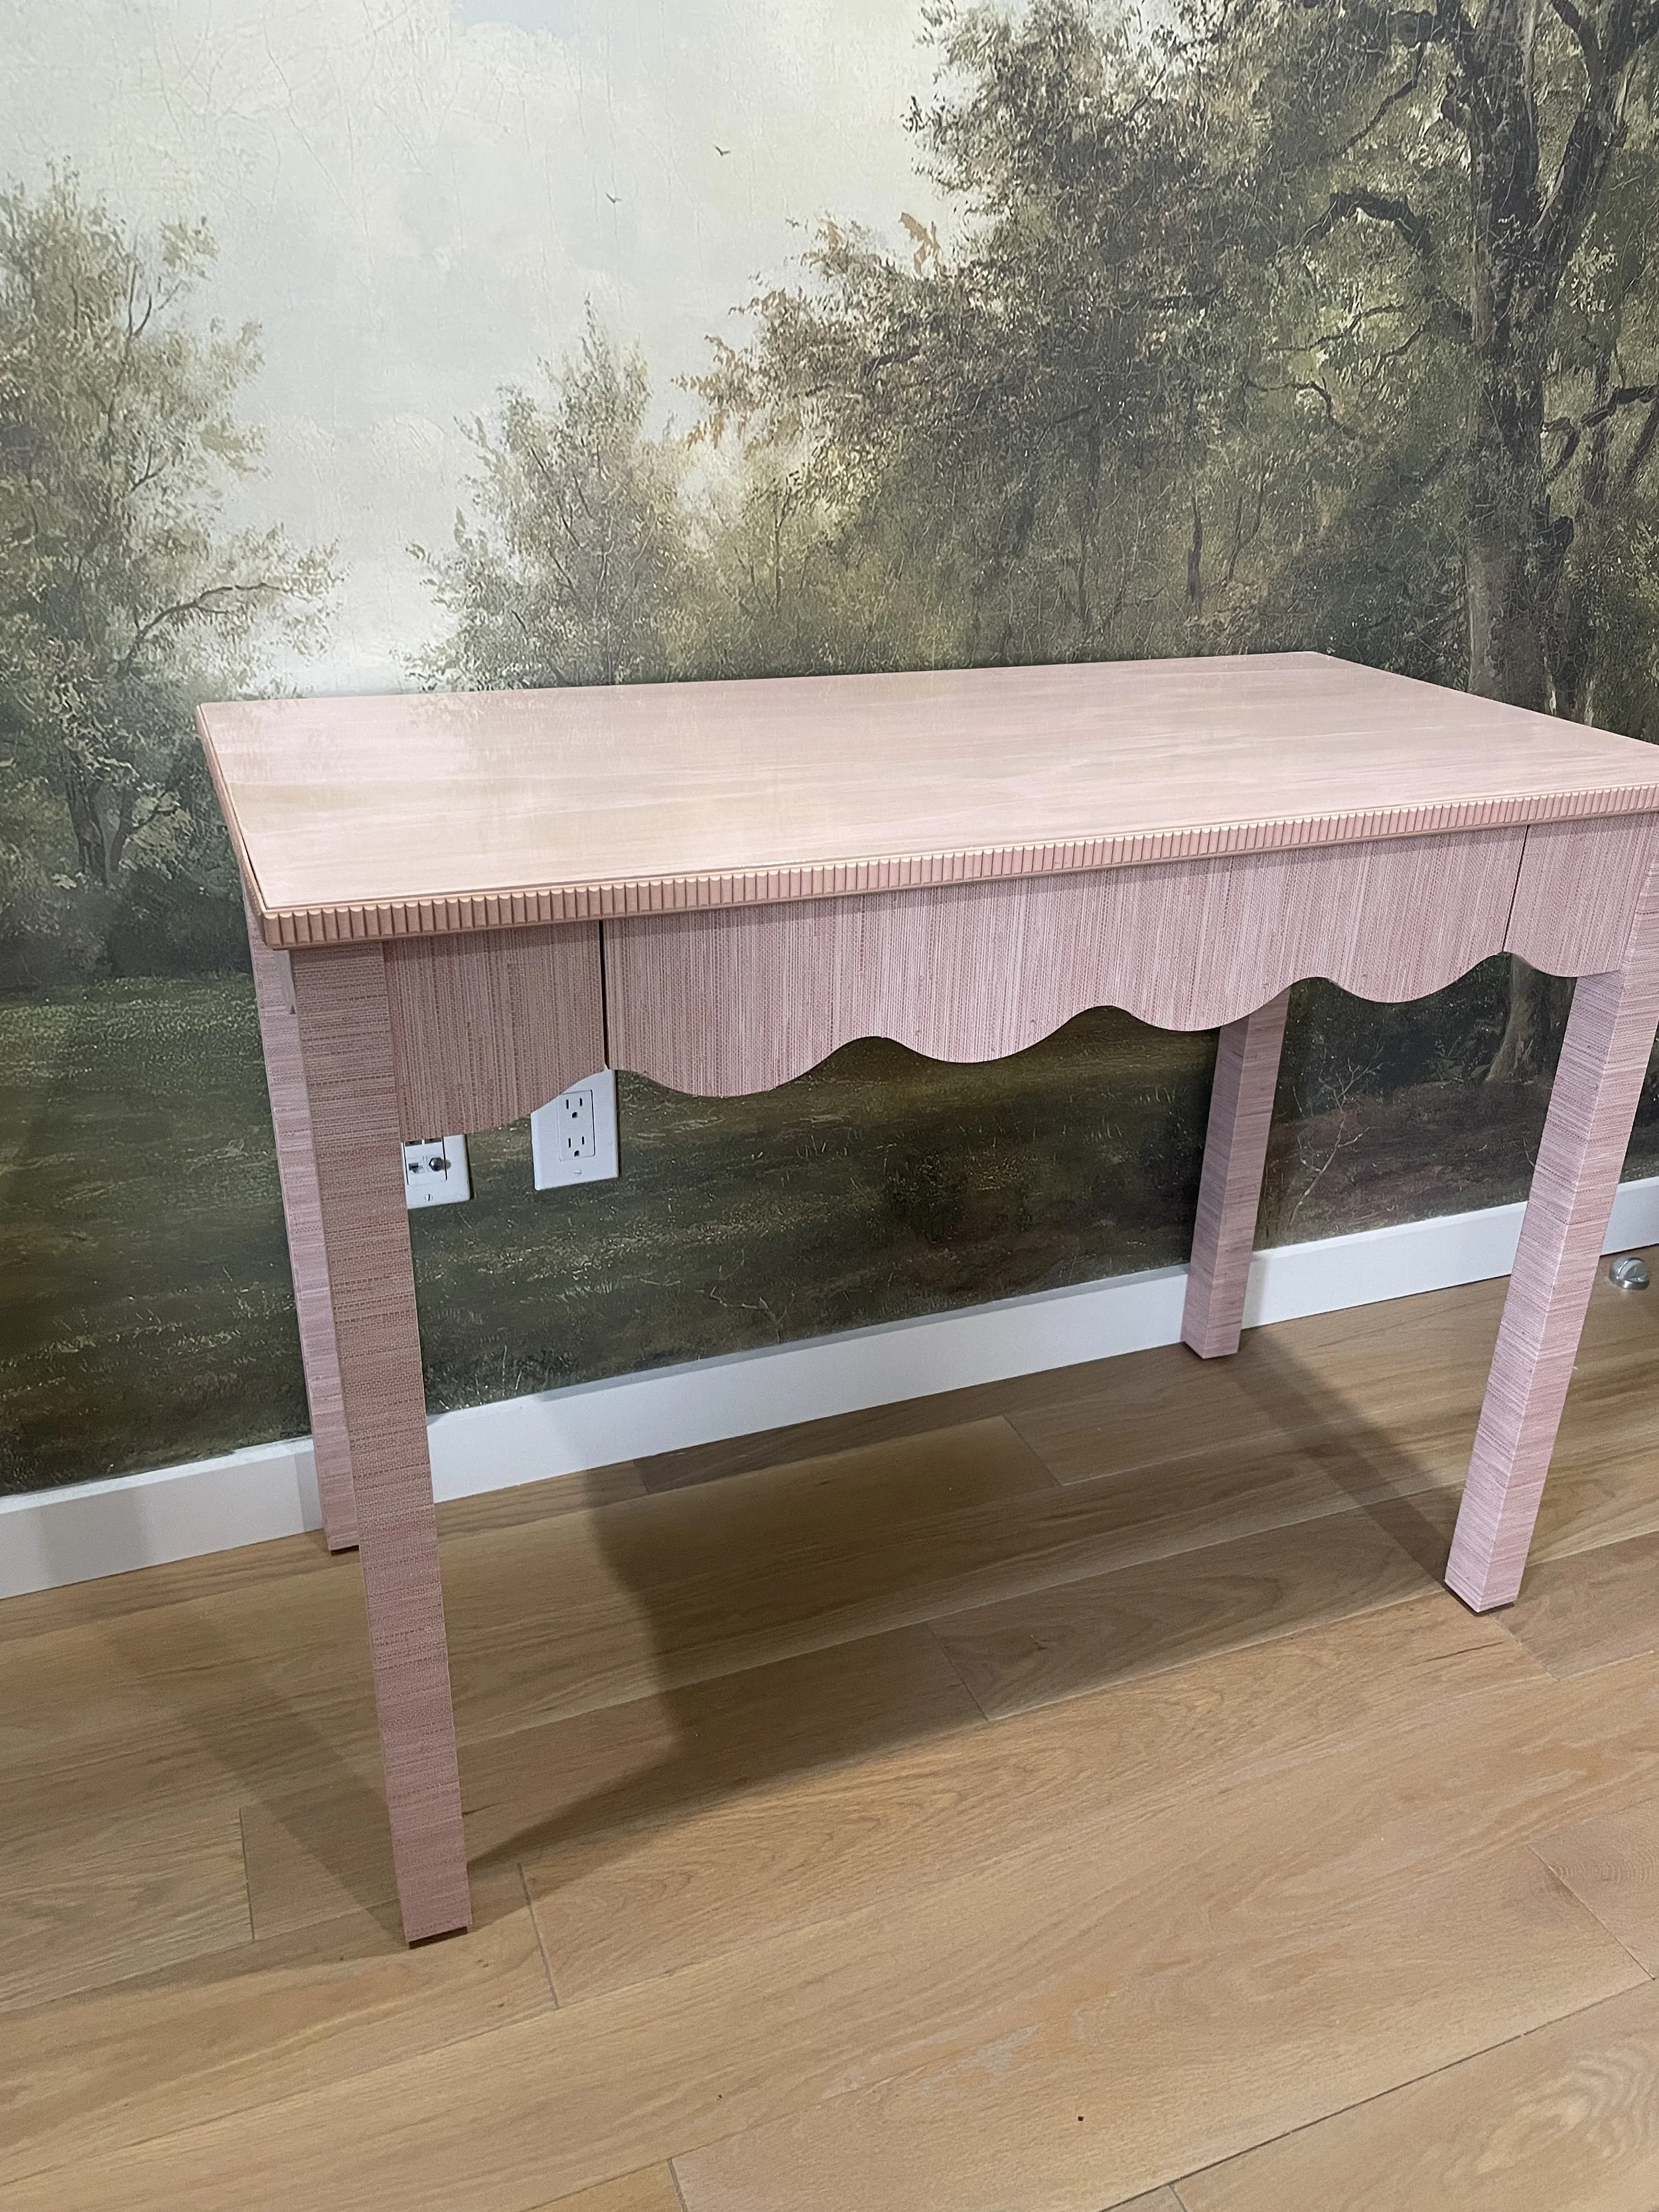
I chose the Target Wavy Writing Desk because its scalloped detail adds character, and the straightforward construction makes it especially DIY-friendly. The legs and curved edges are simple enough to wrap cleanly.
This post contains affiliate links. I may earn a commission on purchases made through these links, at no additional cost to you.
The Project
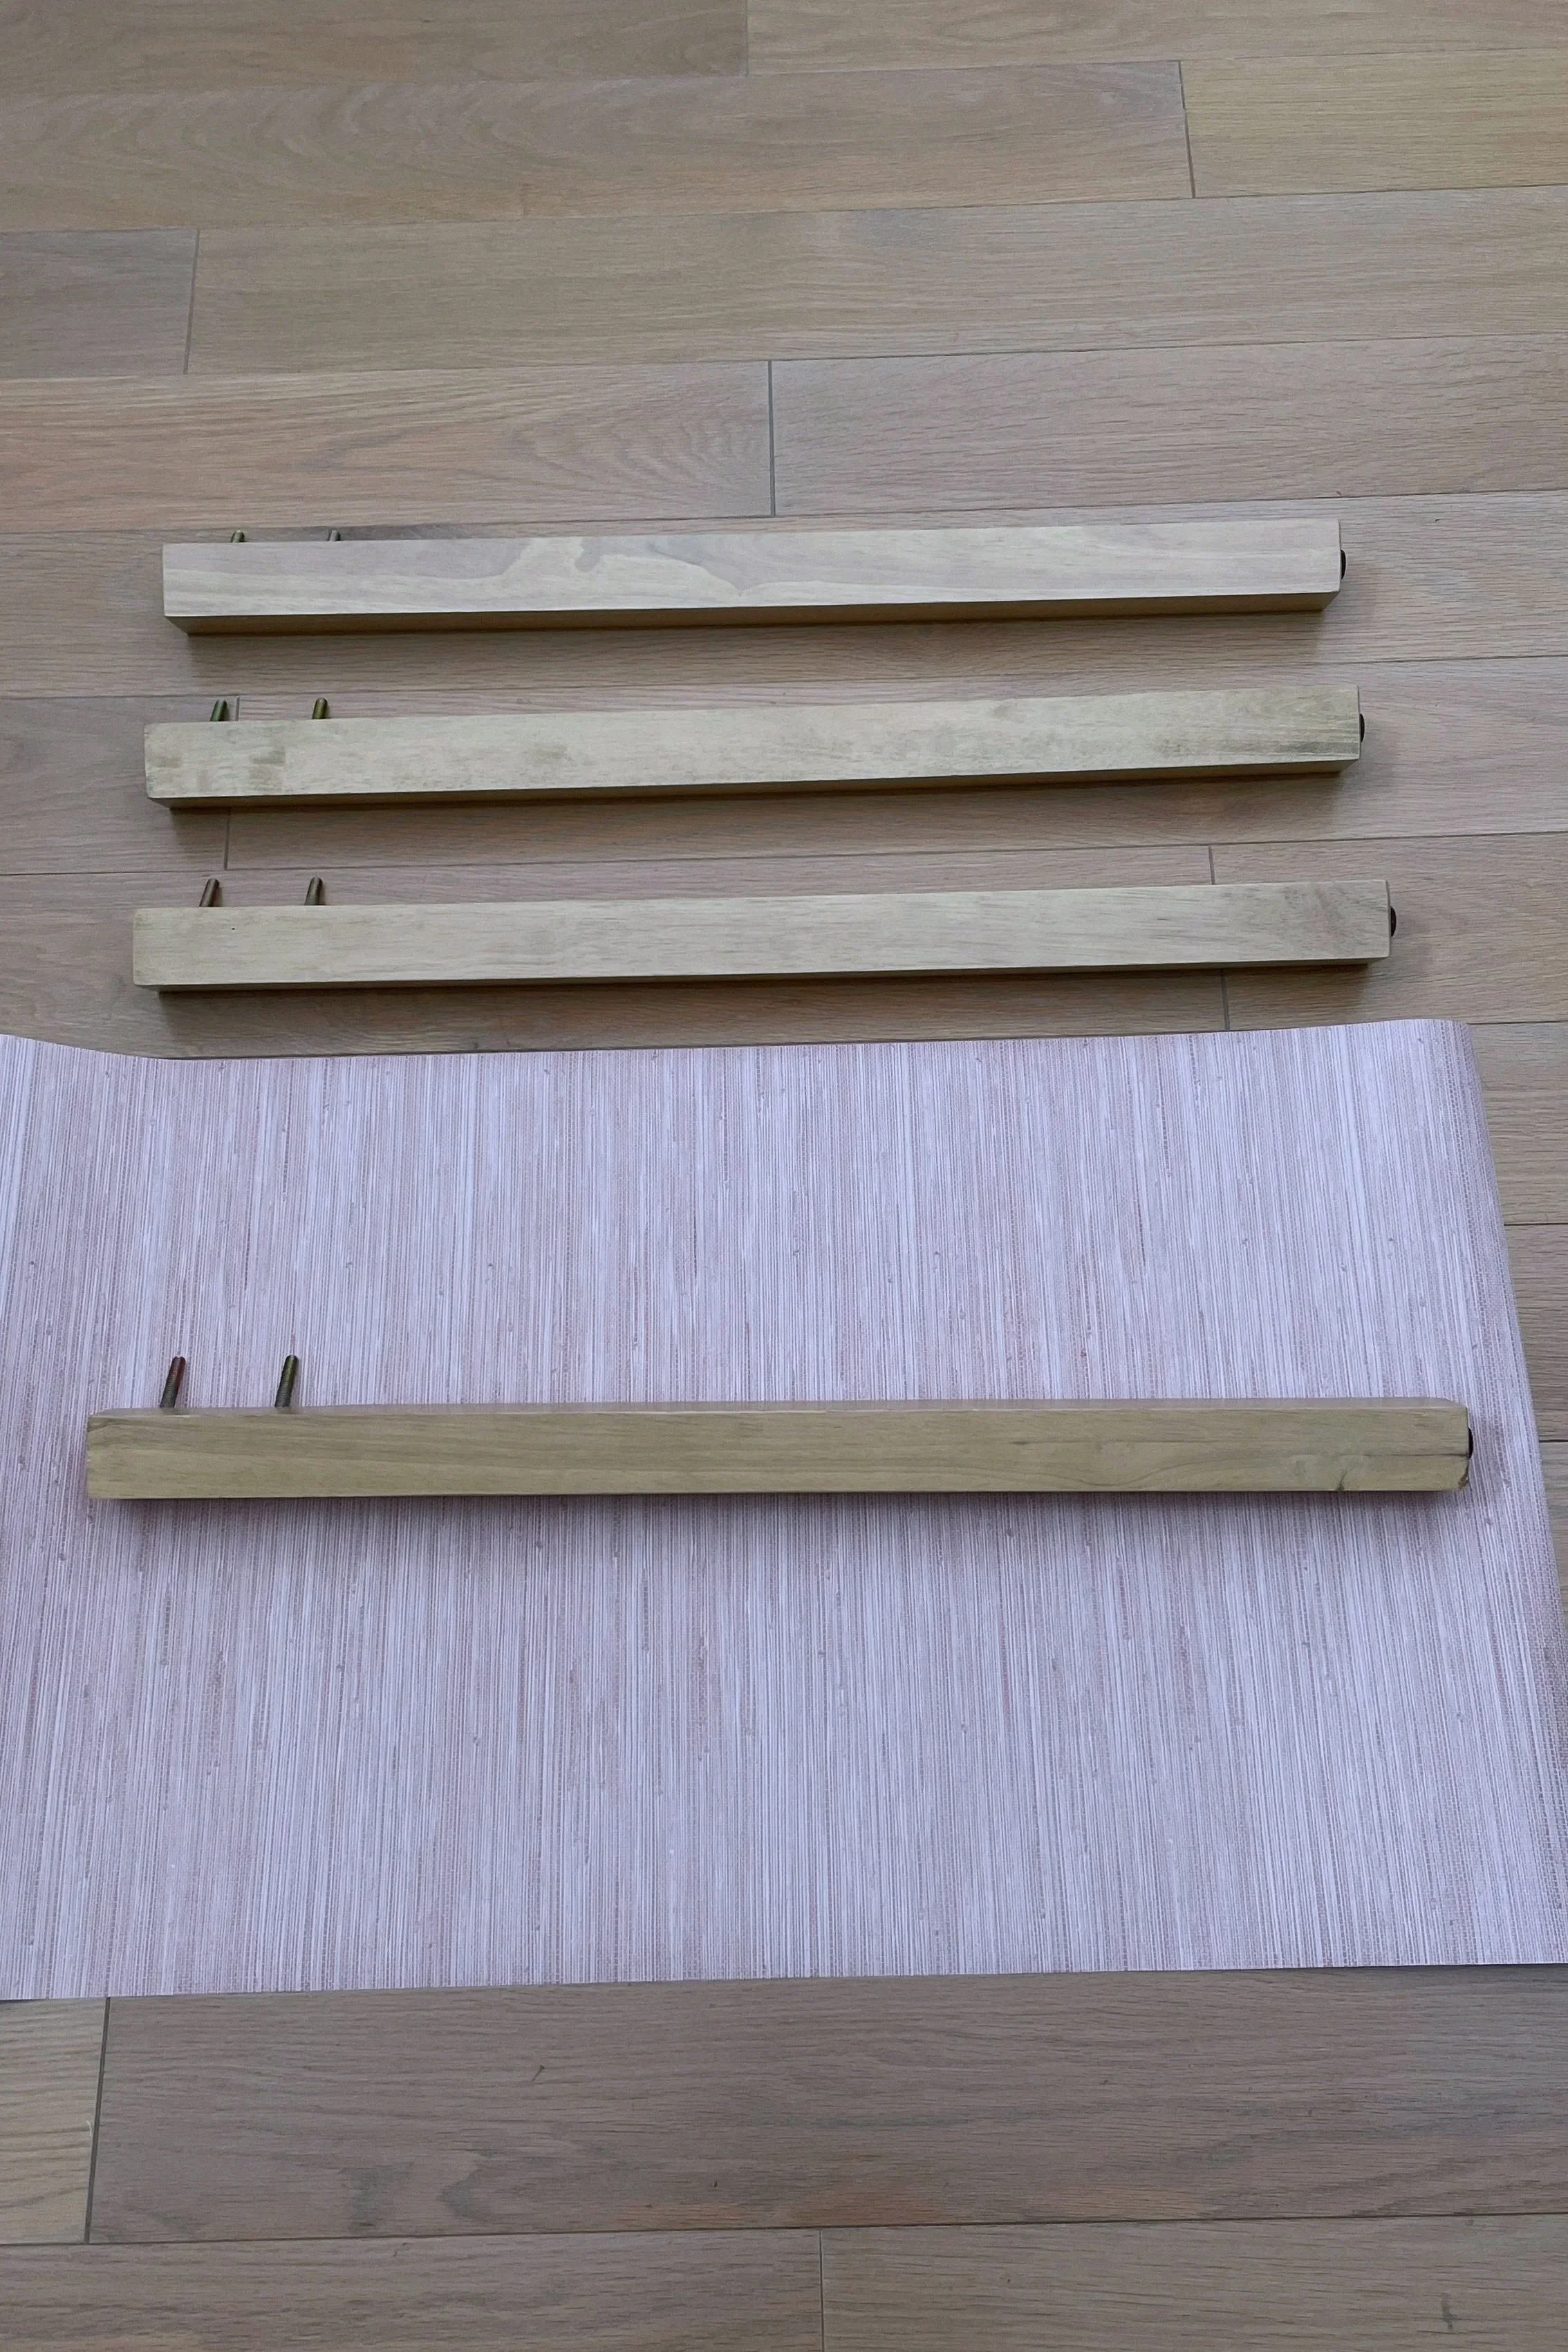
1/ Choose the right desk.
Look for a piece that can be taken apart easily. Wrapping components before assembly allows you to hide seams and edges for a more seamless, finished look.
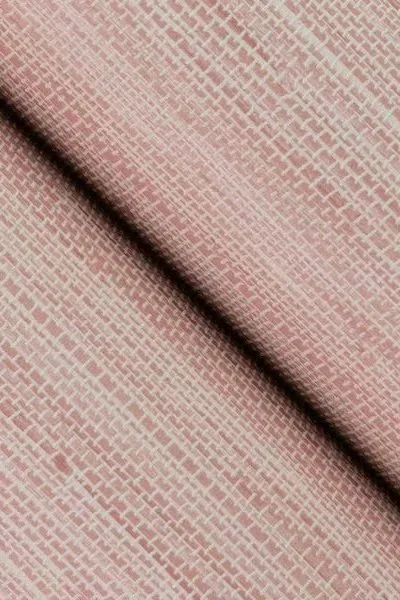
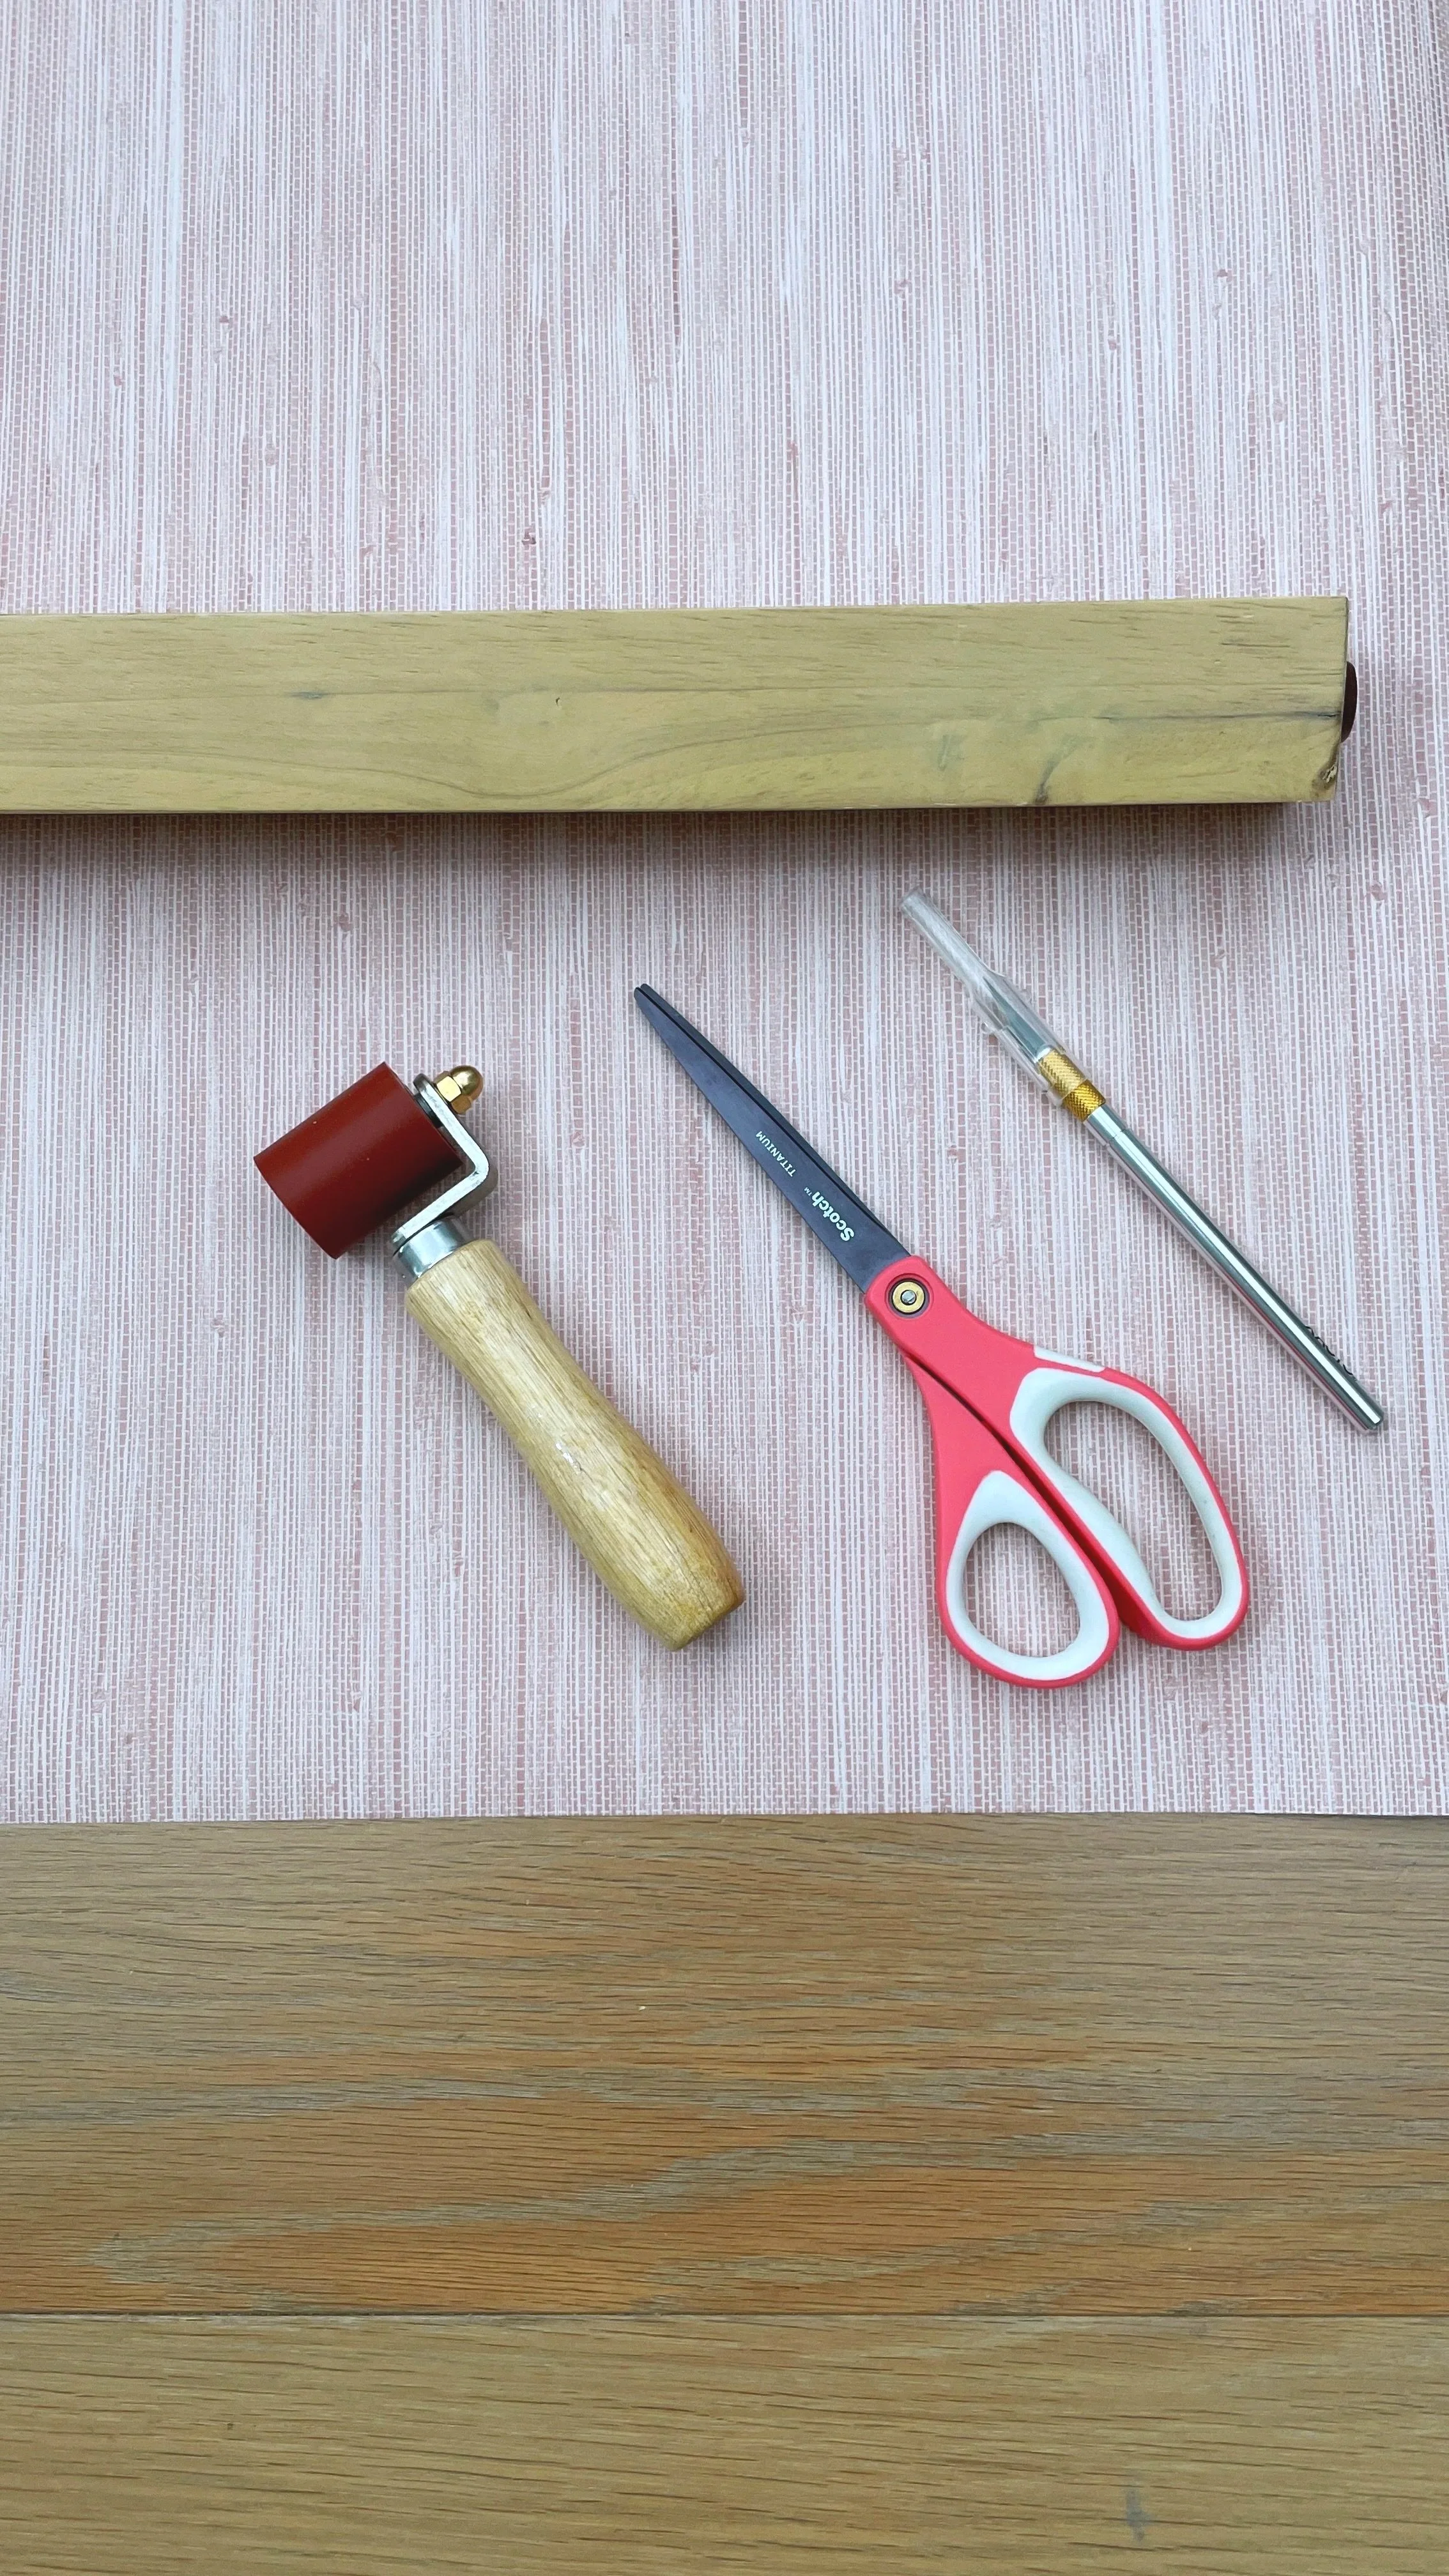
2/ Gather your materials.
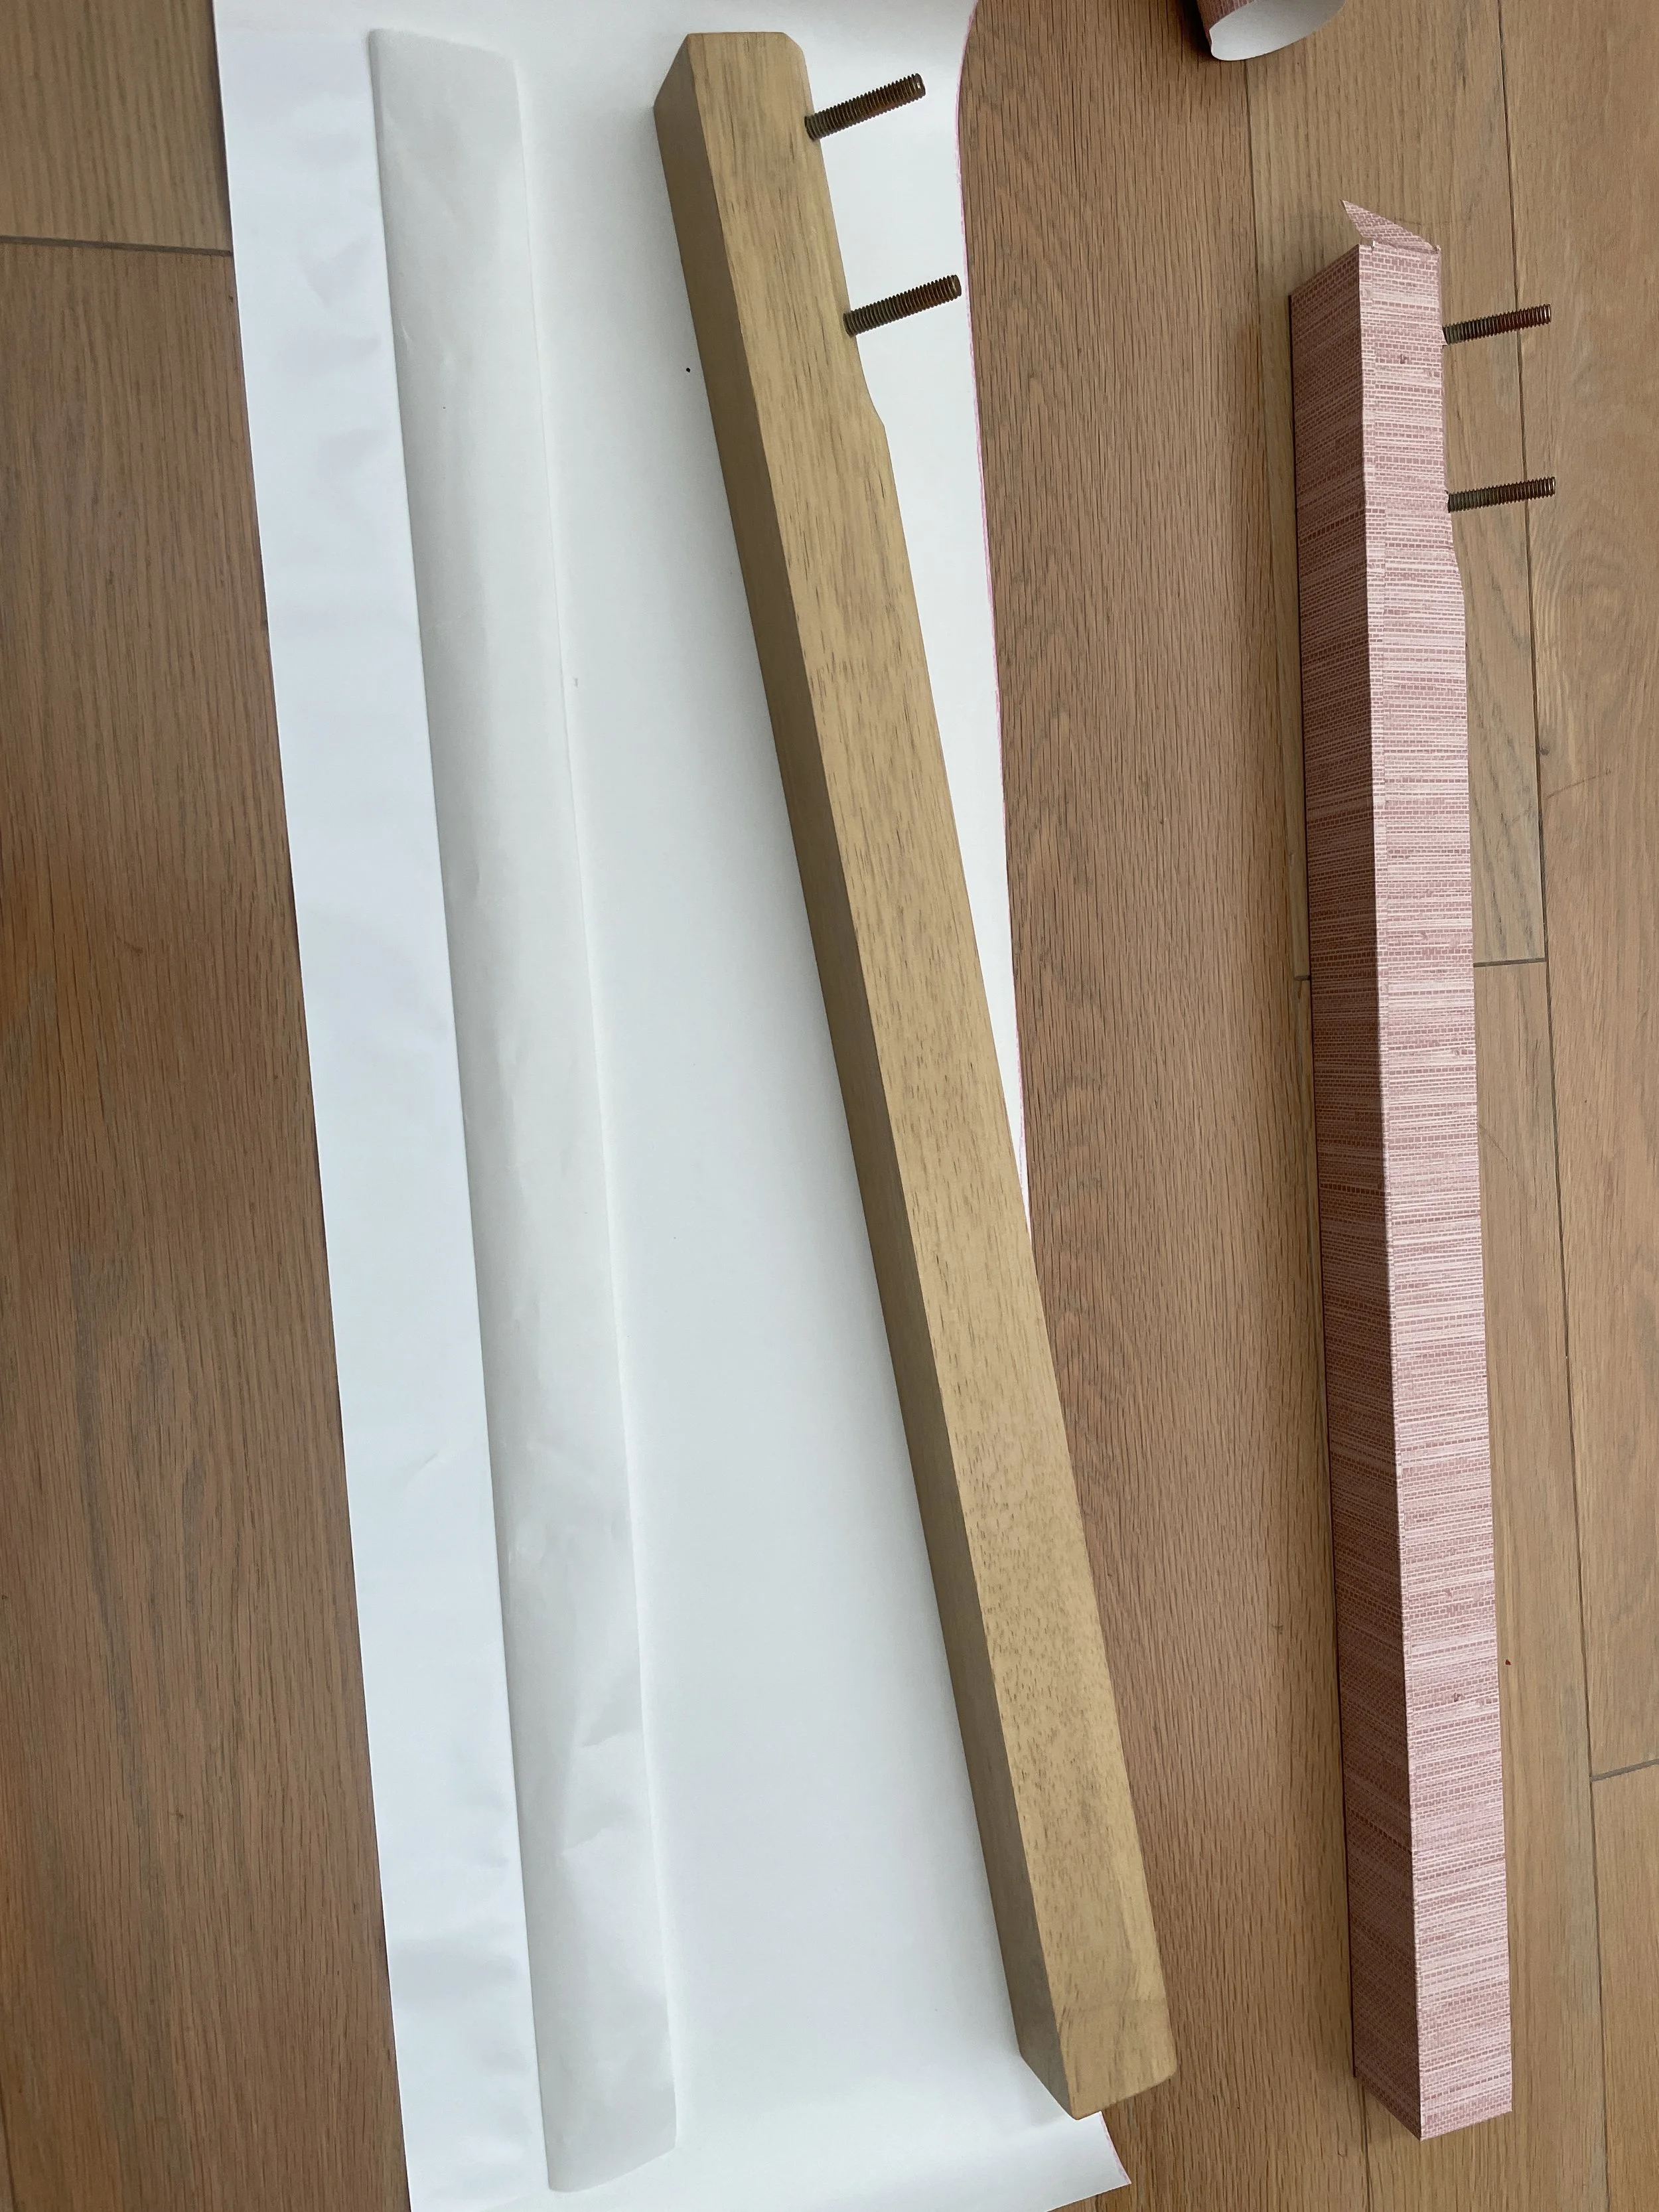
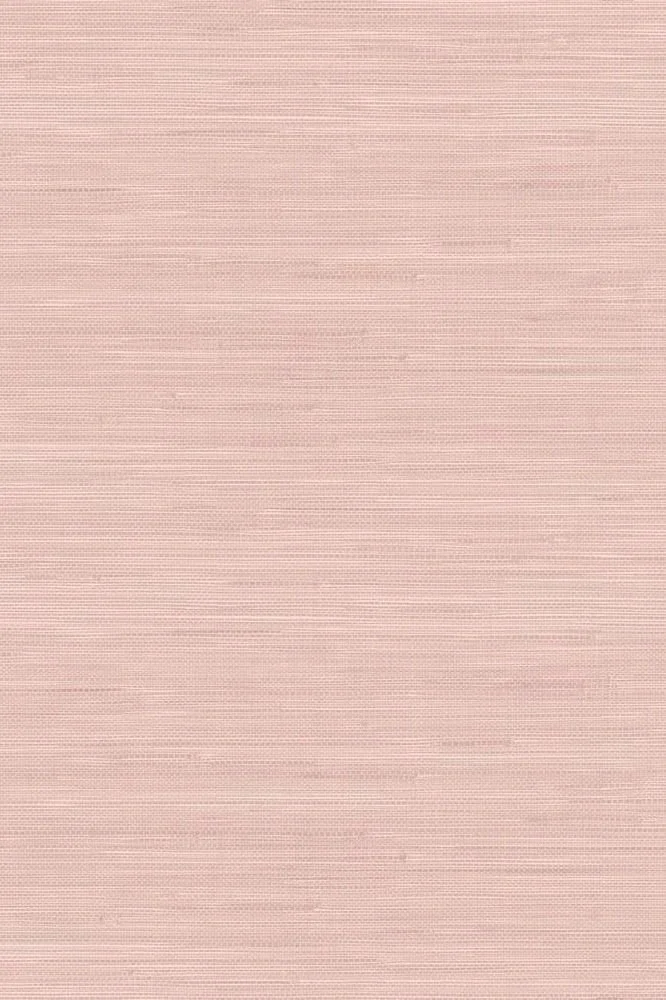
Desk, peel-and-stick wallpaper, X-acto knife, wallpaper smoother, and wallpaper roller.
3/ Start with the legs.
Cut a piece of wallpaper large enough to wrap around one leg.
4/ Line it up.
Use the factory edge of the wallpaper to align with the edge of the leg. Wrap it around to create a crease where the paper meets—but don’t remove the backing yet.
Cut a piece of wallpaper large enough to wrap around the leg.
Peel back one section of paper at a time. Work slowly. Smooth firmly.
5/ Work one section at a time.
Peel back only the portion of backing you’re working with. Gradually revealing the adhesive makes the wallpaper much easier to control.
6/ Apply with intention.
Align the edge carefully, then smooth down firmly to eliminate air bubbles. Take your time—this is where precision pays off.
7/ Wrap, smooth, repeat.
Continue around the leg, smoothing as you go. The grasscloth pattern helps disguise the seam for a clean finish.
8/ Finish the top and bottom.
At the top, make small cuts to accommodate screws. At the bottom, remove the foot, fold the paper as you would when wrapping a gift, then trim a small opening to reattach the foot.
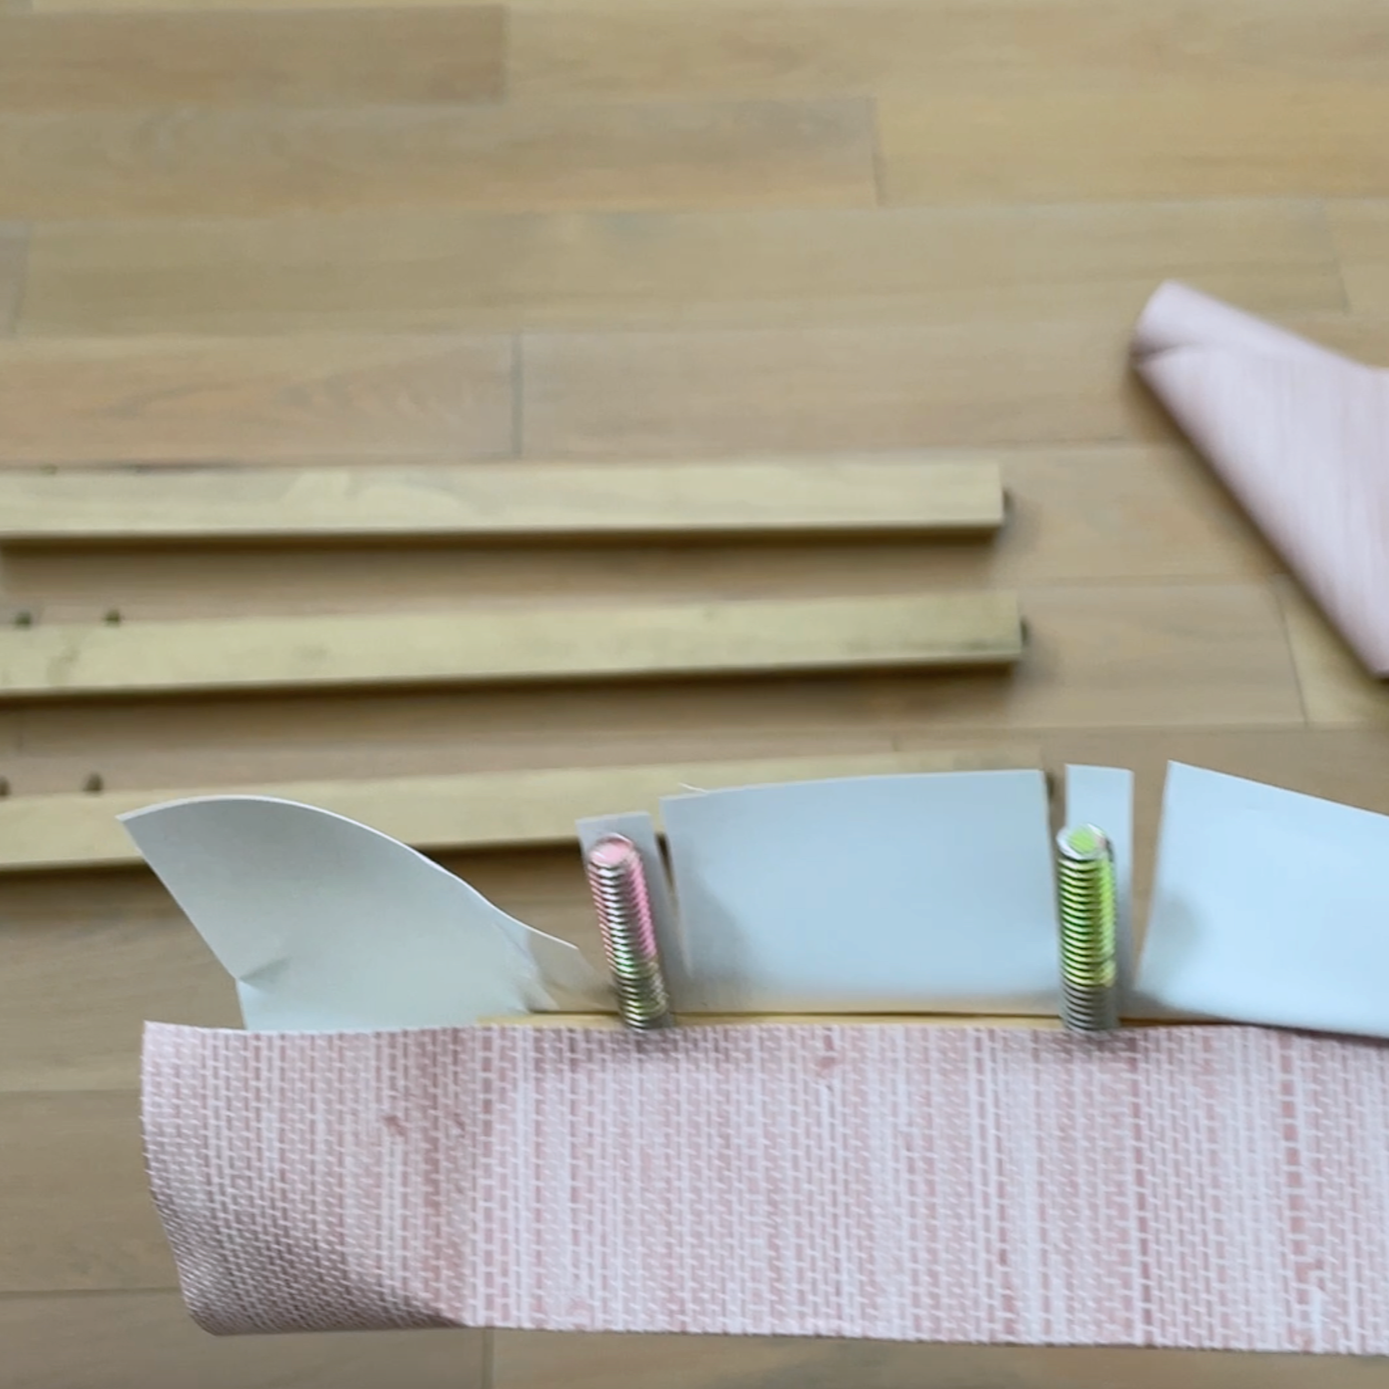
Make small cuts to accommodate screws.
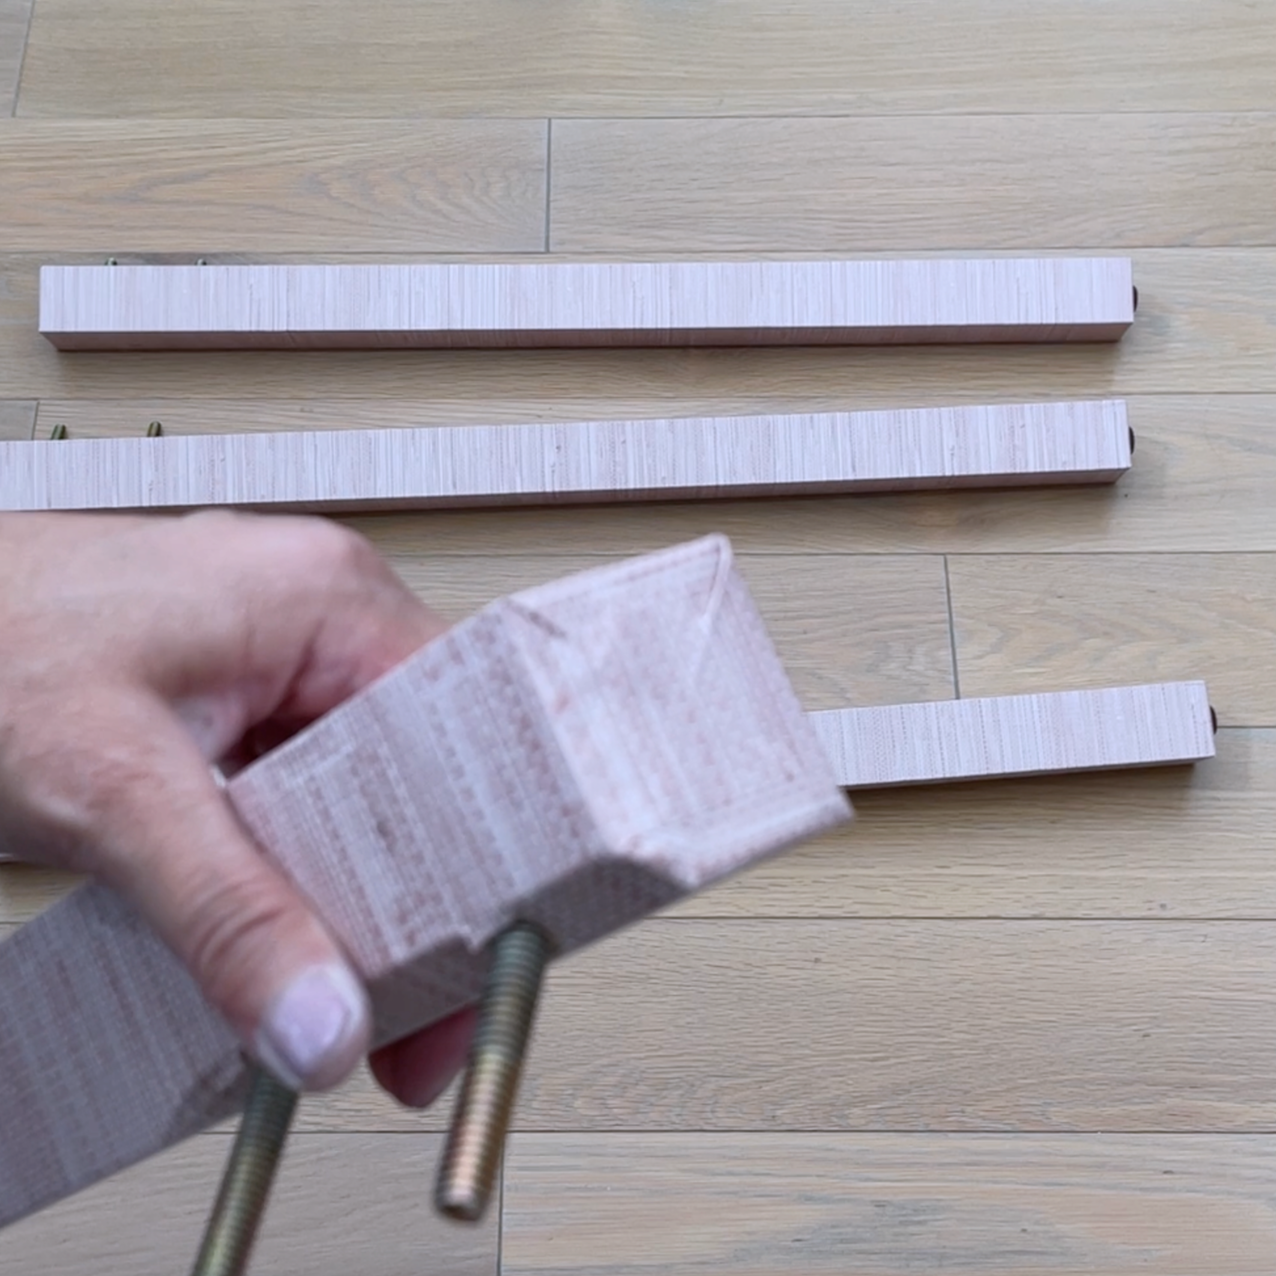
Wrap the ends like you would a gift.
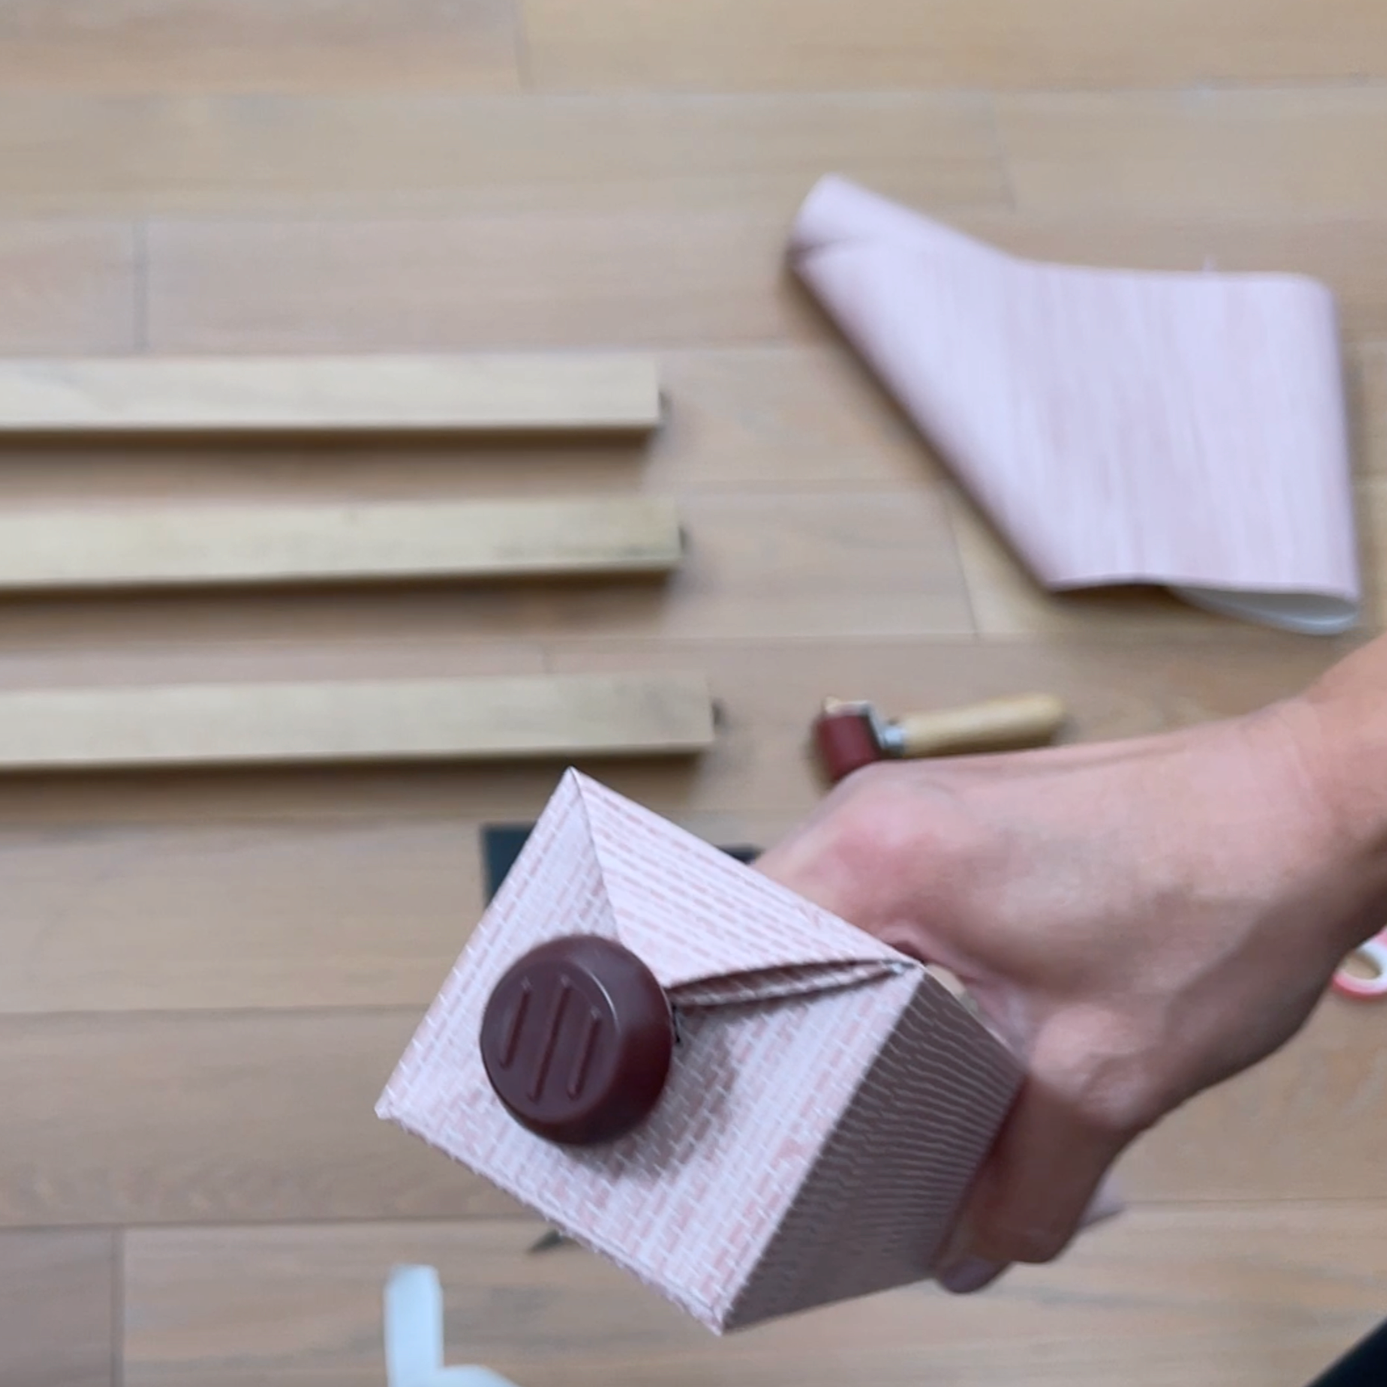
Cut a small hole to reattach the foot.
9/ Repeat for remaining legs.
10/ Cover the curves.
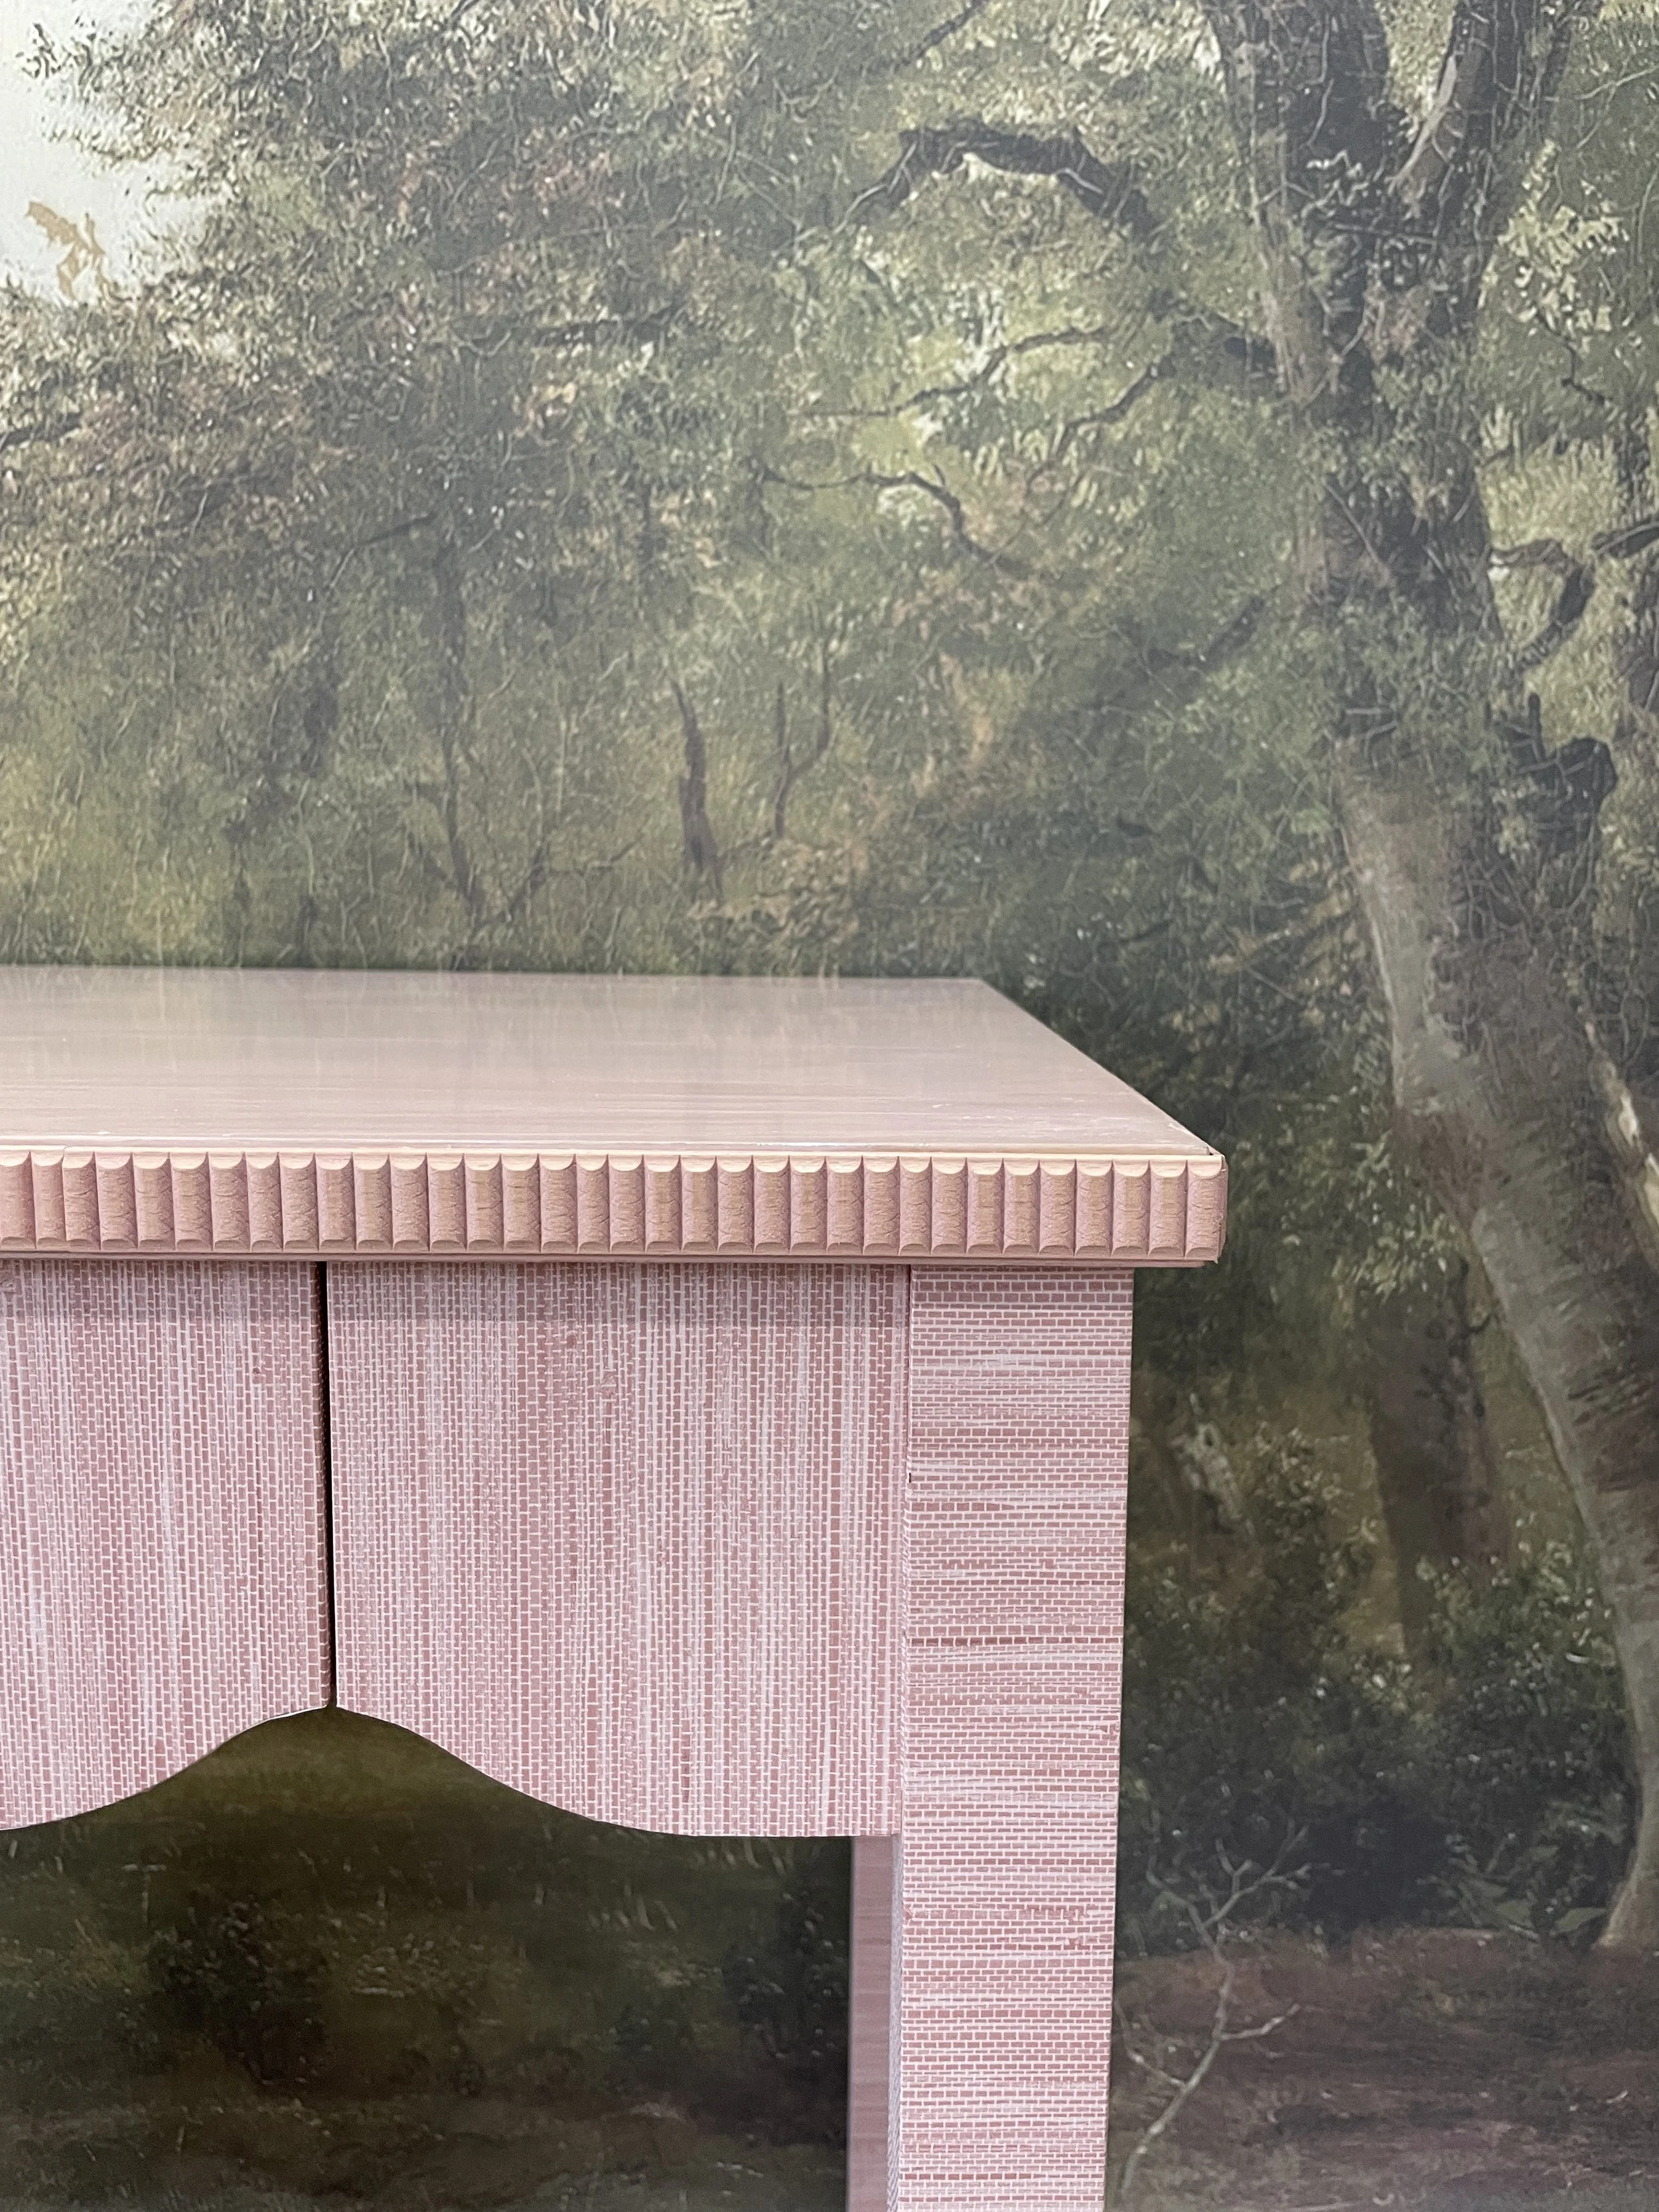
For the desk’s curved edge, cut narrow strips (“eyelashes”) about ⅓"–½" wide. Fold each strip over the edge, trimming excess as needed.
11/ Refine the edges.
Cut additional strips of wallpaper to cover the folded edges, creating a clean, finished look.
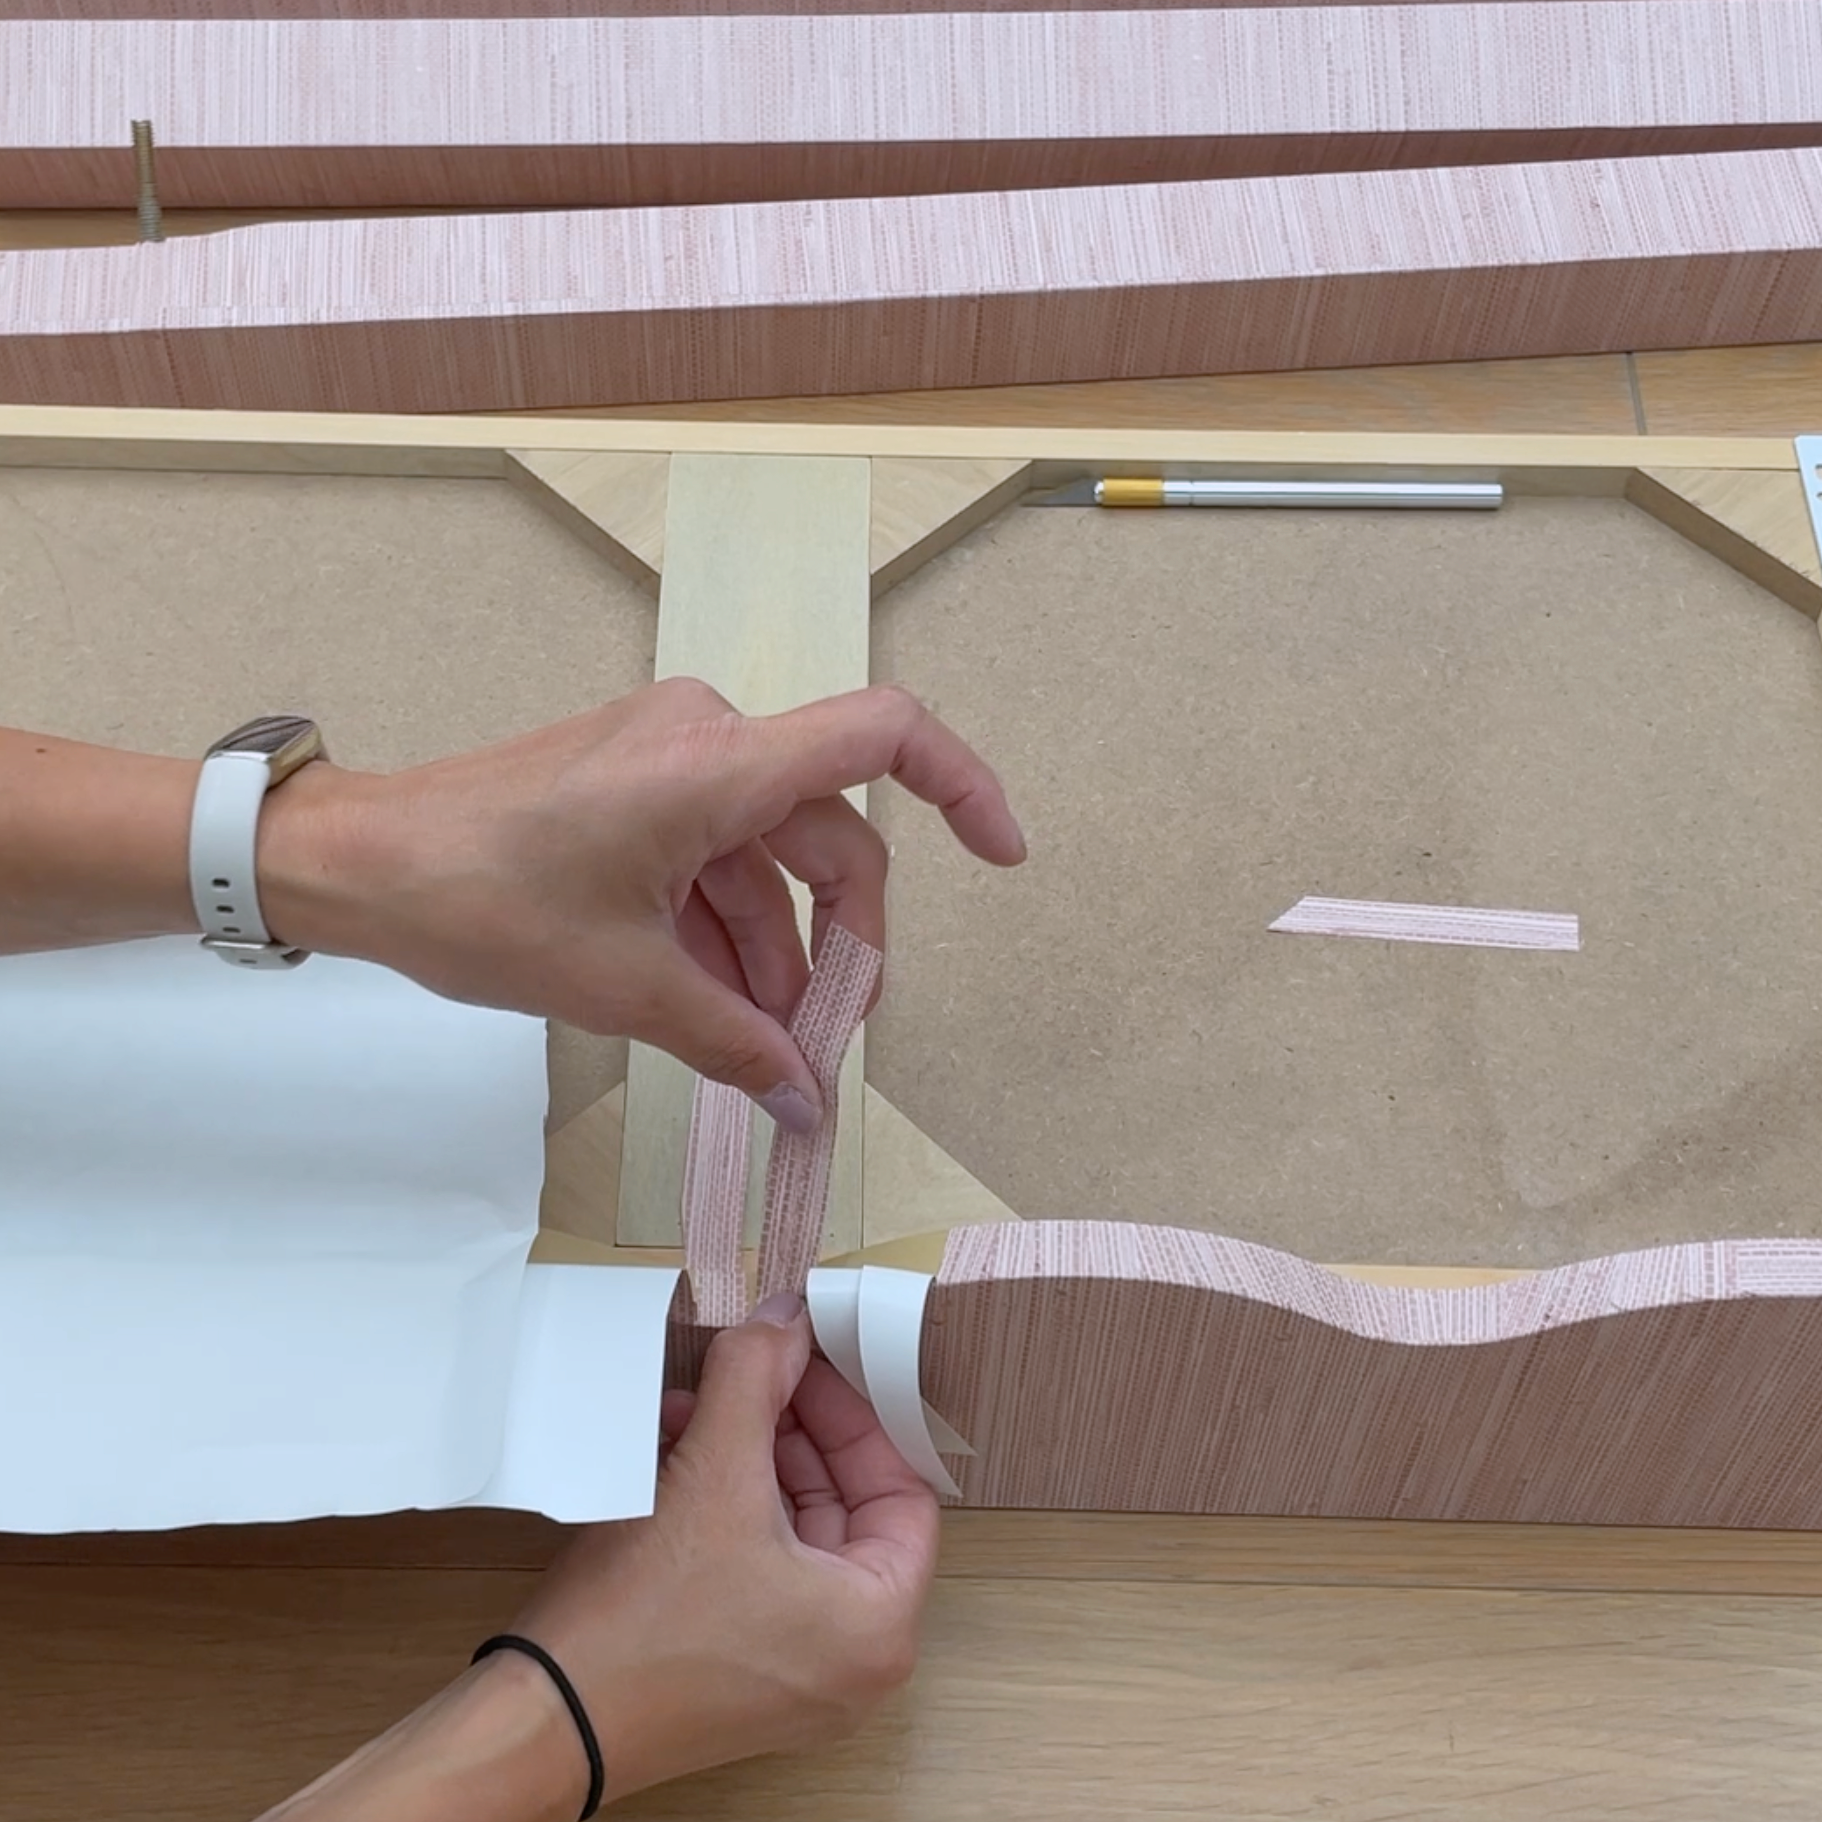
Create “eyelashes” to cover the curved profile.

Cut additional strips to cover the “eyelashes” for a finished look.
12/ Finish the desktop.
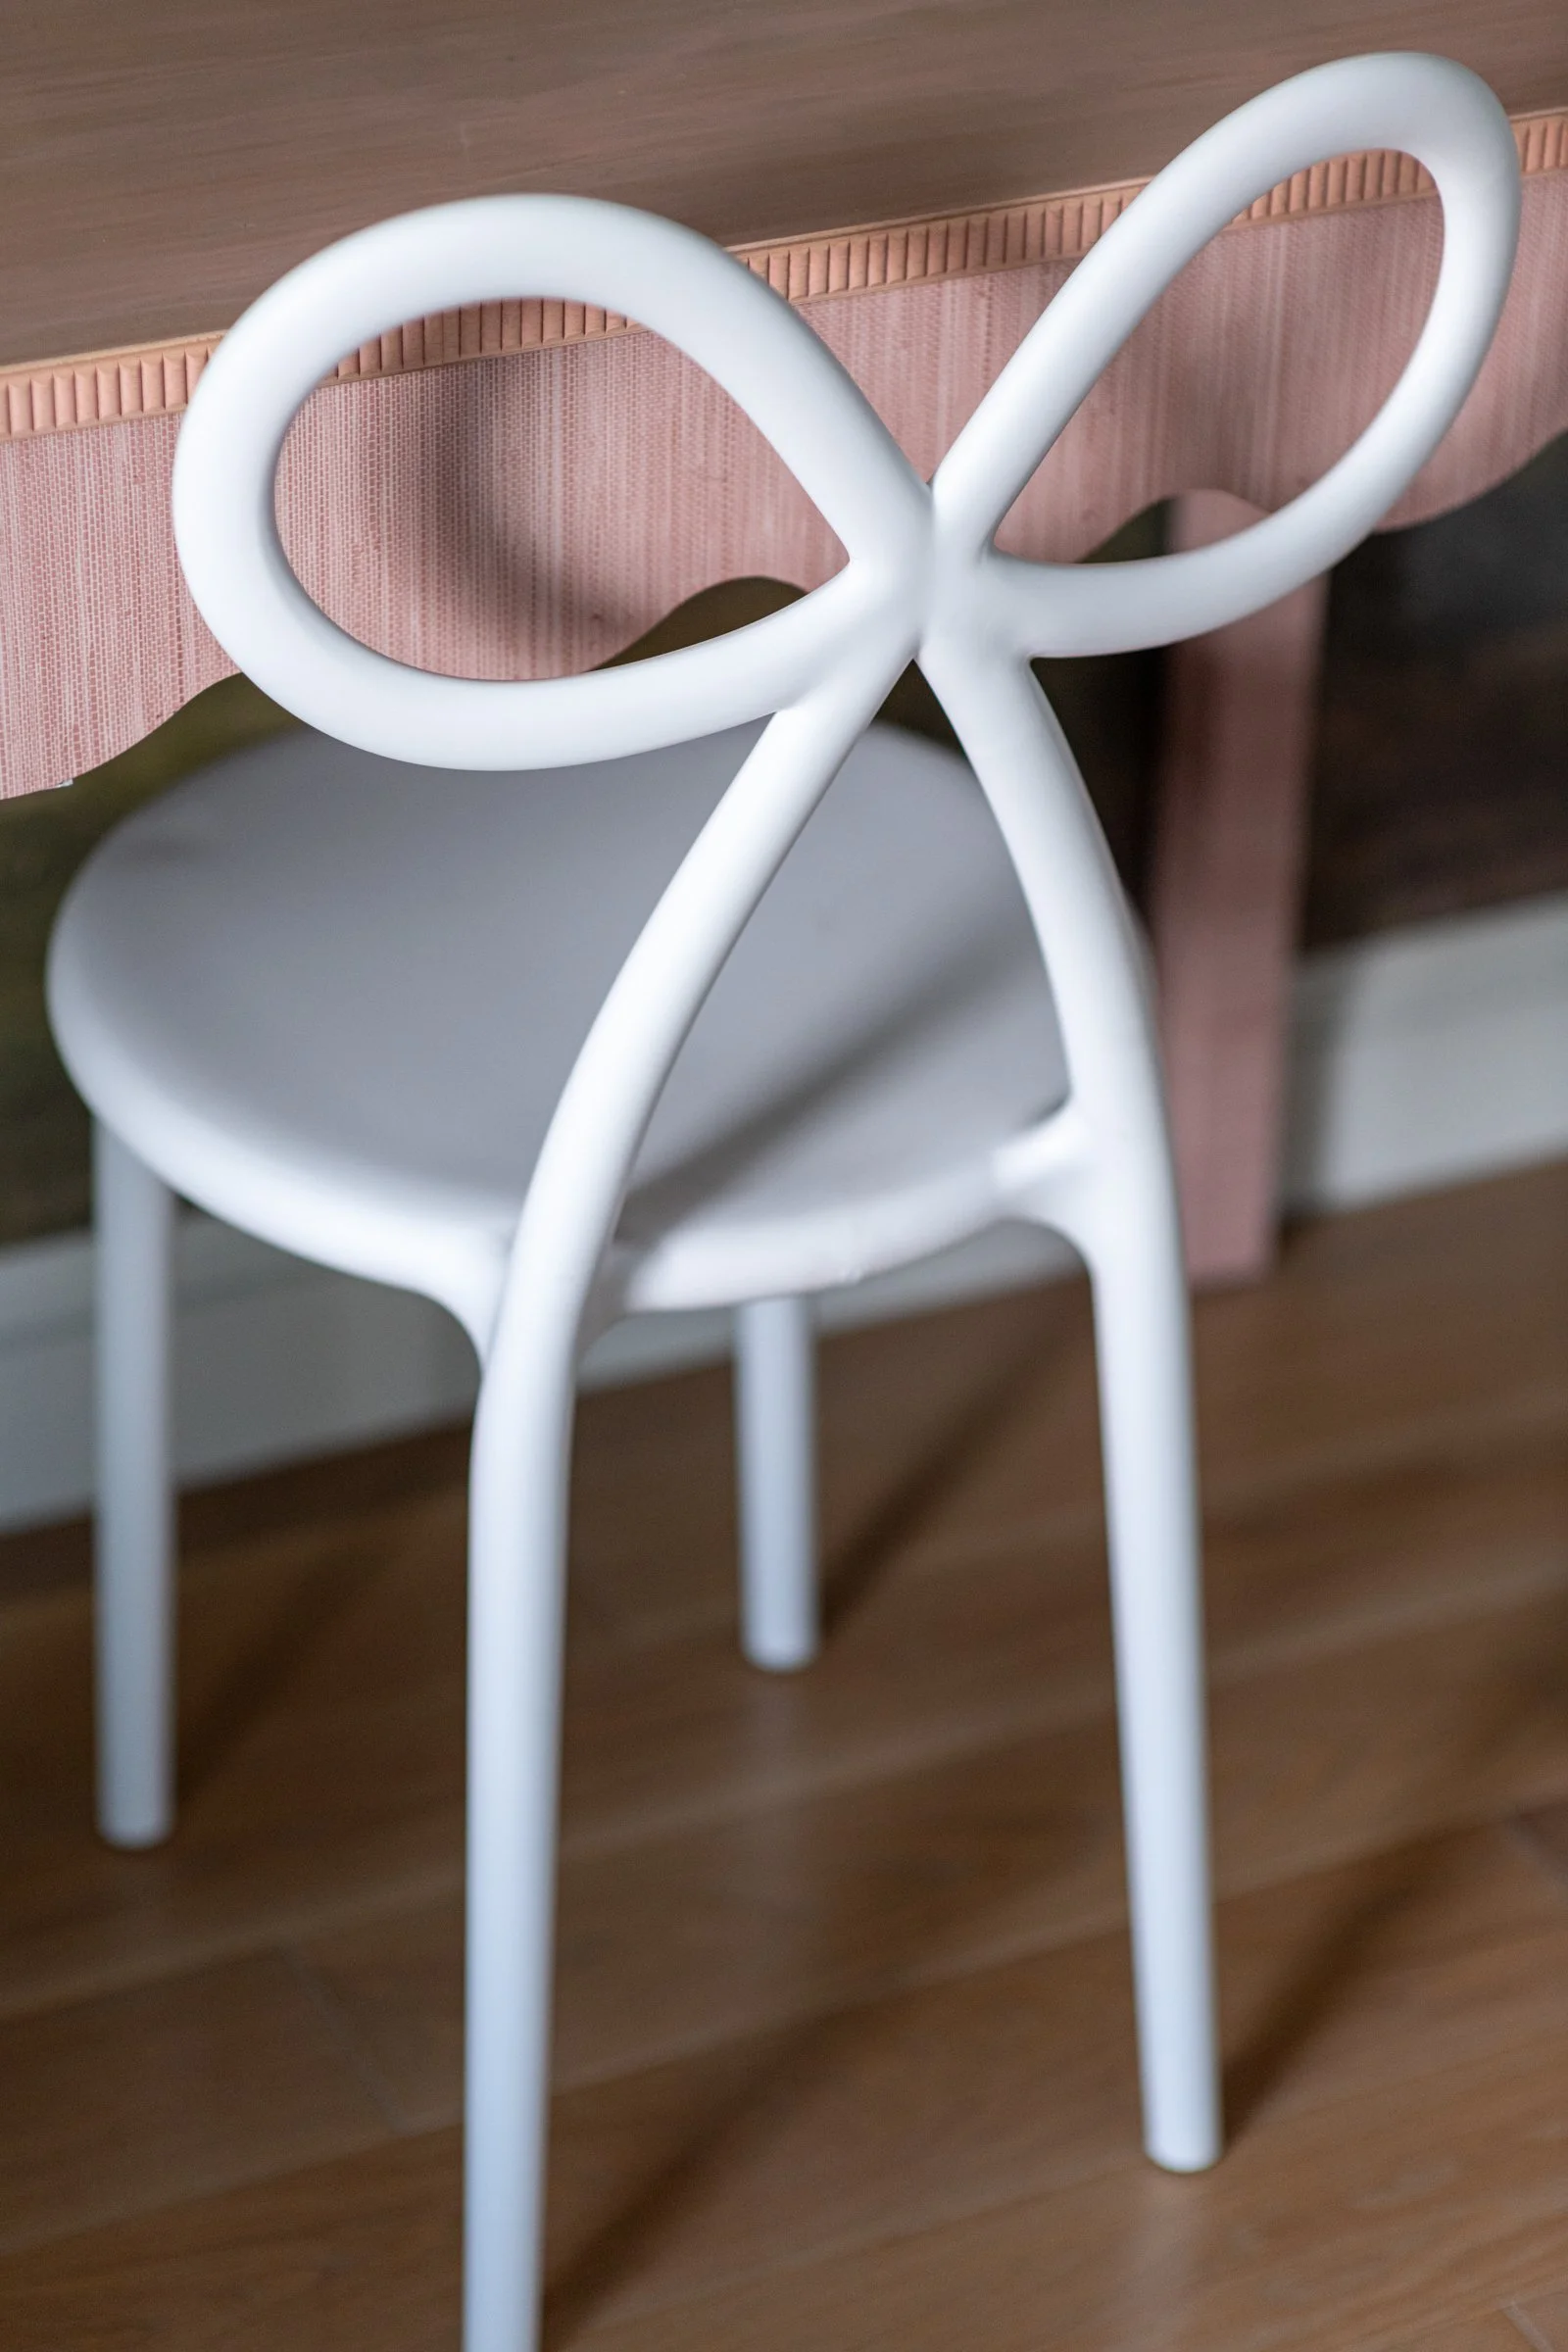
You can wrap the top as well, but I chose to stain it for contrast. I added fluted trim, stained to match, and attached it with construction adhesive for a more custom feel.
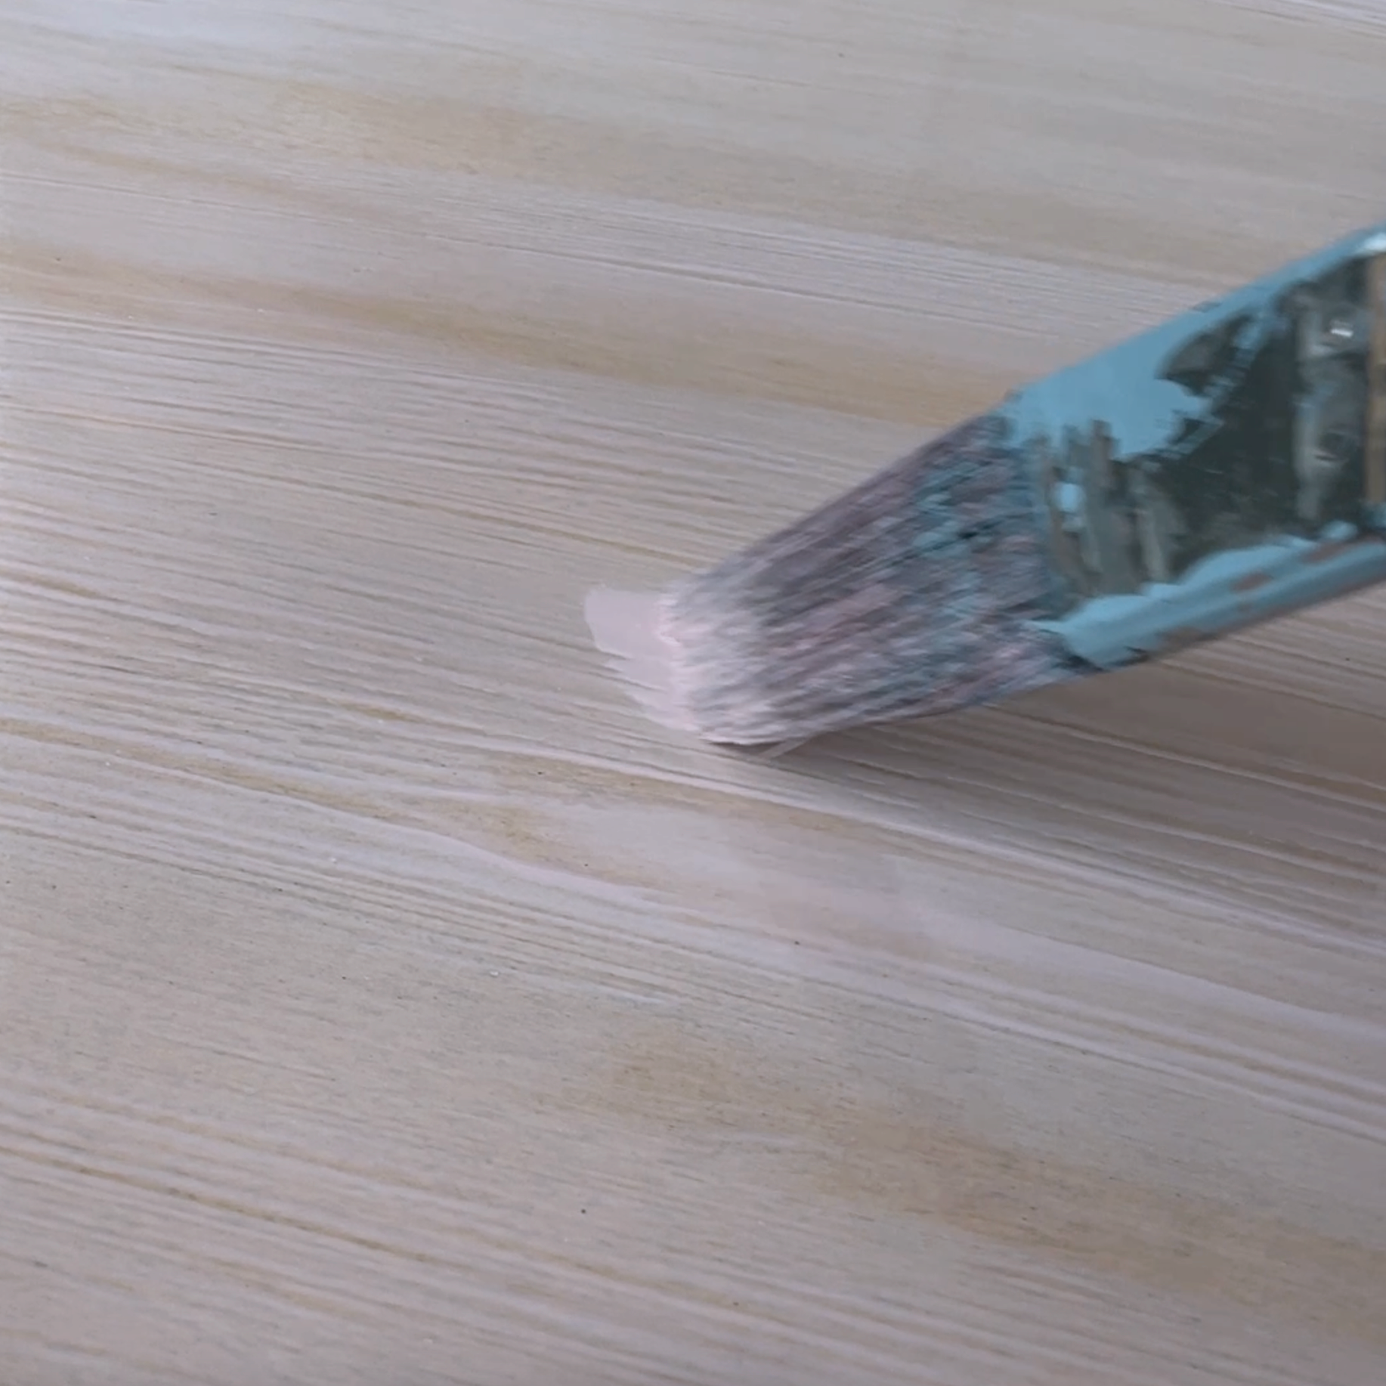
Desktop stained with Varathane in Rose.
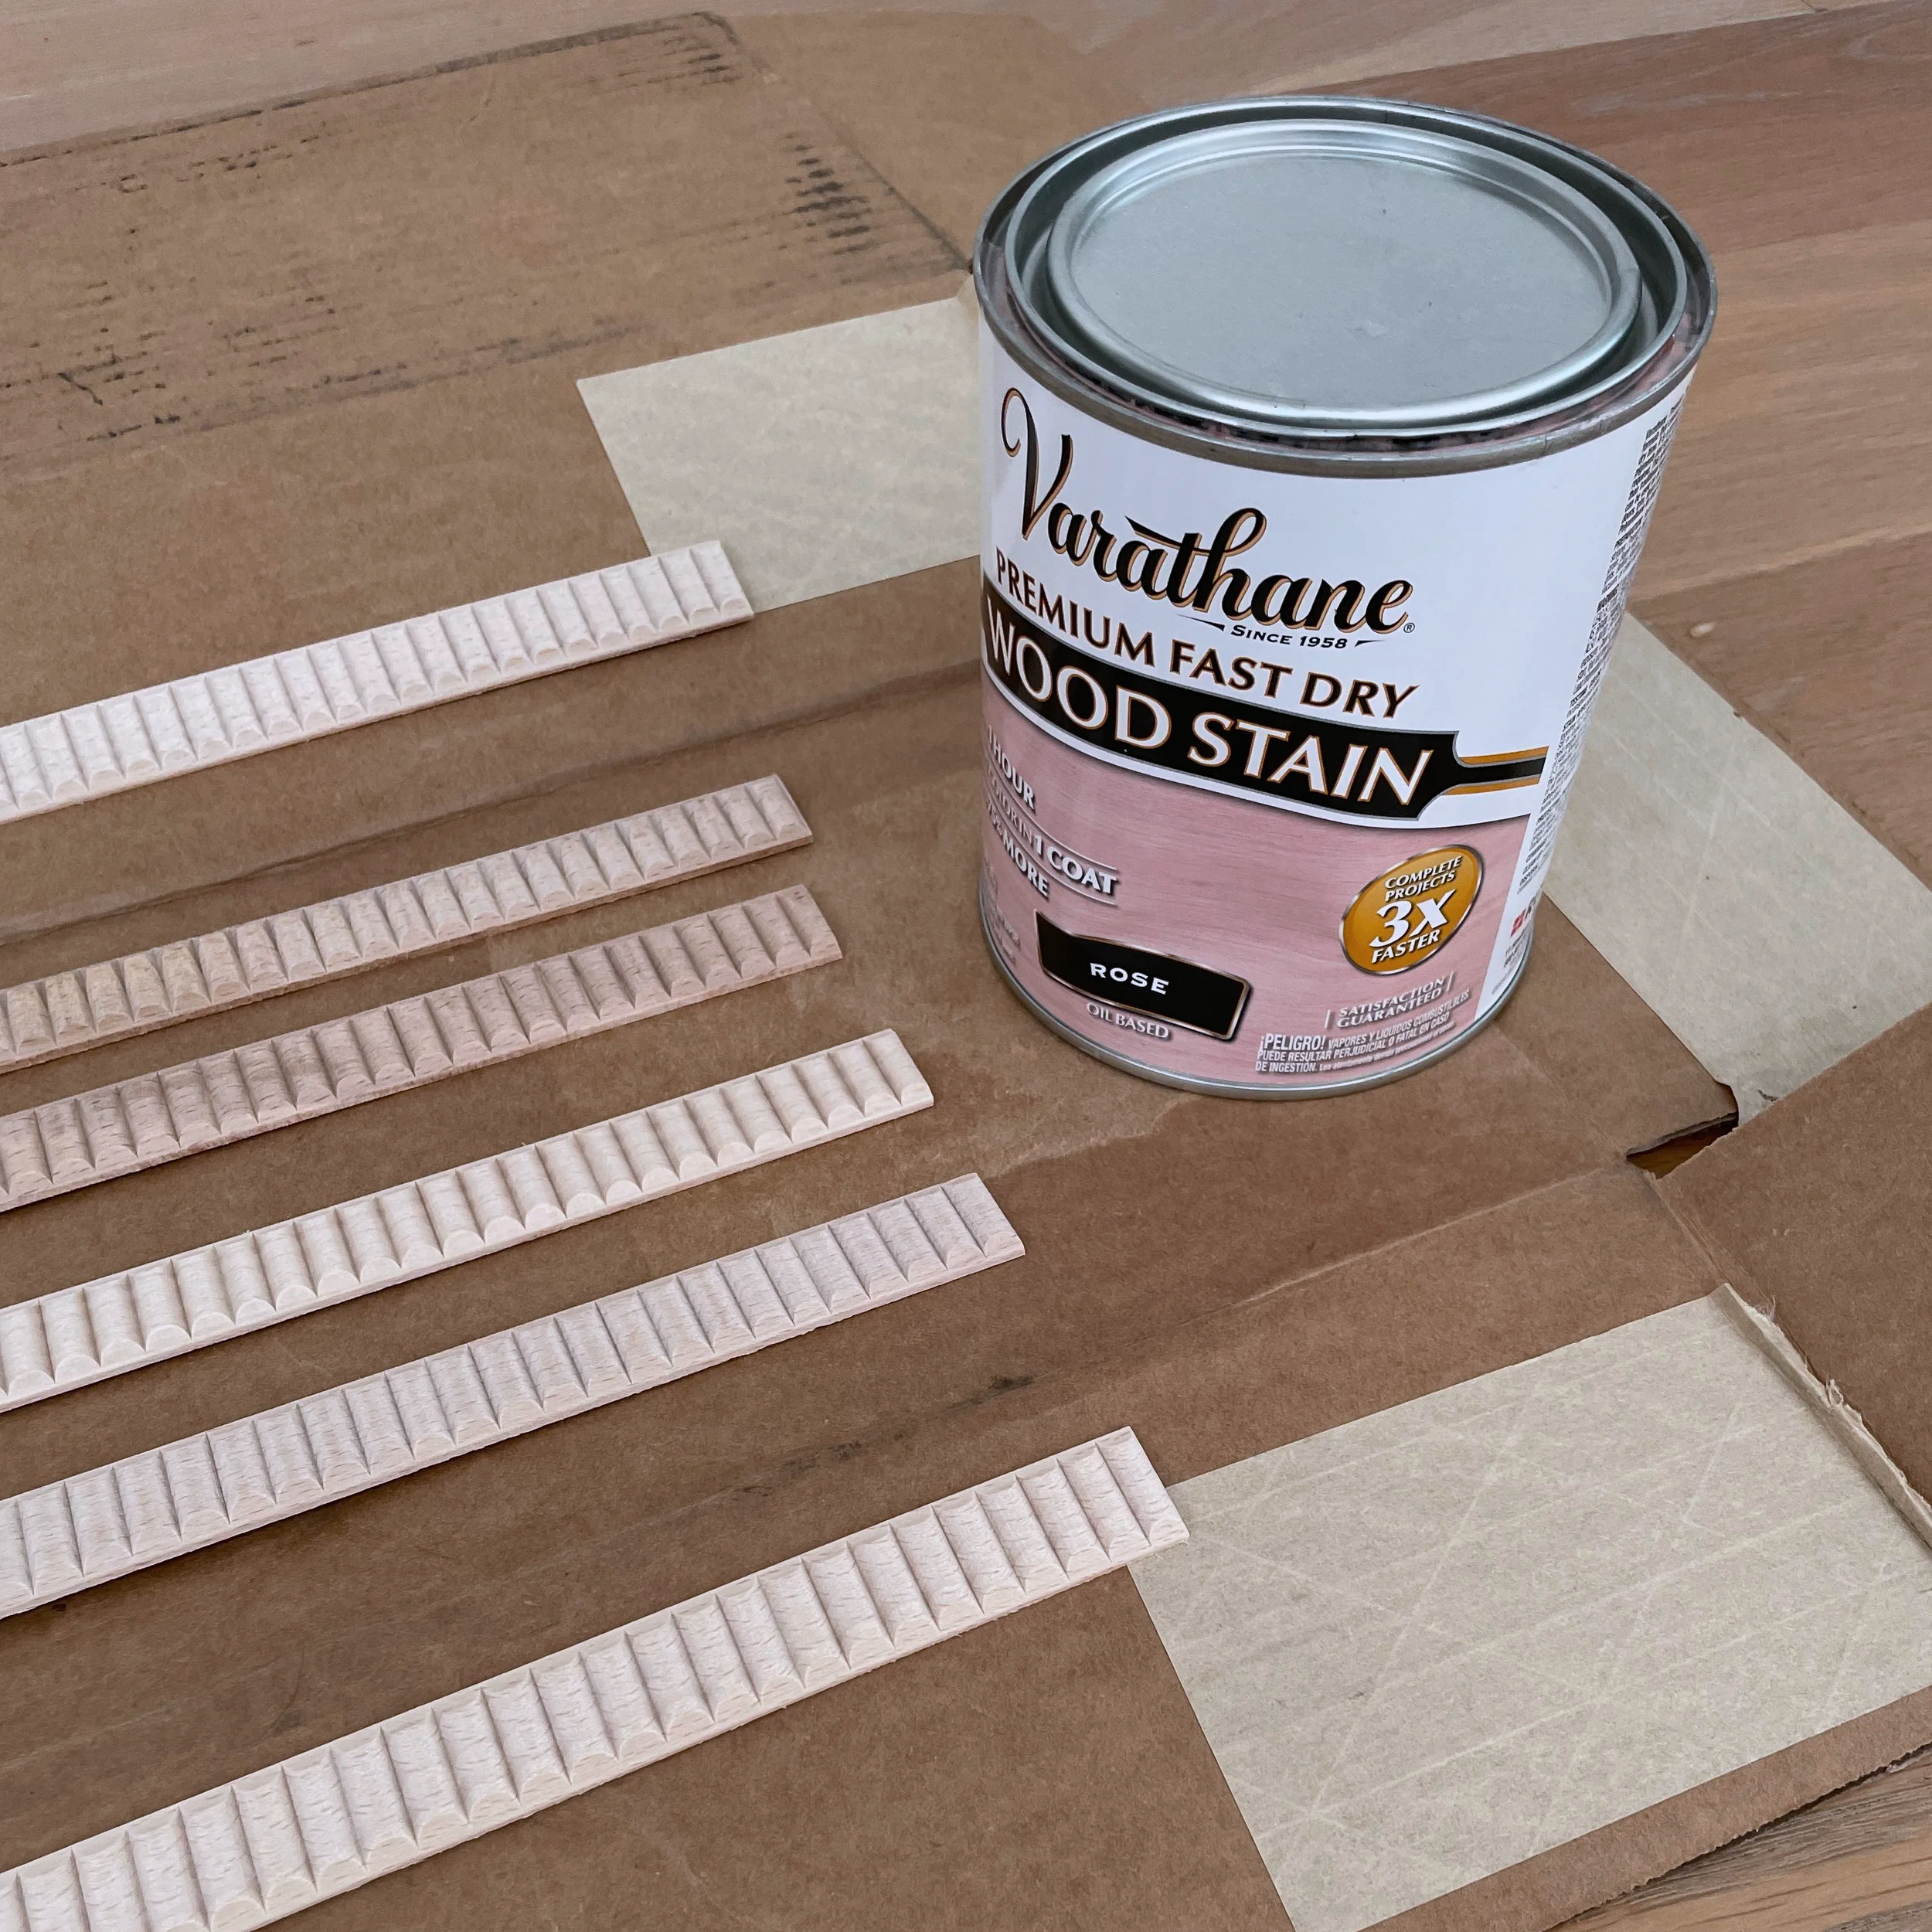
Fluted trim also stained with Varathane.
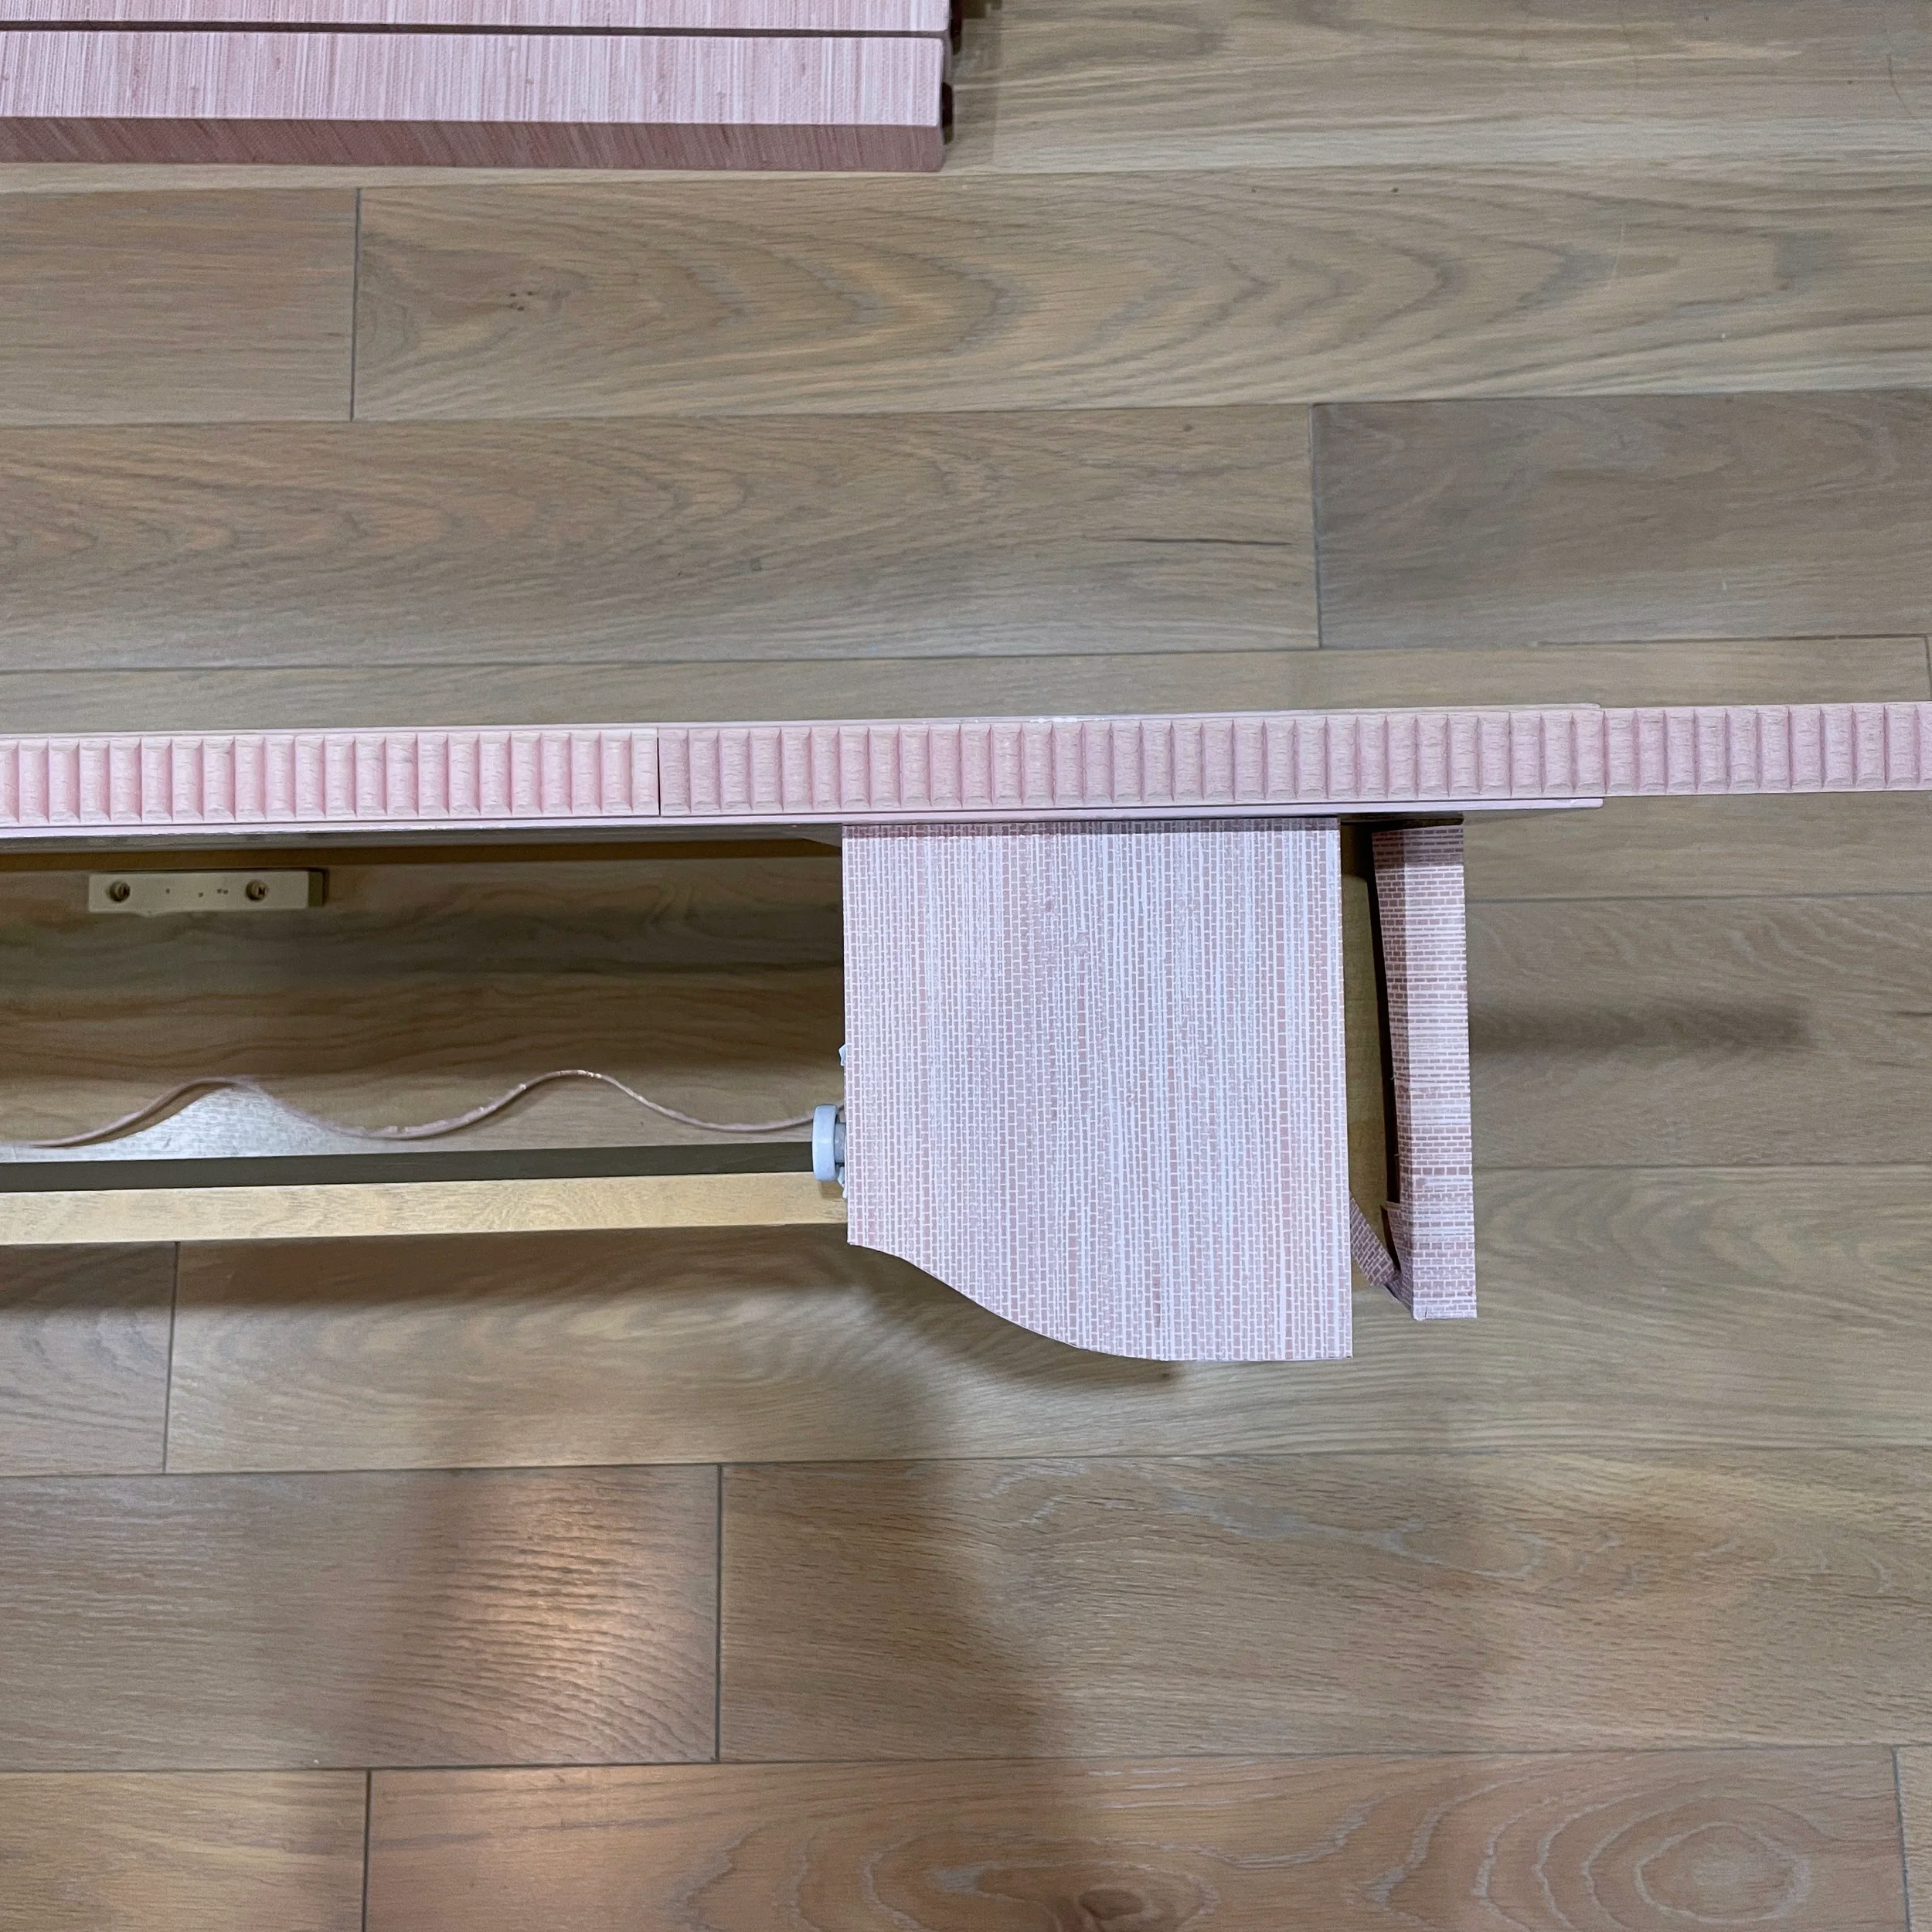
Grasscloth contrasts beautifully with trim.
FROM START
TO FINISH
View the full process on YouTube
The Result
The grasscloth wallpaper introduces warmth and texture, elevating the desk’s simple silhouette. The scalloped detail, already charming, feels more intentional with the added materiality. Paired with the stained top and fluted trim, the contrast creates a layered, custom look.
A small project—but one that proves thoughtful details can transform something simple into a true statement piece.
Resources


