DIY Fluted Shelves
These shelves came together as a way to add storage without overwhelming a small footprint. The goal was simple: keep the profile light, the lines clean, and layer in just enough detail to make them feel considered.
This post contains affiliate links. I may earn a commission on purchases made through these links, at no additional cost to you.
The Project
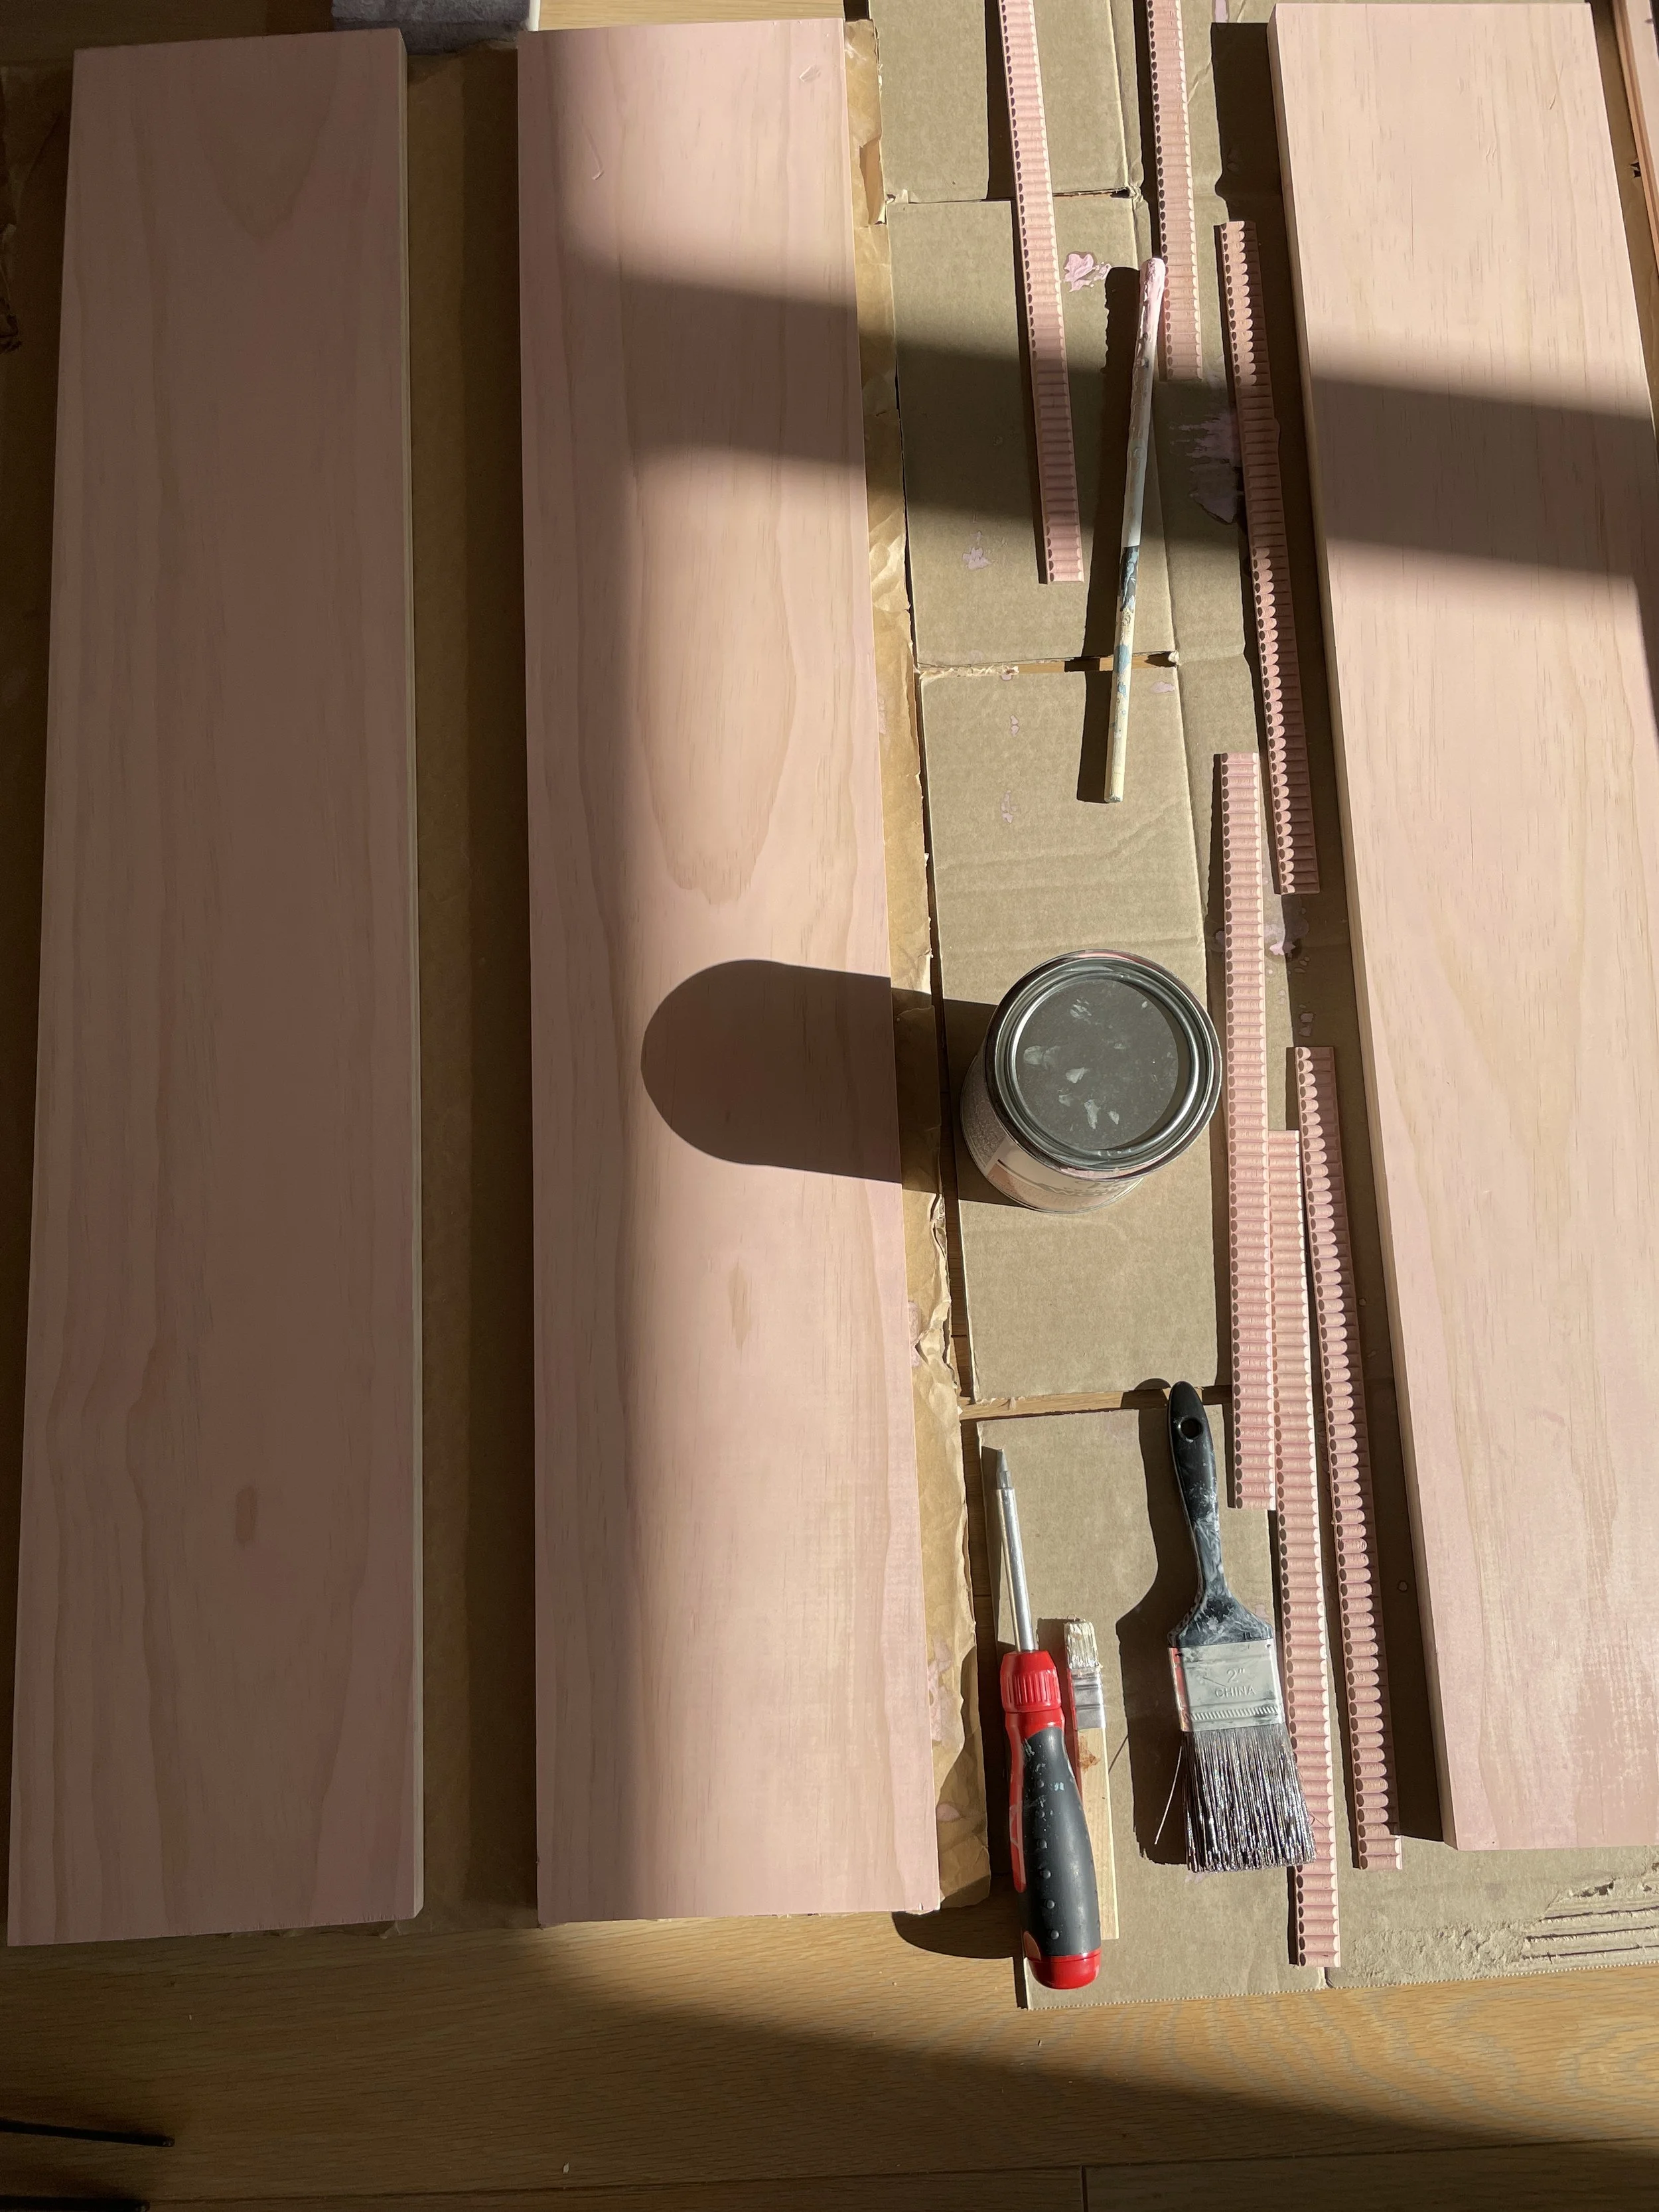
Select your wood. I used select pine boards, cut to the exact length of the desk so they would align visually. I chose an 8-inch depth—the room is small, and with shelving on both sides, I wanted to avoid making the space feel compressed.
Light sand. Even select boards benefit from a light sand to prep the surface for staining and ensure an even finish.
Apply stain. Use a disposable brush or rag—wood stain is notoriously difficult to clean. Work in even passes so the finish remains uniform. Depending on how deep you want the color, apply a second coat once the first has dried. I skipped a top coat to keep the finish matte and natural.
Add trim. The mini fluted wood trim is what elevates these shelves from basic to custom. I stained it to match and attached it to the edge of each shelf using construction adhesive.
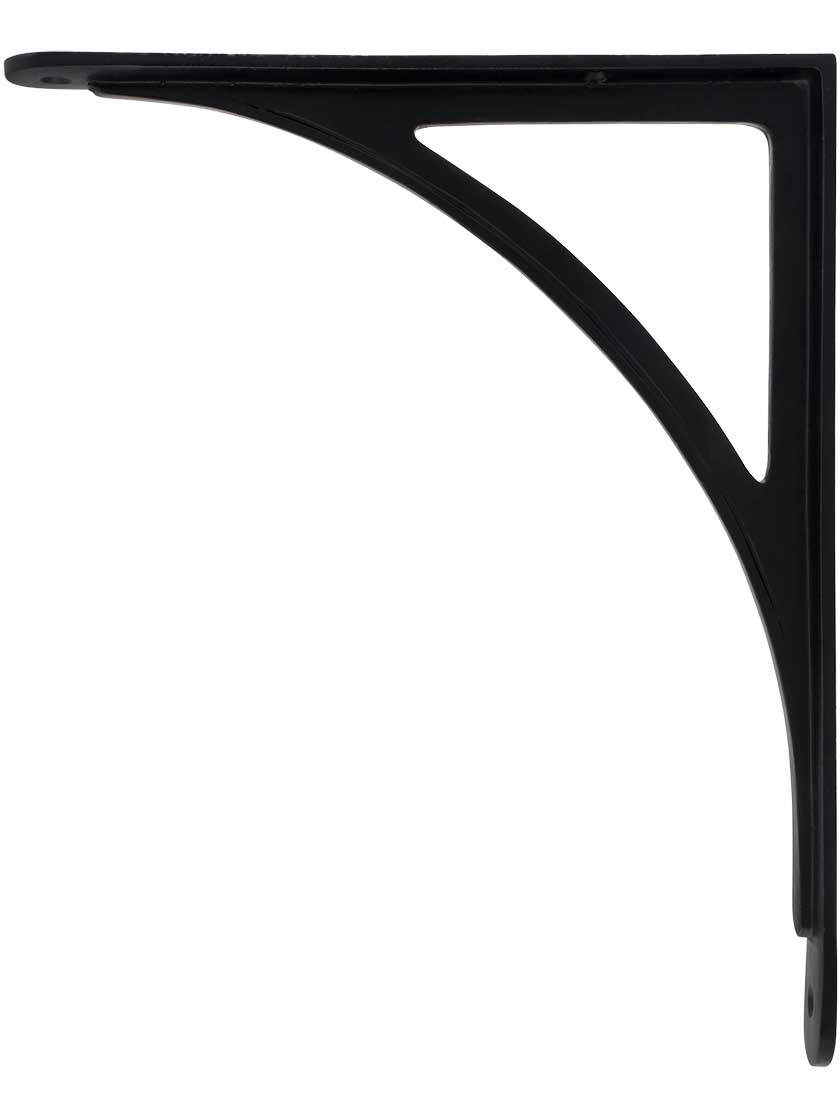
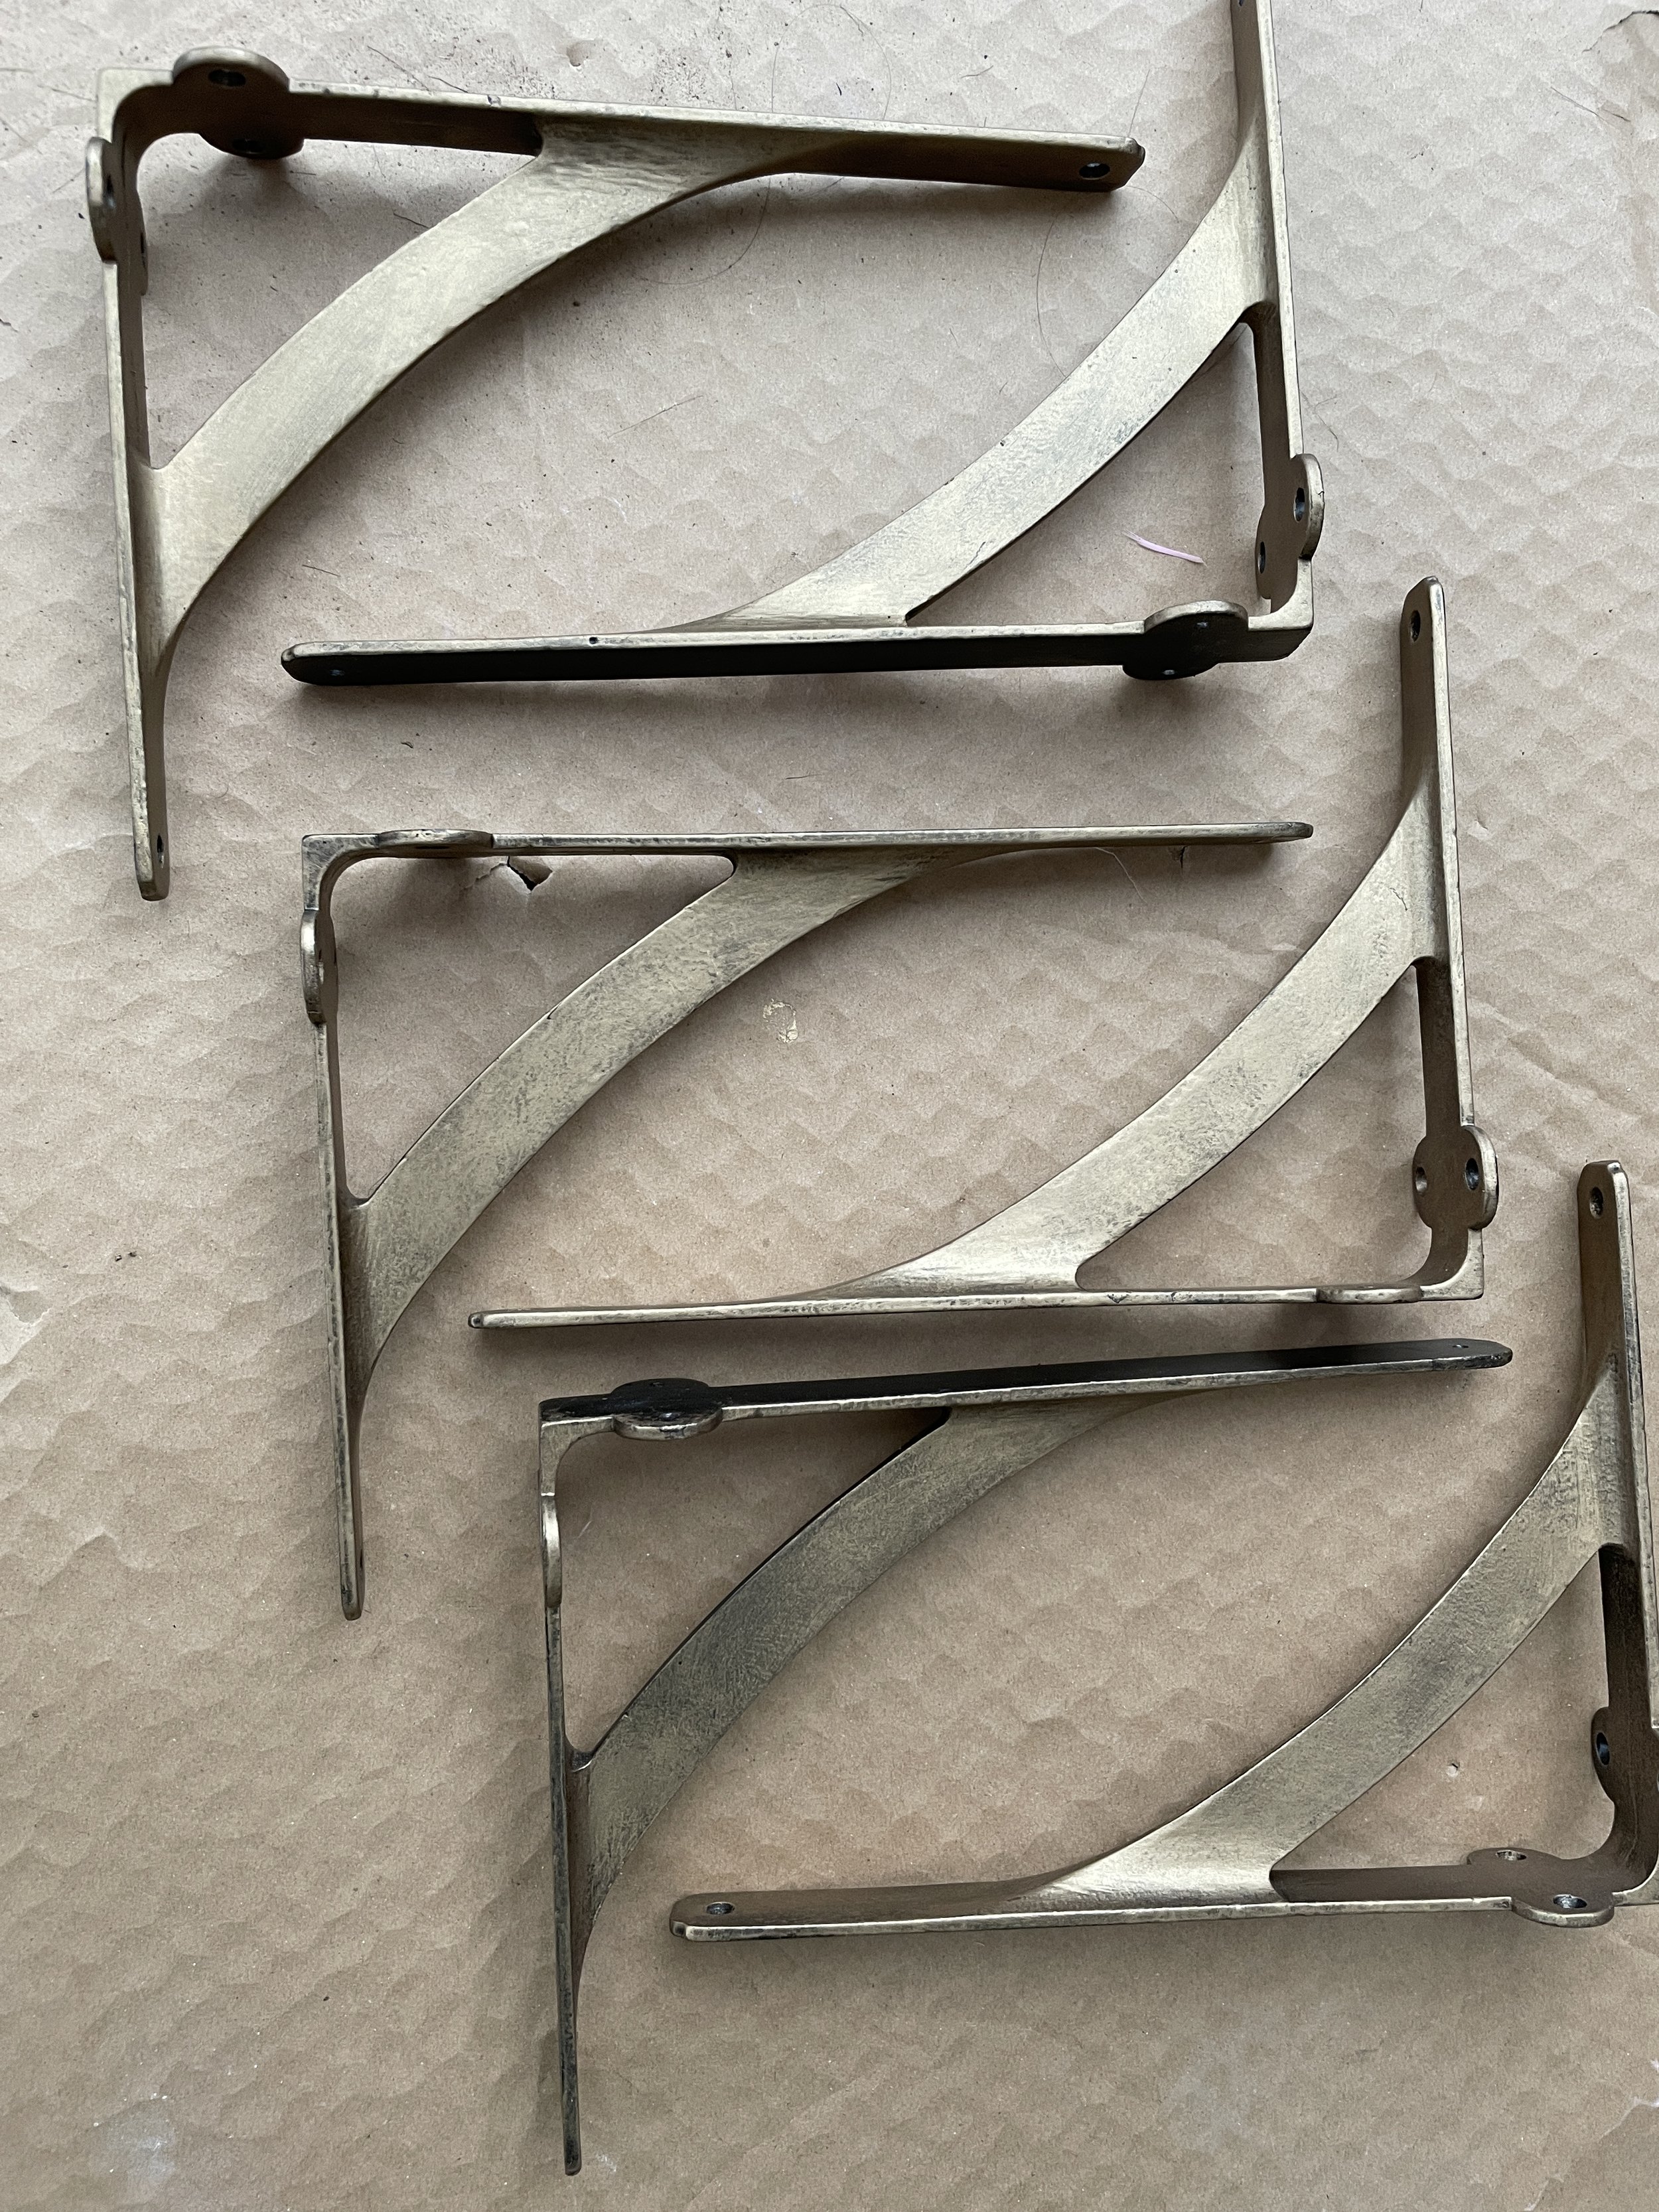
Customize shelf brackets. The black iron brackets were leftovers from a previous project. I used Rub 'n Buff to create a softened, vintage brass patina—the transformation was immediate and beautiful.
Secure to the wall. Allow ample drying time for all components before securing the shelves to the wall with appropriate anchors.
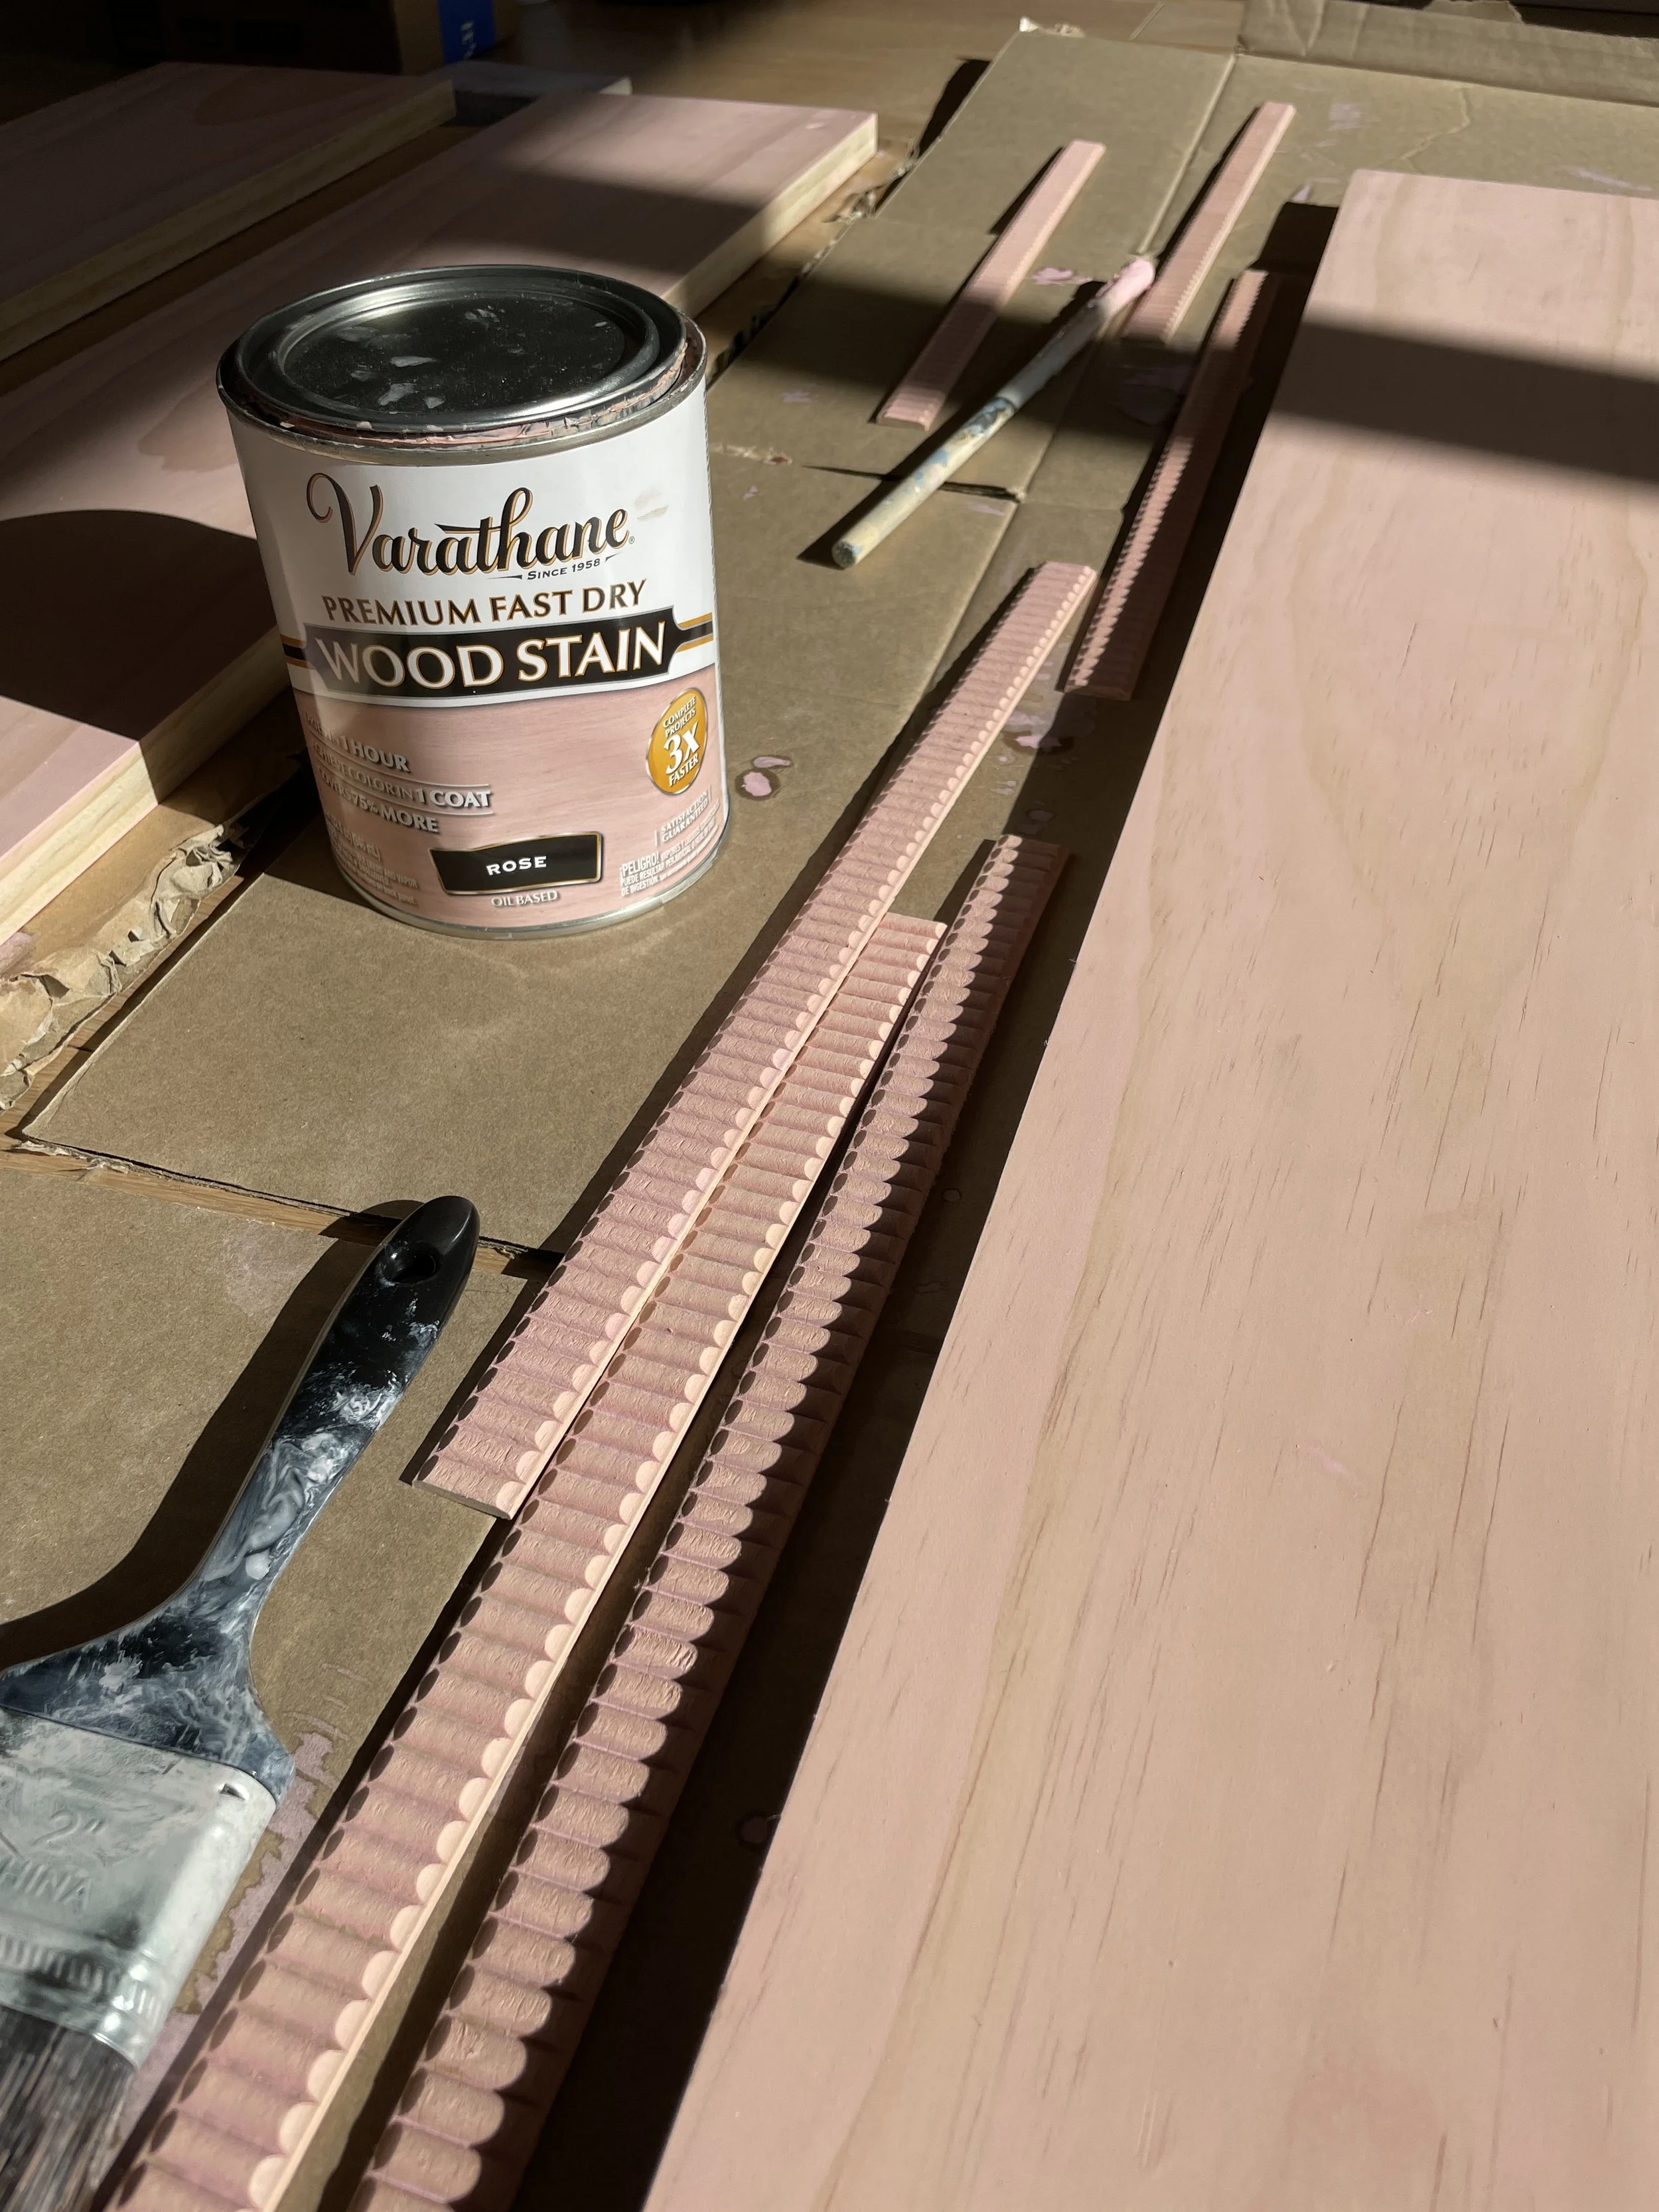
Varathane Wood Stain in Rose was the ideal blush pink.
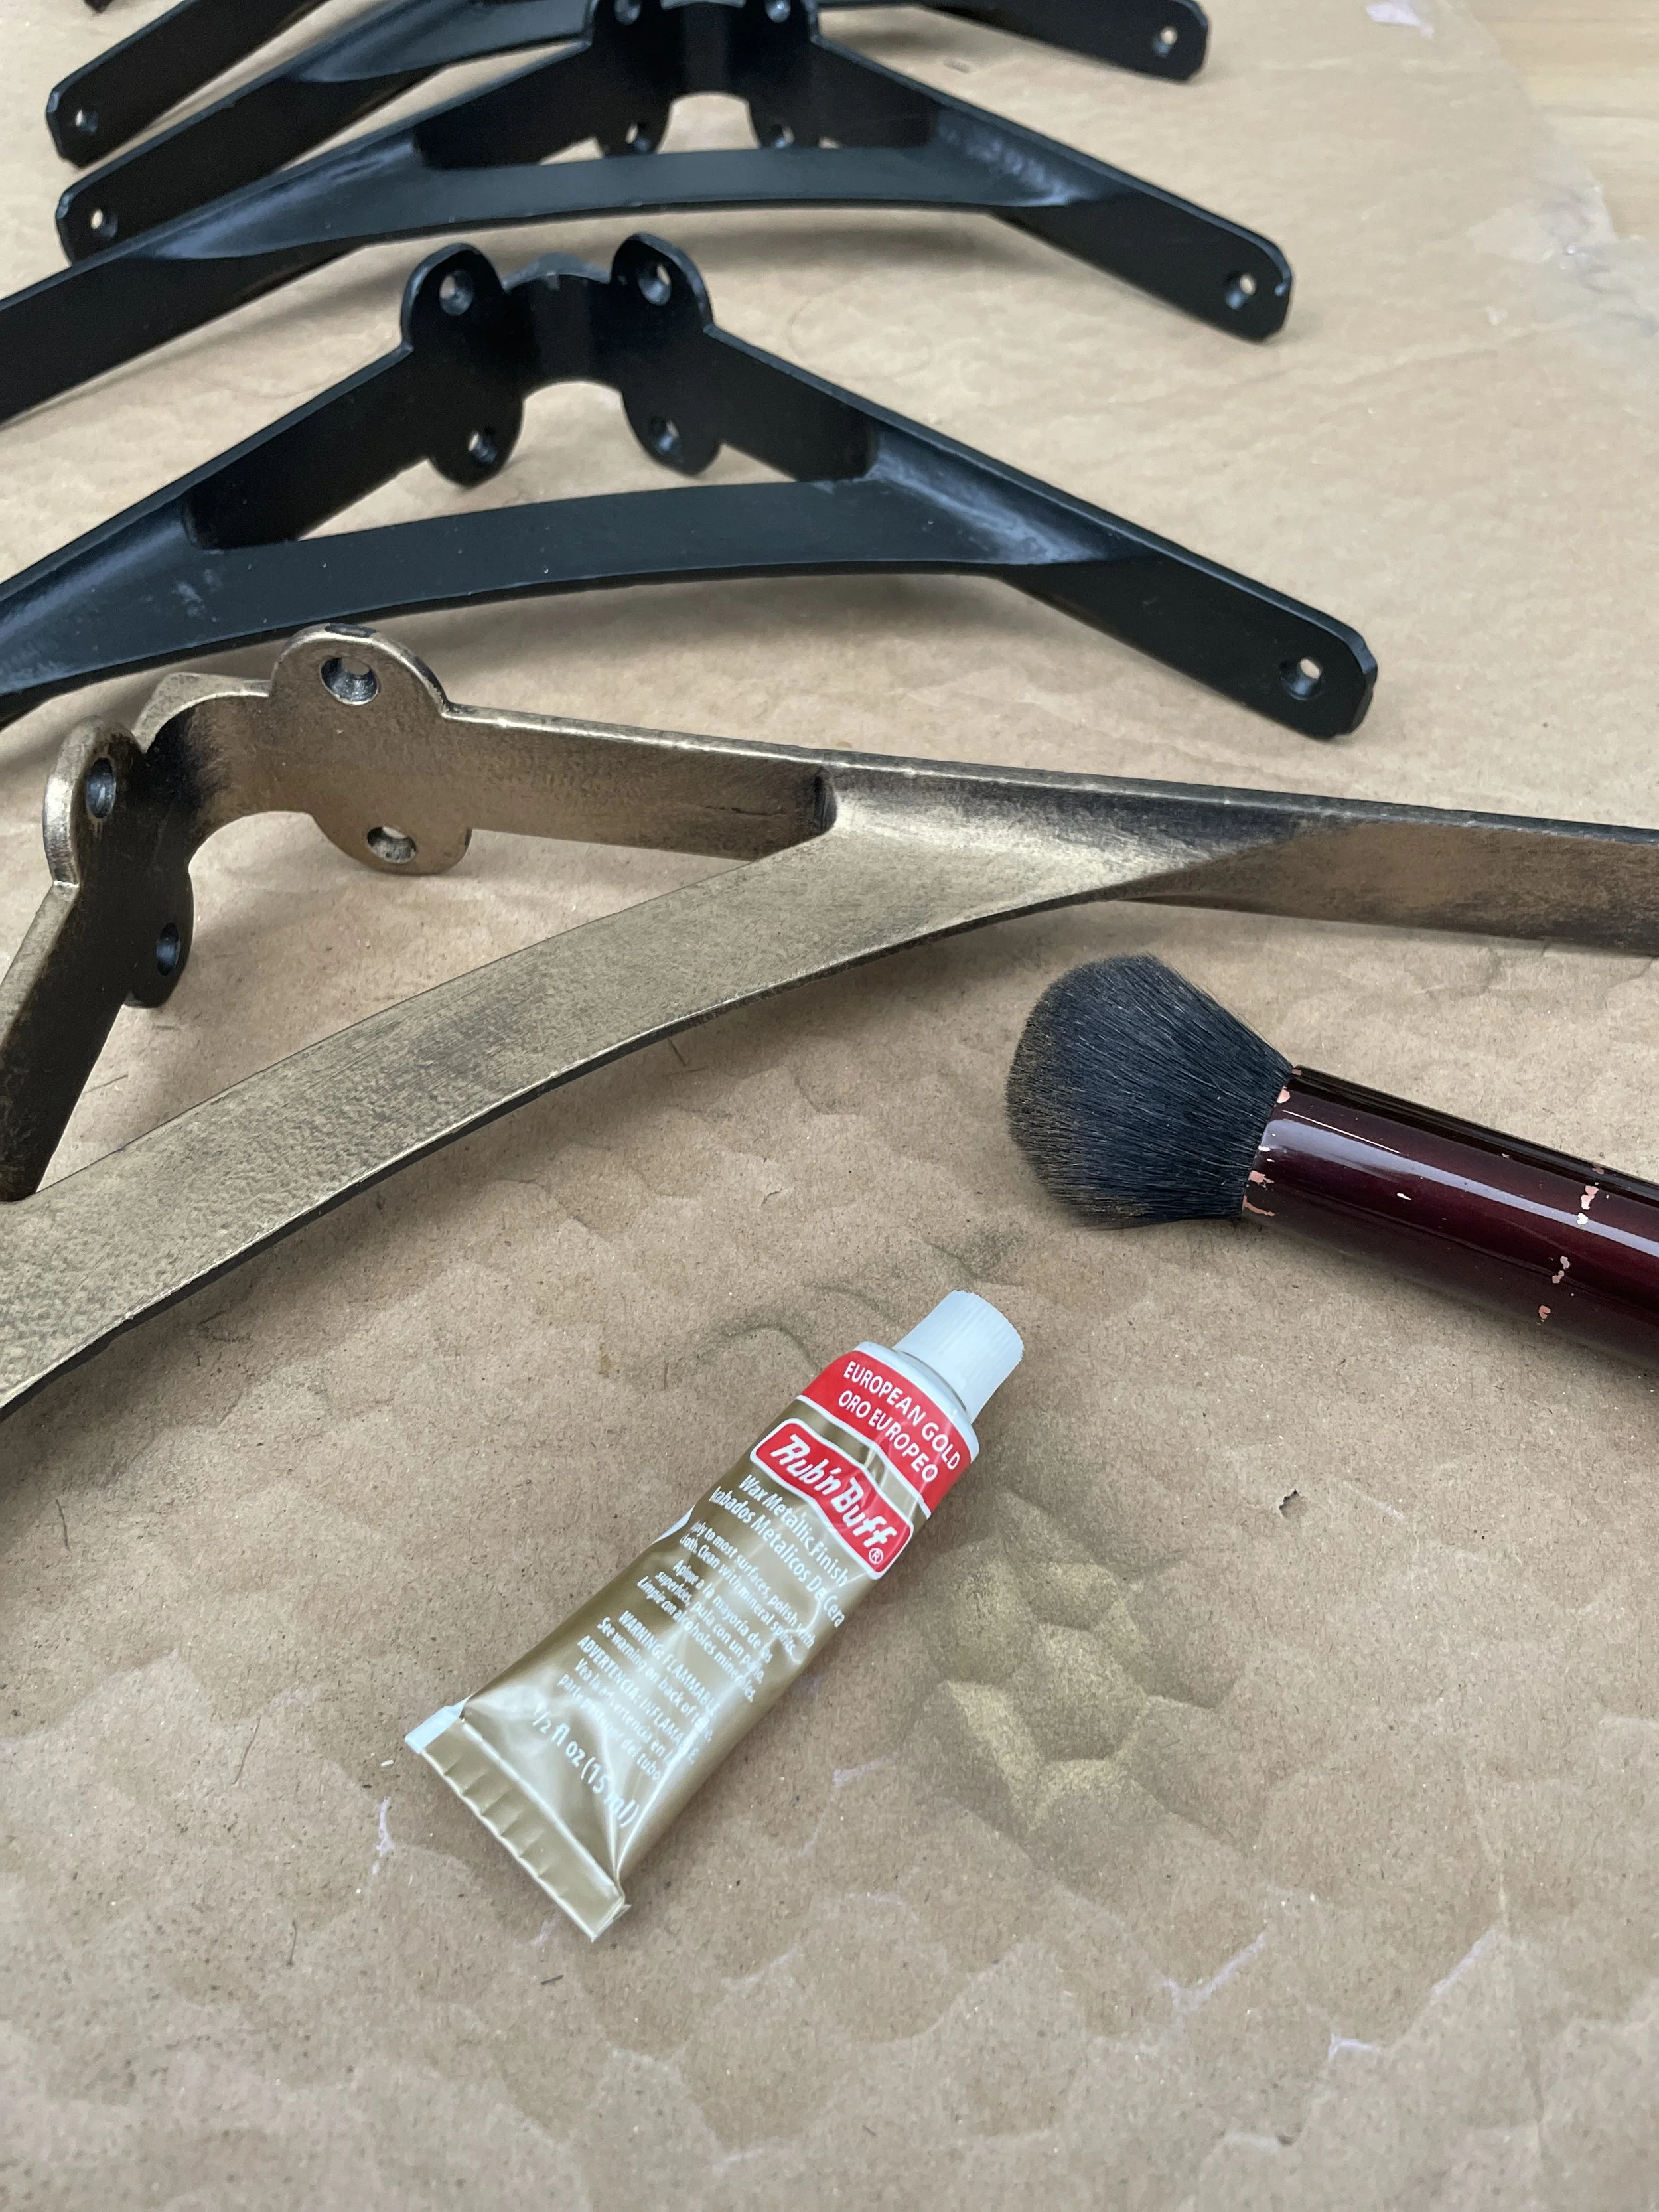
Rub n Buff in European Gold was the perfect patinaed brass accent.
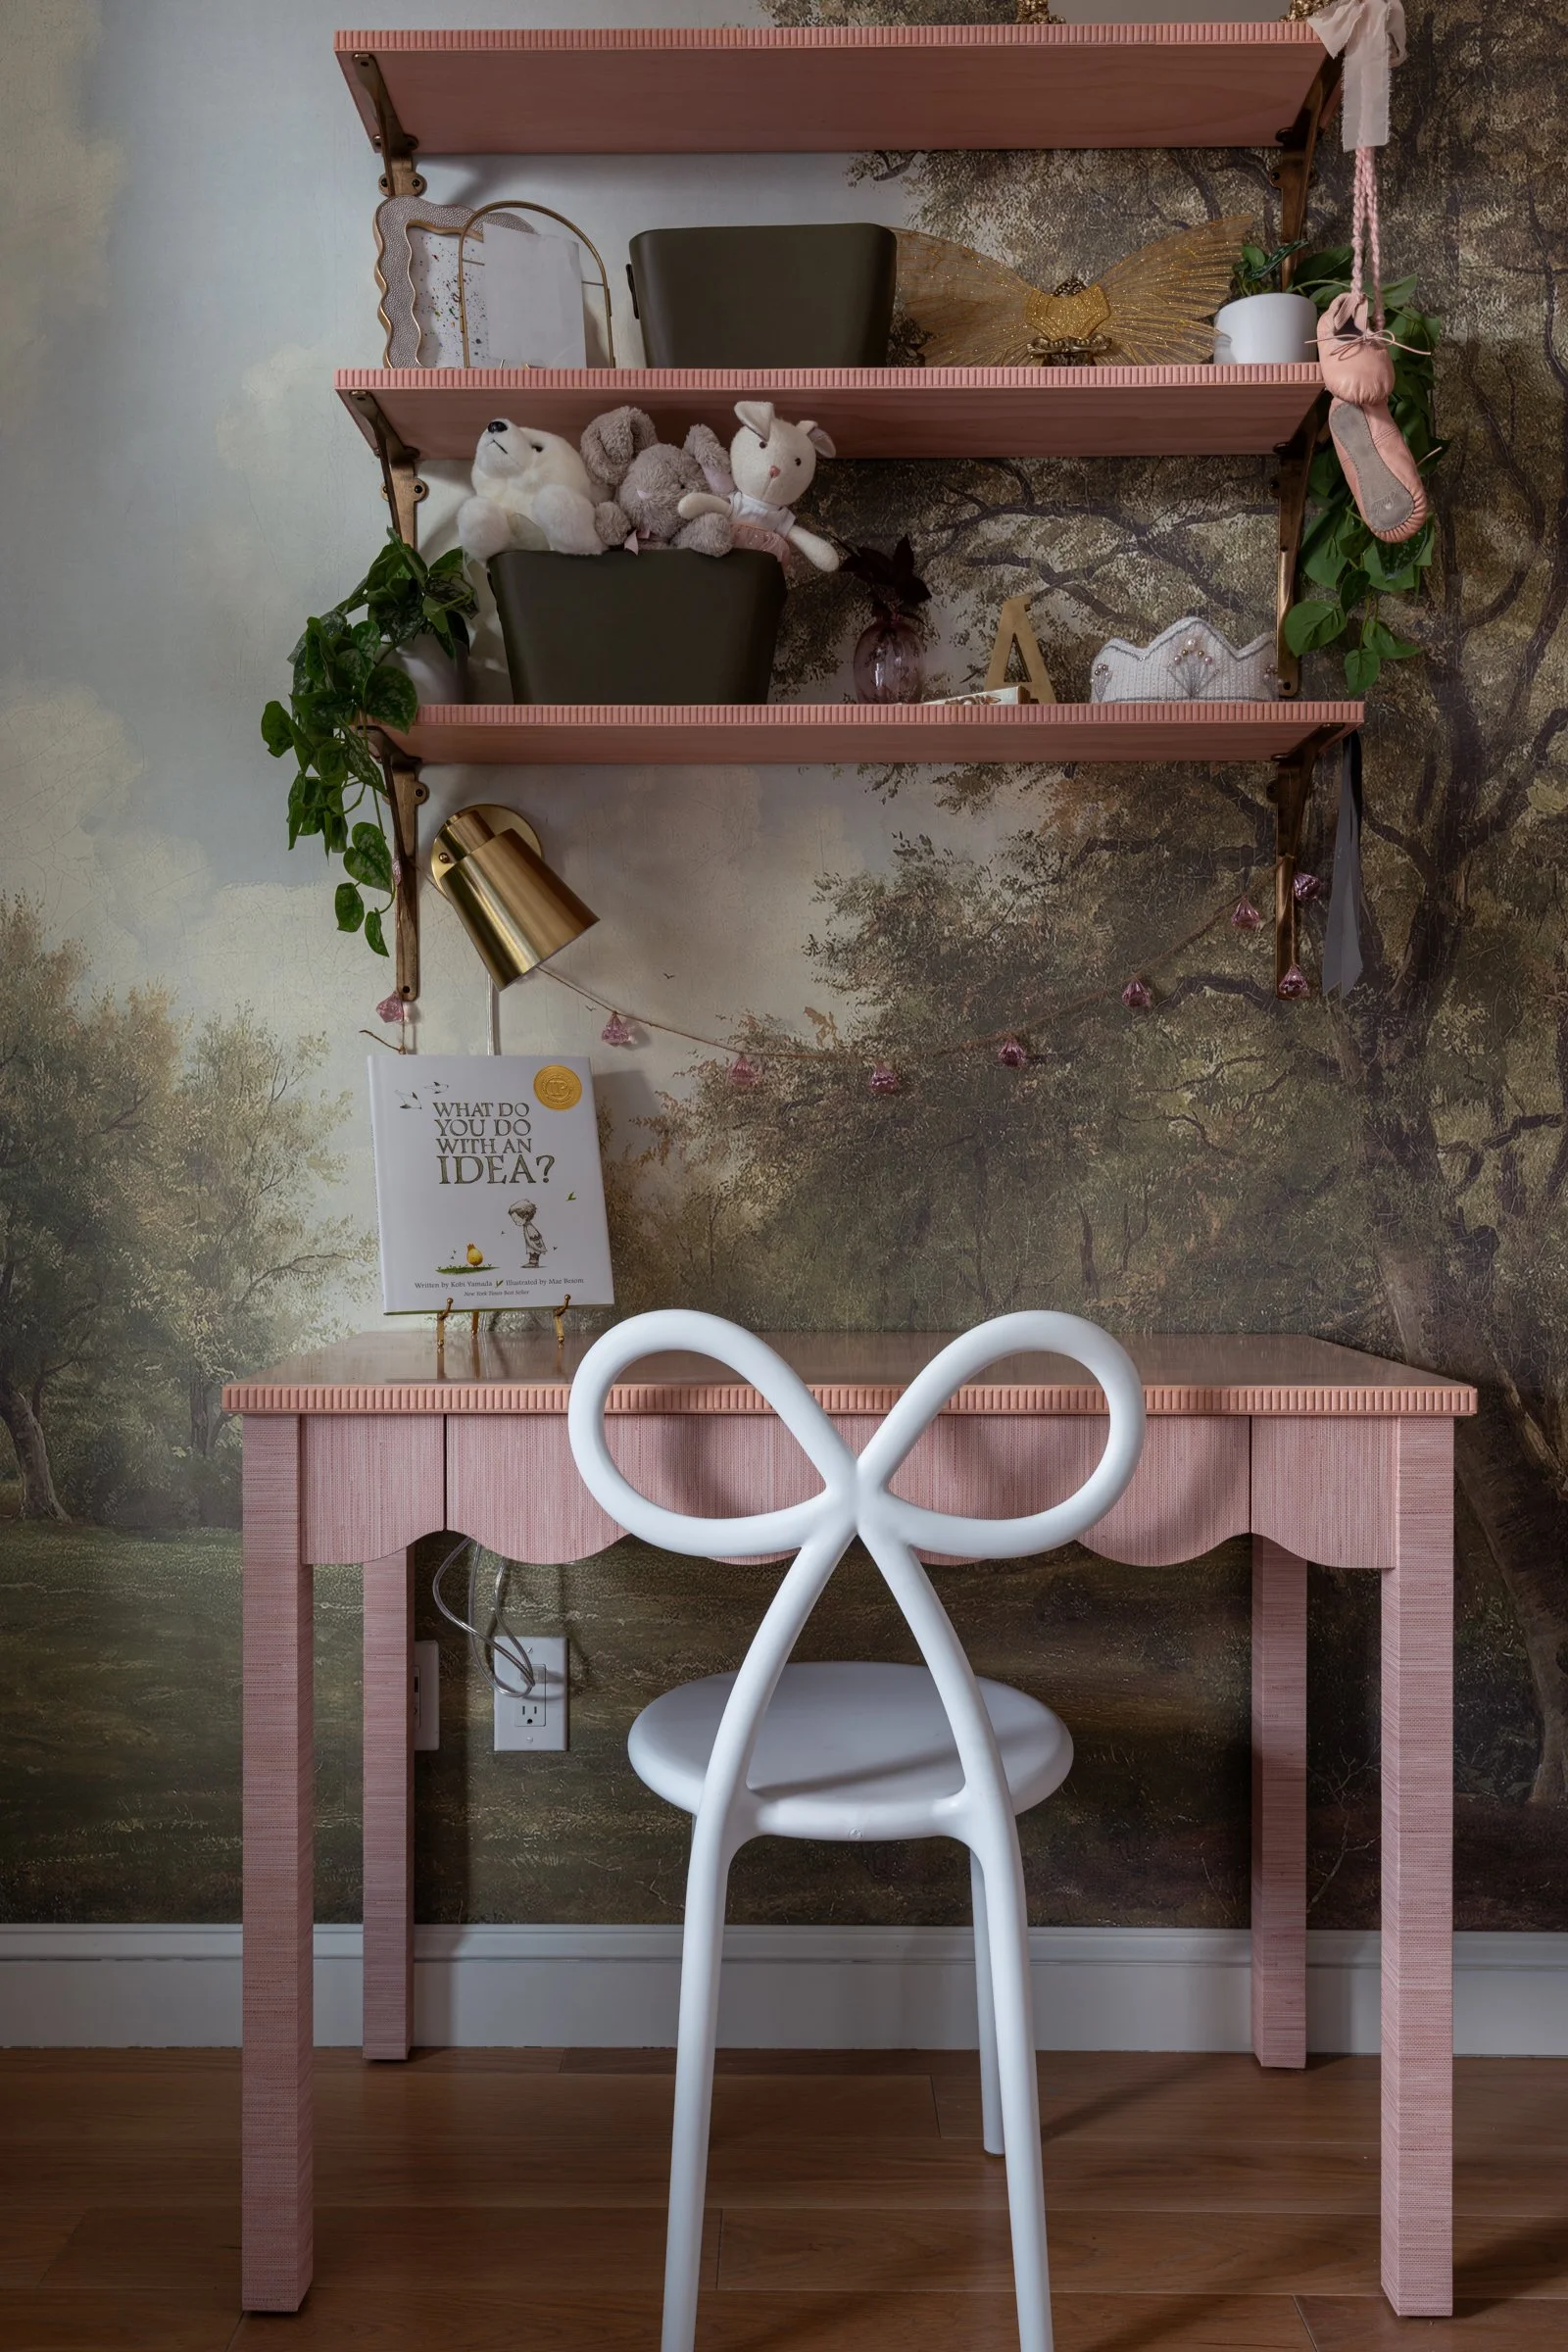
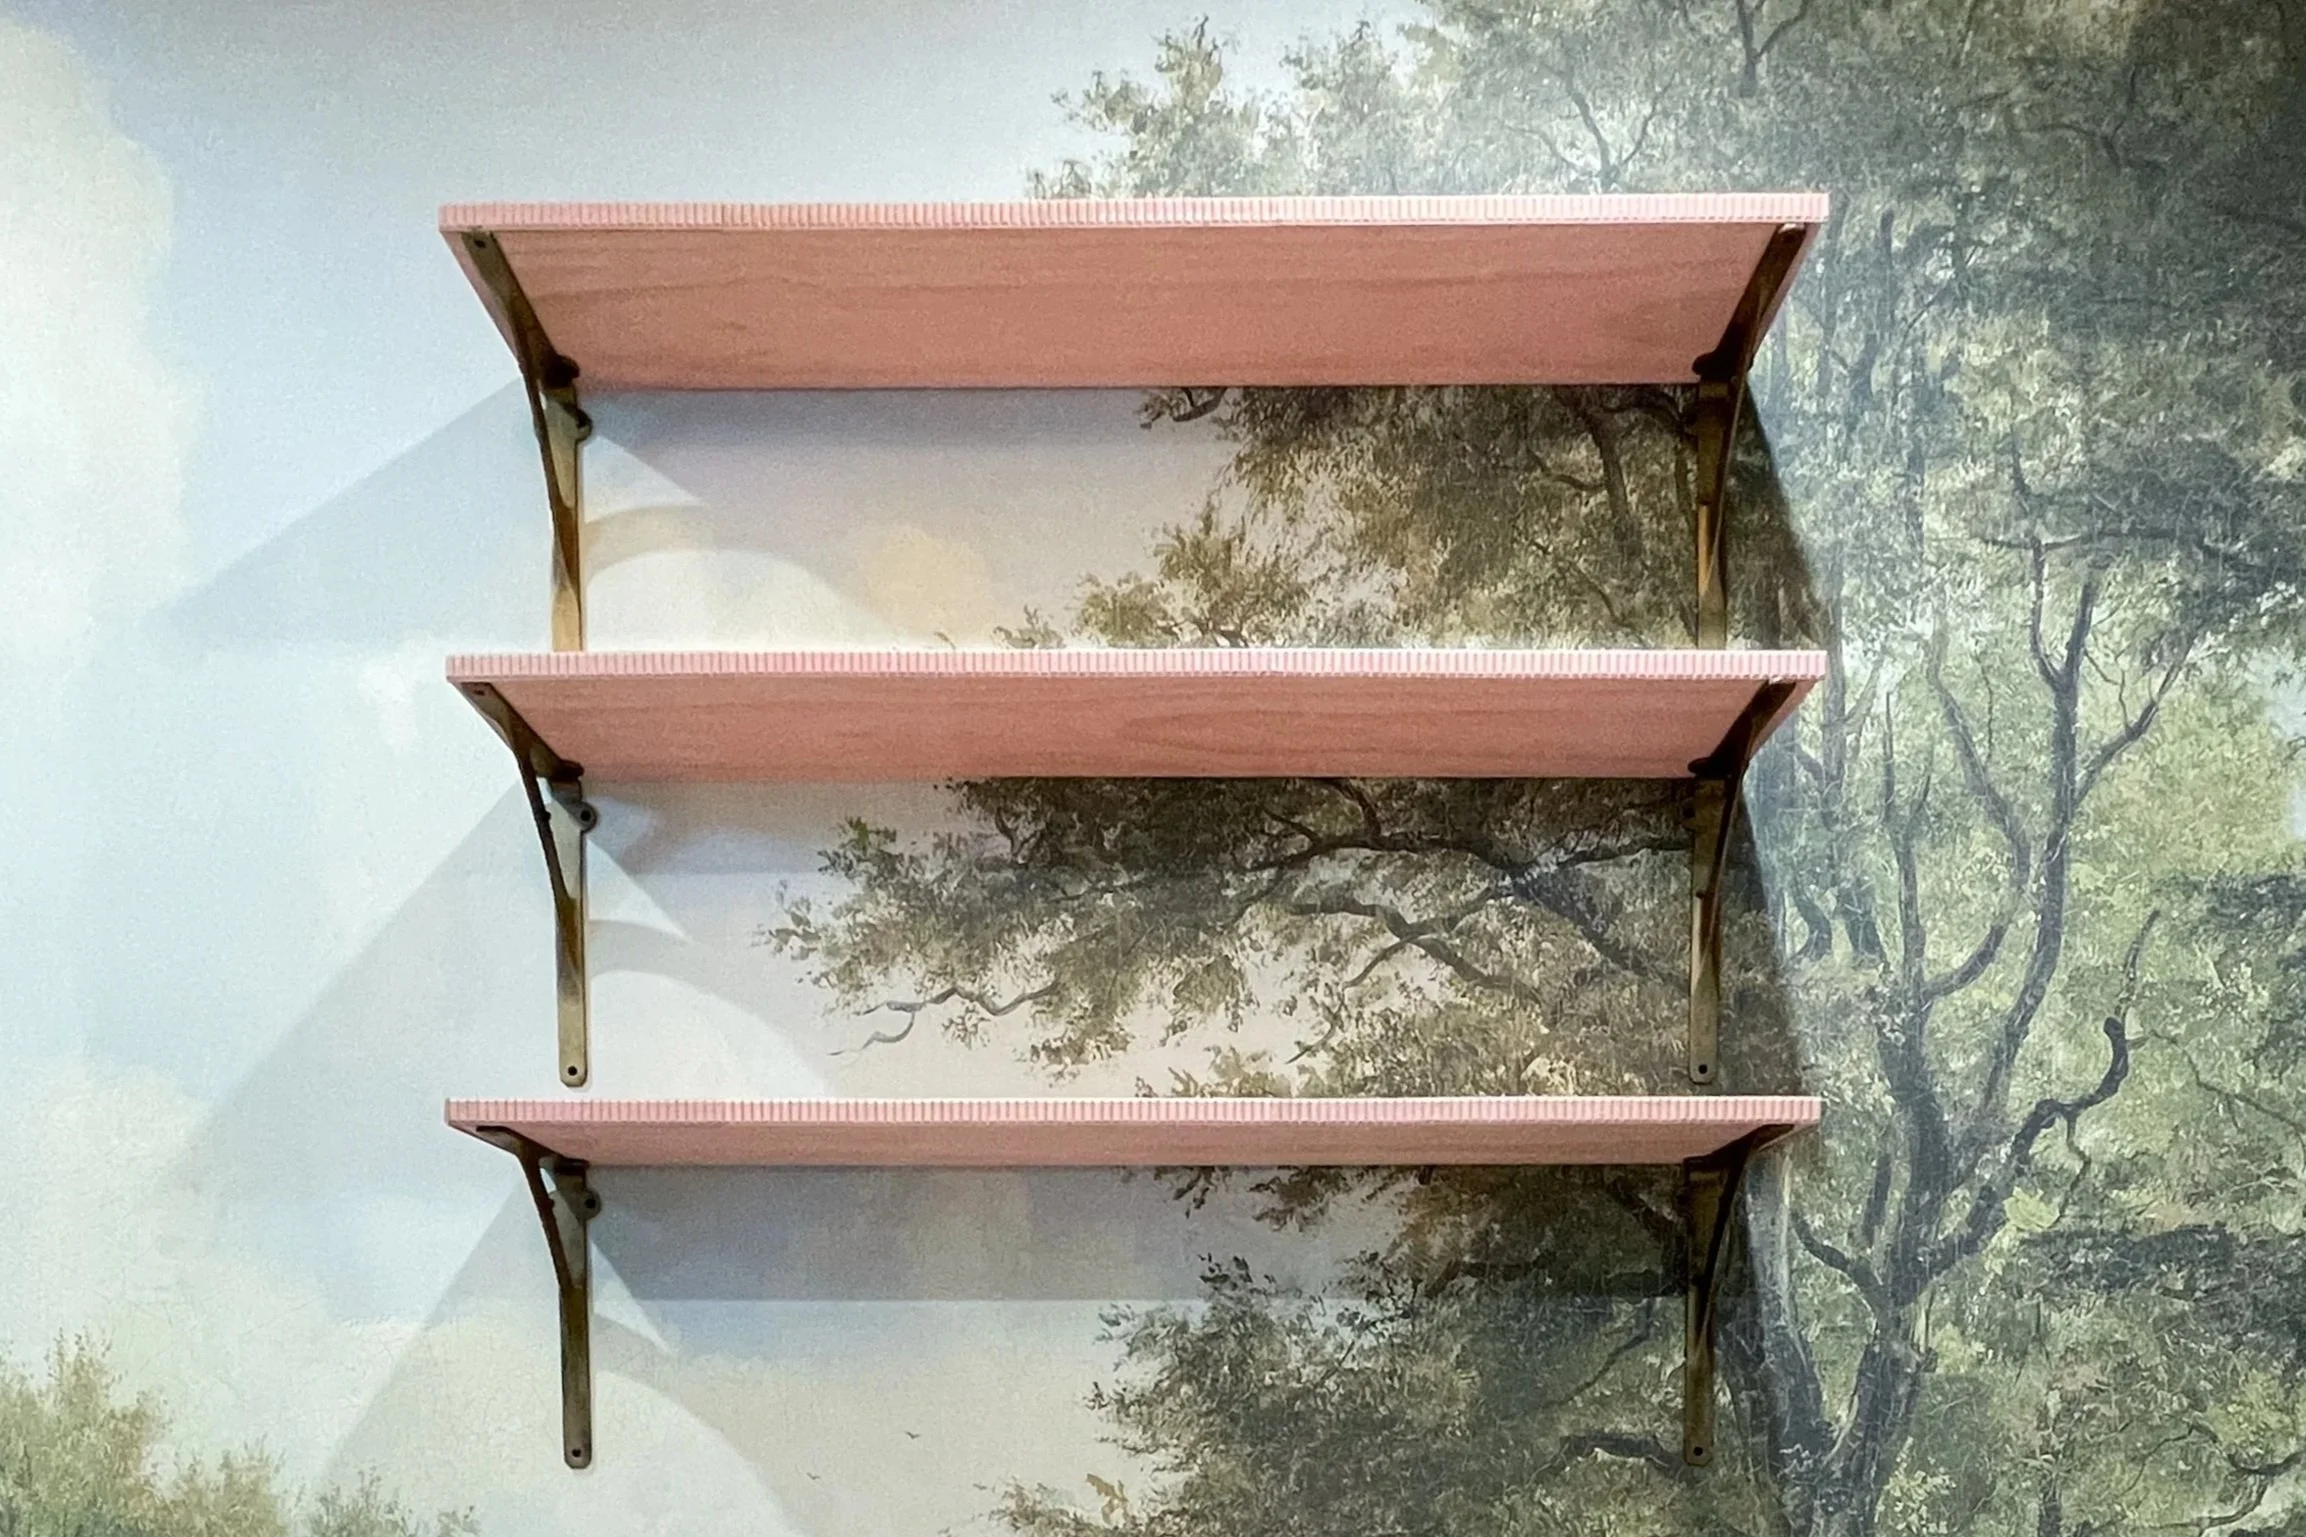
The Result
The rose-stained finish complements the grasscloth desk and pops against the woodland mural wallpaper. The fluted trim catches the light just enough to create subtle dimension. The shelf brackets, now a patinaed brass rather than matte black, tie into the hardware throughout the room. By combining simple materials with a few thoughtful finishes, the result feels custom without being complicated, and elevated without losing its practicality.