How I Built a DIY Built-In Dresser and Bookcase from a Repurposed Dresser
B E F O R E

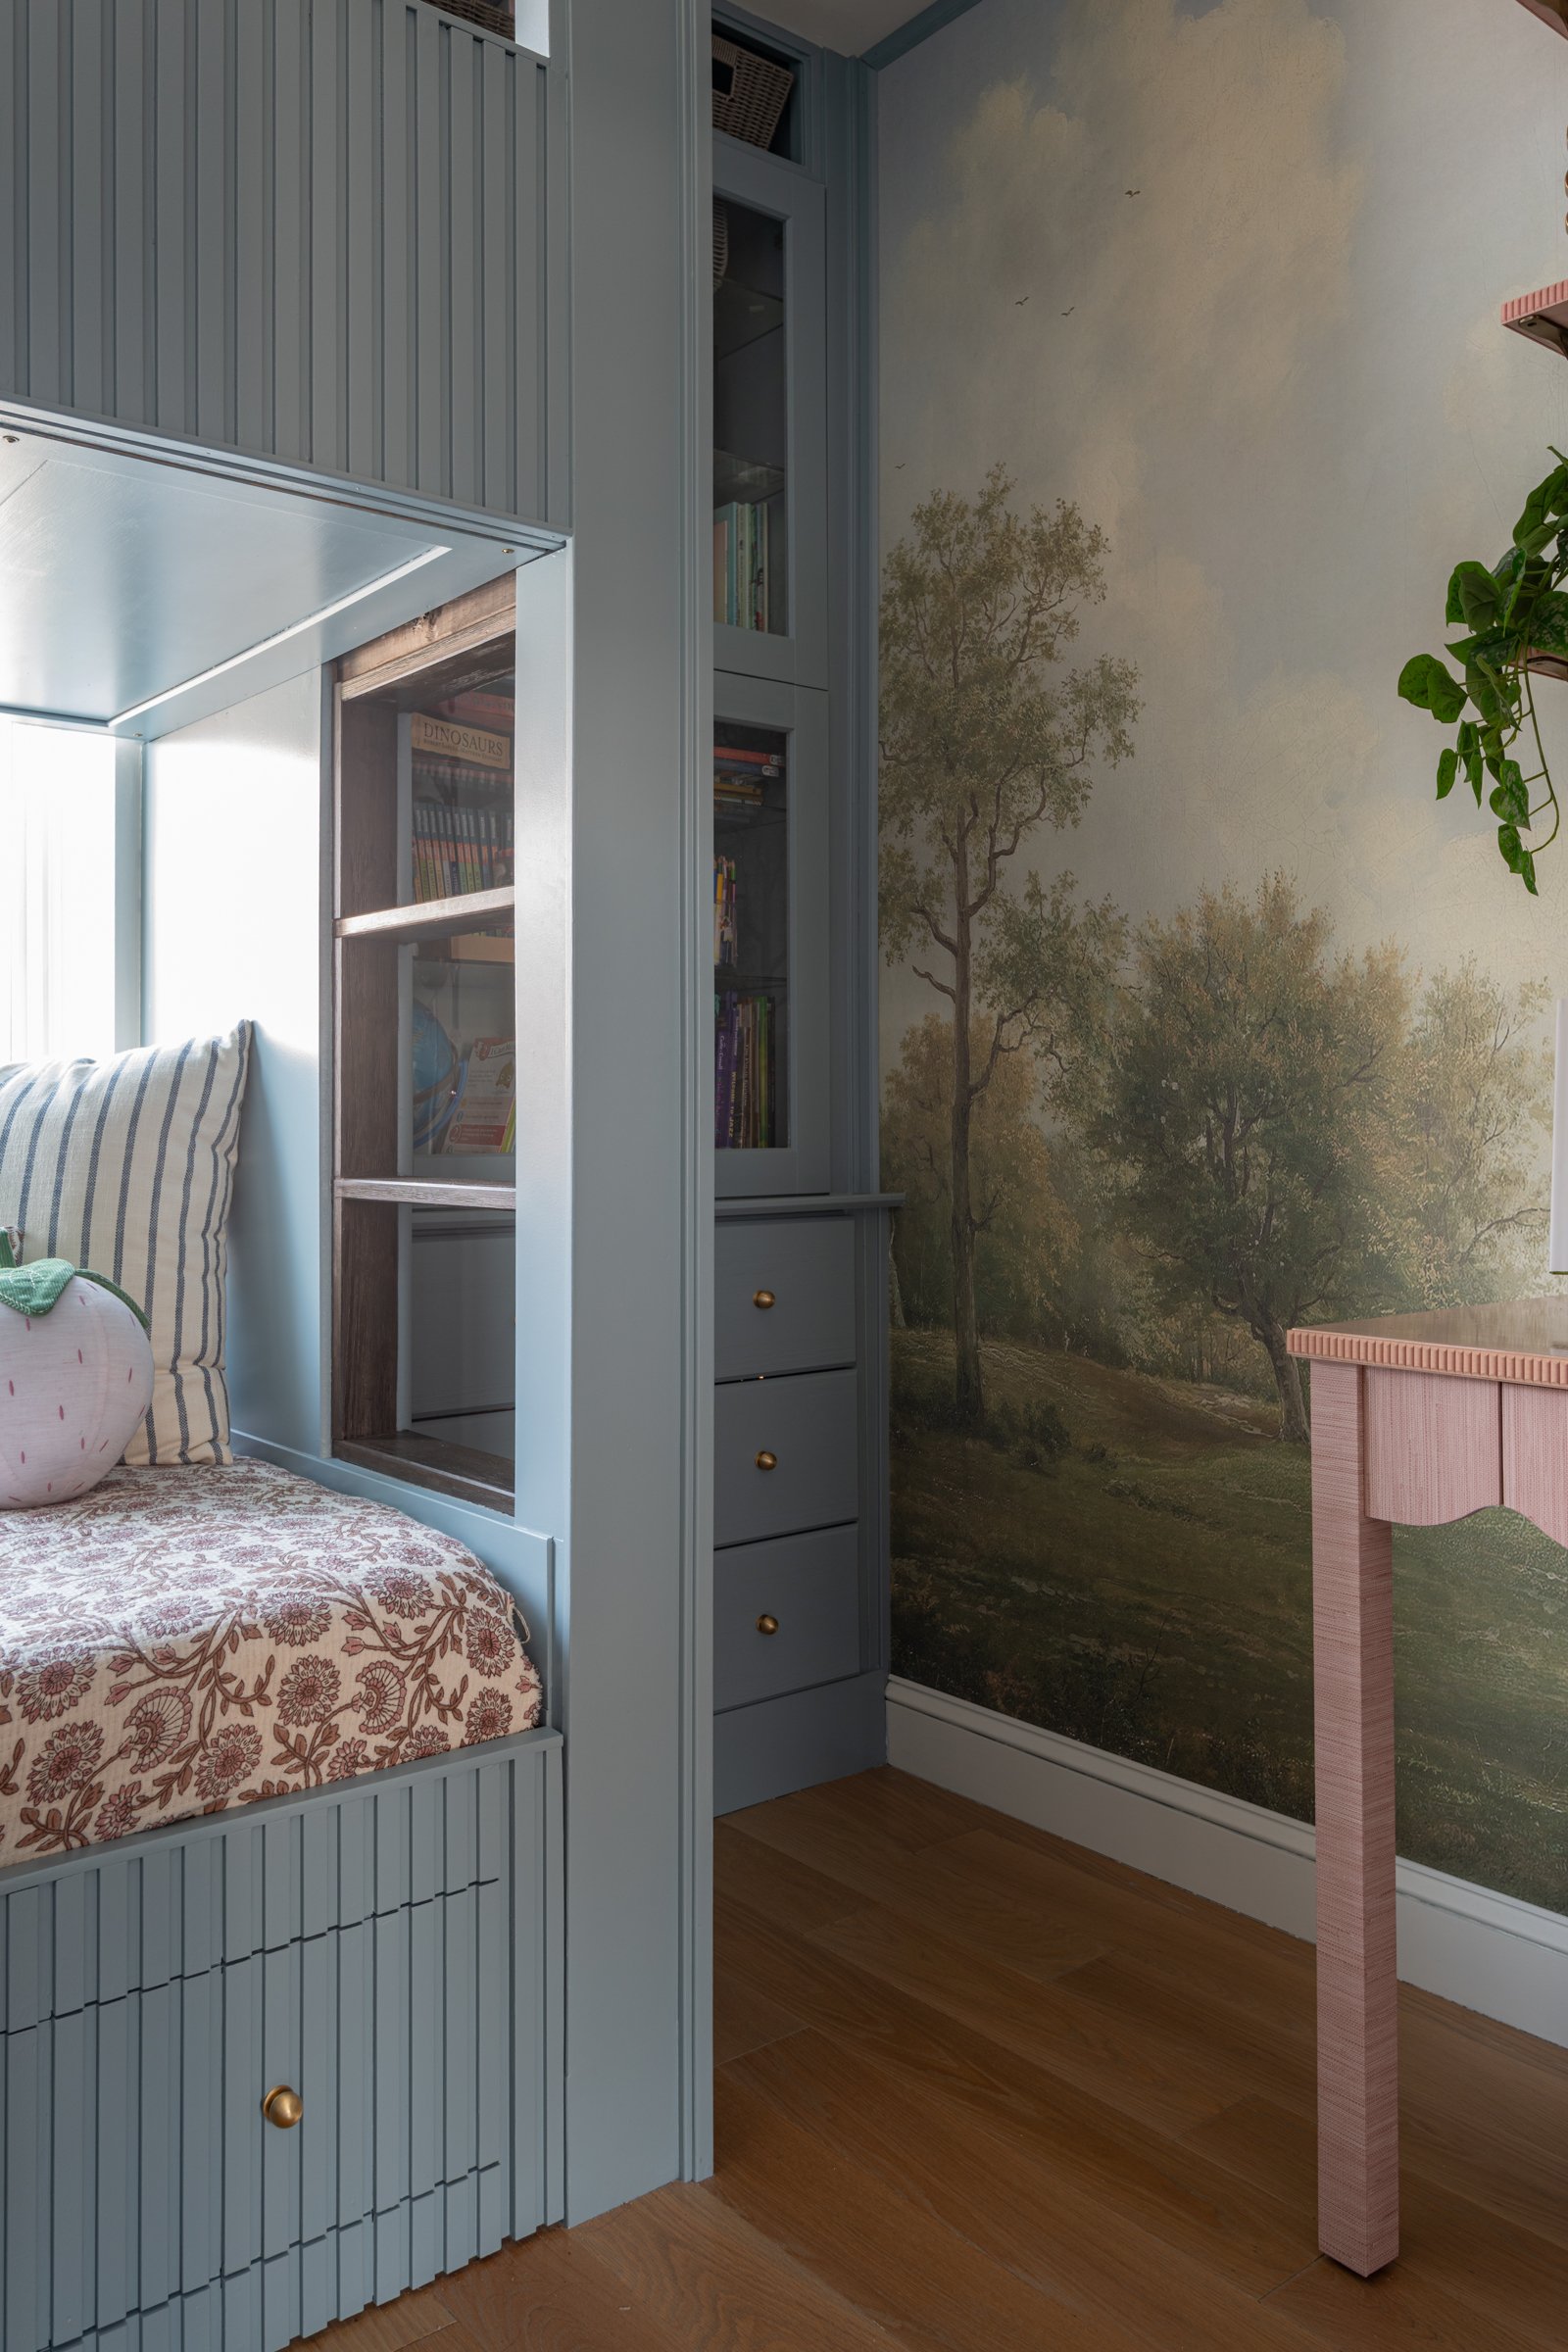
A F T E R
The bunk bed was never the whole plan. It was the first half of one.
My main objective was to maximize storage in the kids’ shared bedroom — a 10x10 room — and the bunk bed alone, however functional, wasn't going to get there. I worked through numerous layout iterations before the right solution emerged: bunk bed in front of the window, built-in dresser and bookcase beside it. In a room this size, there's typically a single traffic pattern — in and out. There isn't the square footage to navigate around furniture or create distinct zones the way you might in a larger room. Once I accepted that constraint and worked with it instead of against it, the layout became obvious. And once the layout was settled, I could design the built-in itself.
The Design
I'd worked with IKEA Sektion cabinets on previous projects (like our entry closet) and knew how to install and trim them out. I could have simply ordered the Maximera drawers that come with the Sektion line, but I had a six-drawer dresser from our primary bedroom that I was preparing to sell, and something stopped me.
Standing there looking at it, I had what I can only describe as a slightly unhinged idea: what if I removed the center support and used just the two outer sections to create a three-drawer dresser? I'd taken apart enough RTA furniture to think it might work in theory. So I tried it.
It worked. The satisfaction was immediate.
After that, the rest was straightforward: the right-sized IKEA cabinet for the upper bookcase, trim, prime, and paint. Compared to the structural complexity of the bunk bed build, this project moved quickly. Even painting the IKEA cabinets was easier than I'd anticipated.
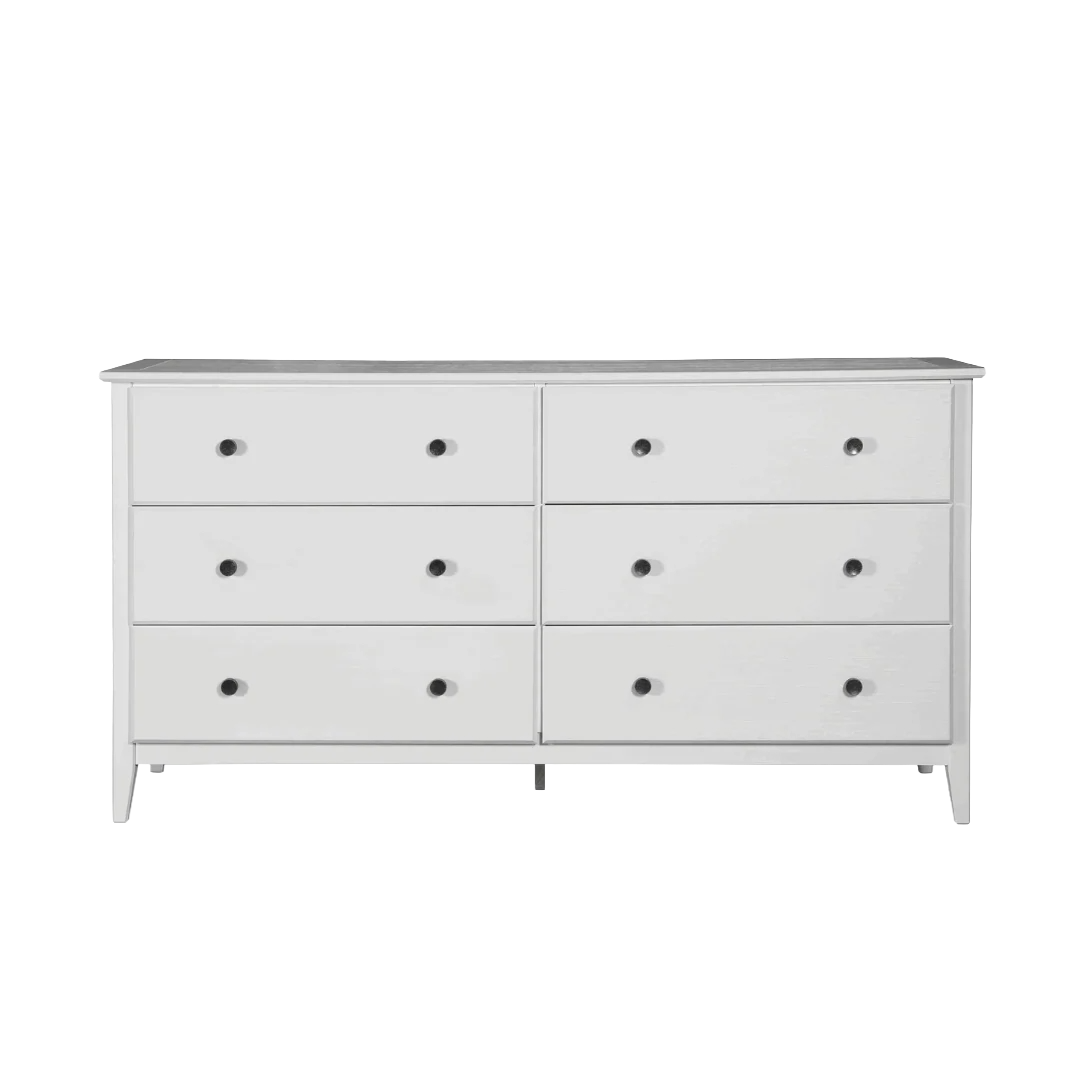
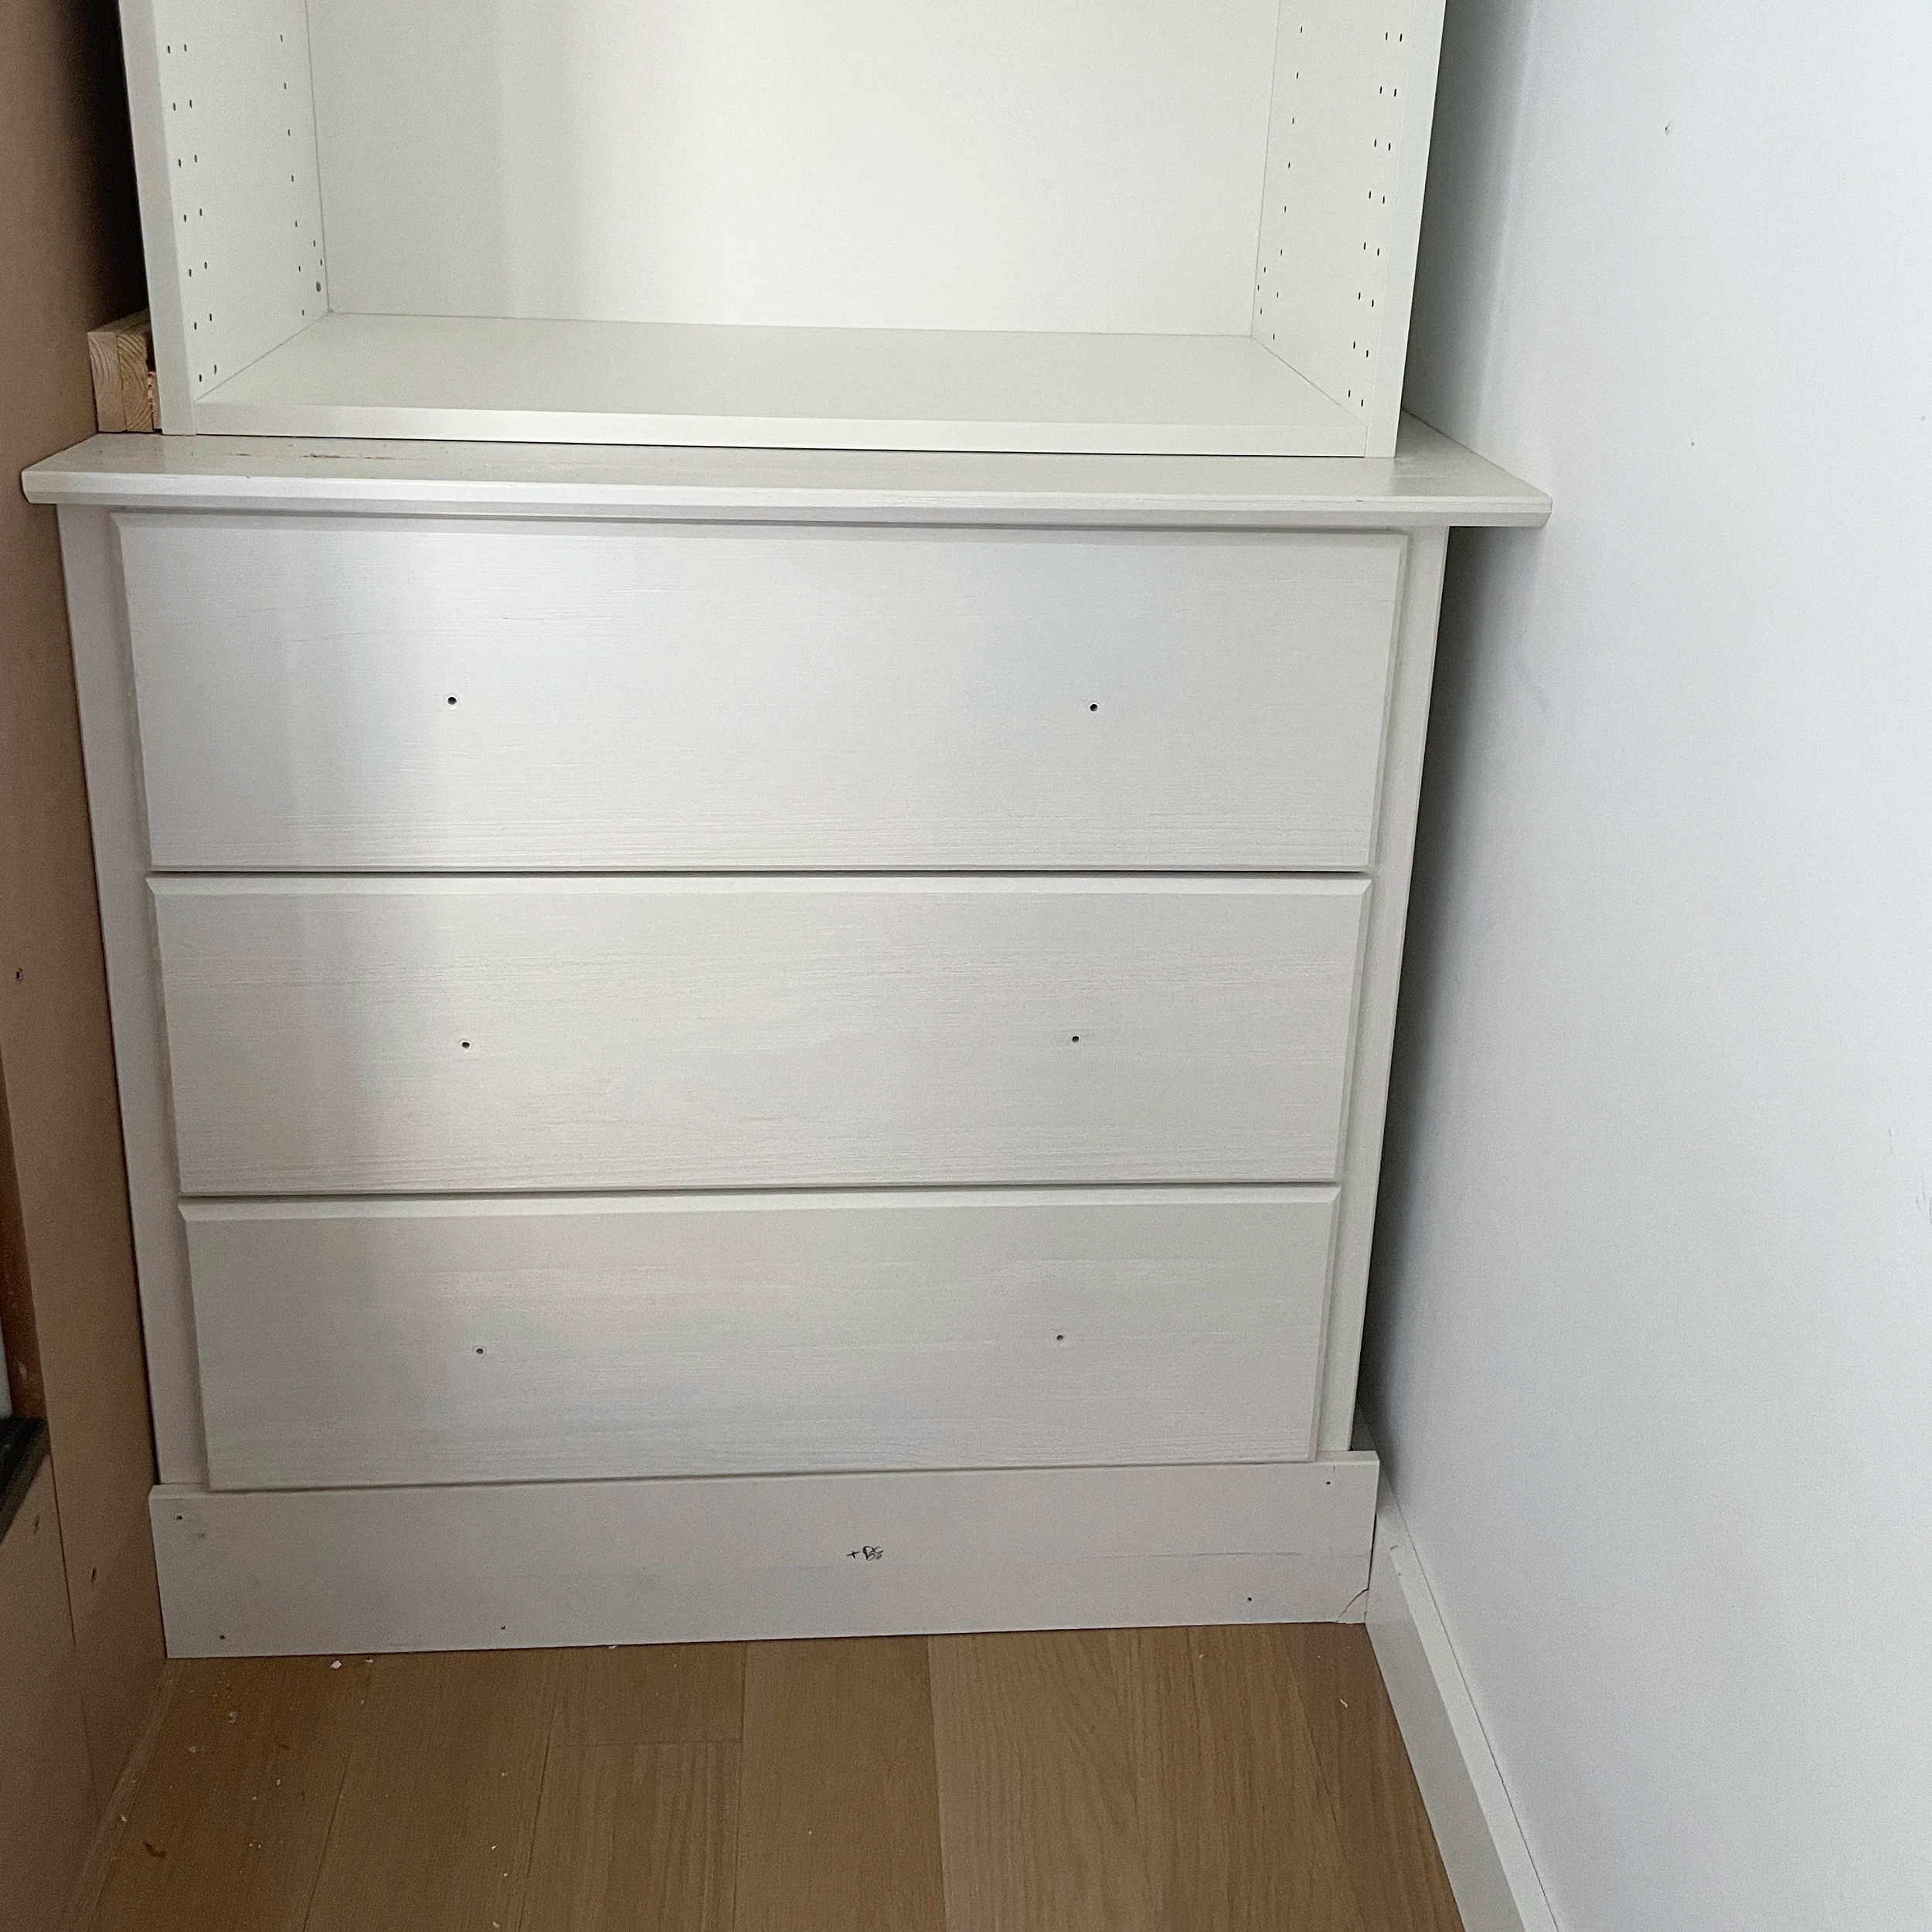
The six-drawer dresser I started with
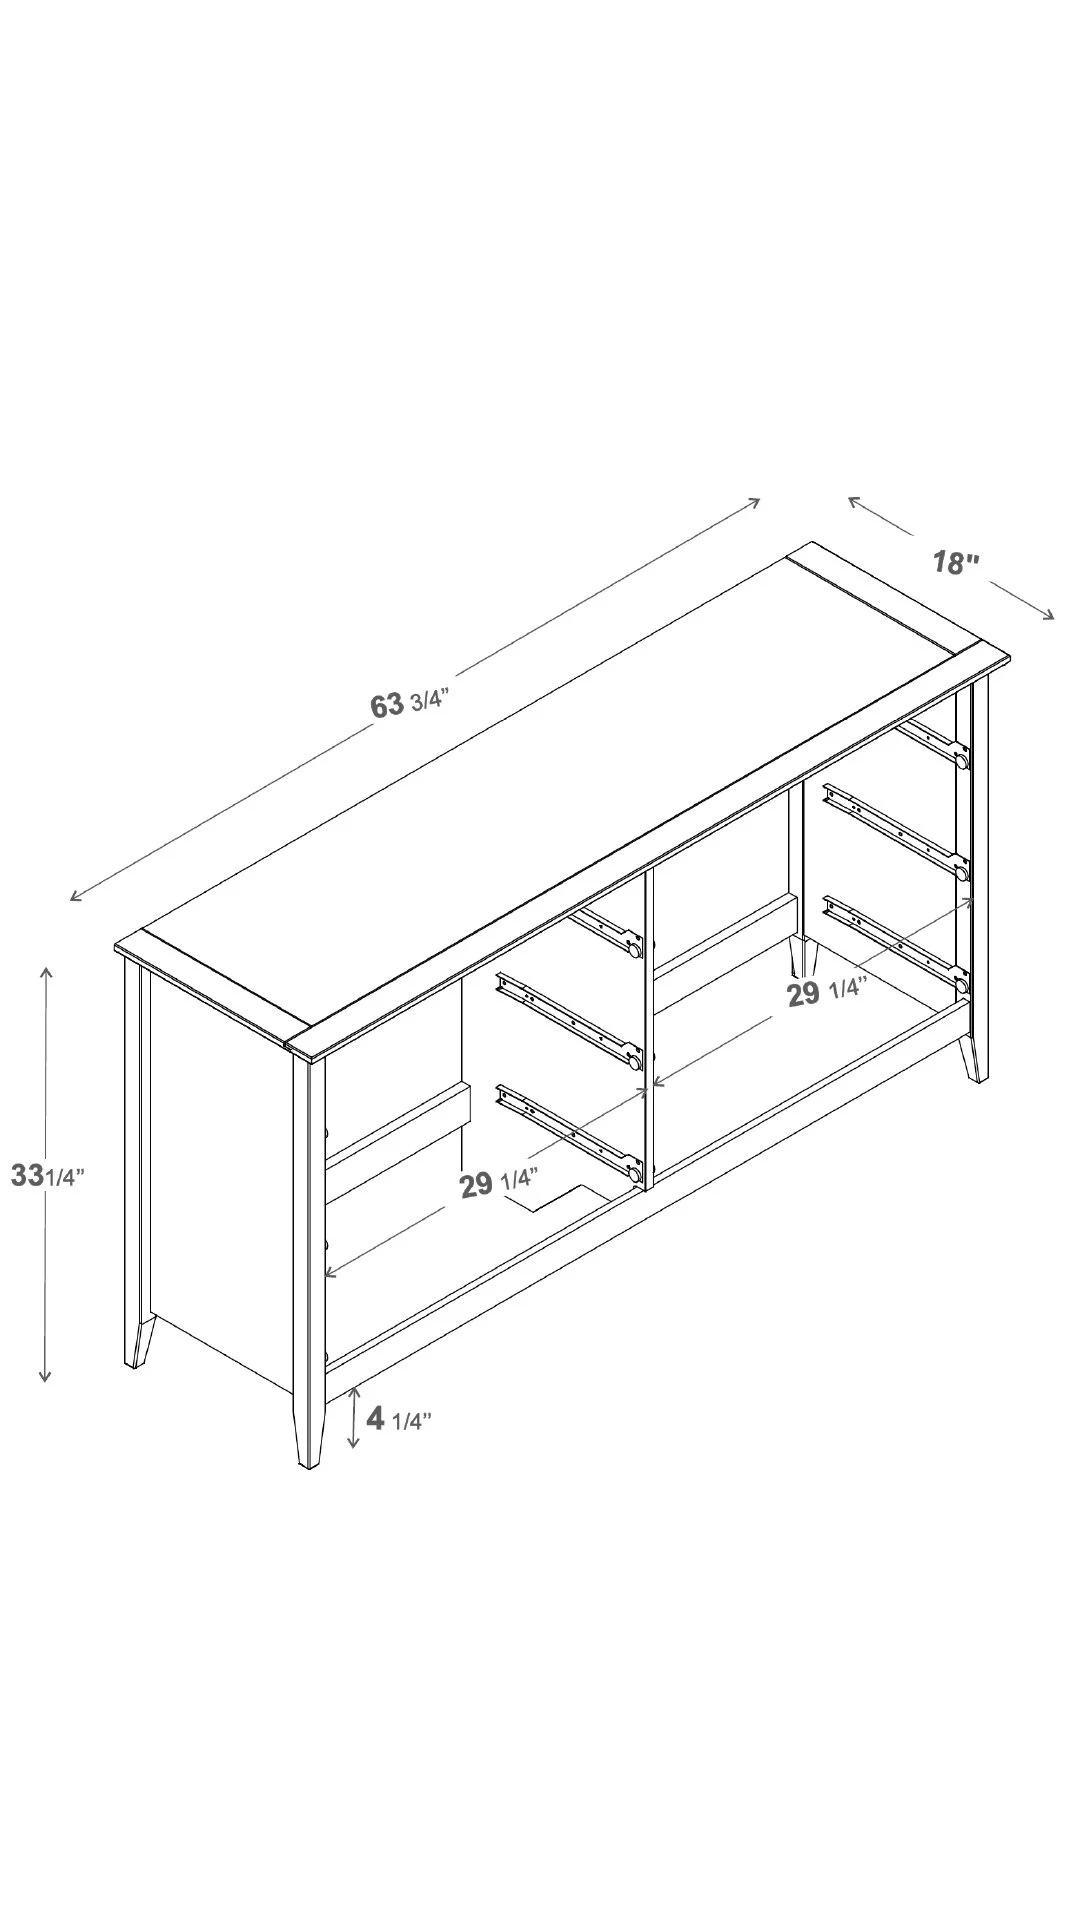
The original six-drawer dresser
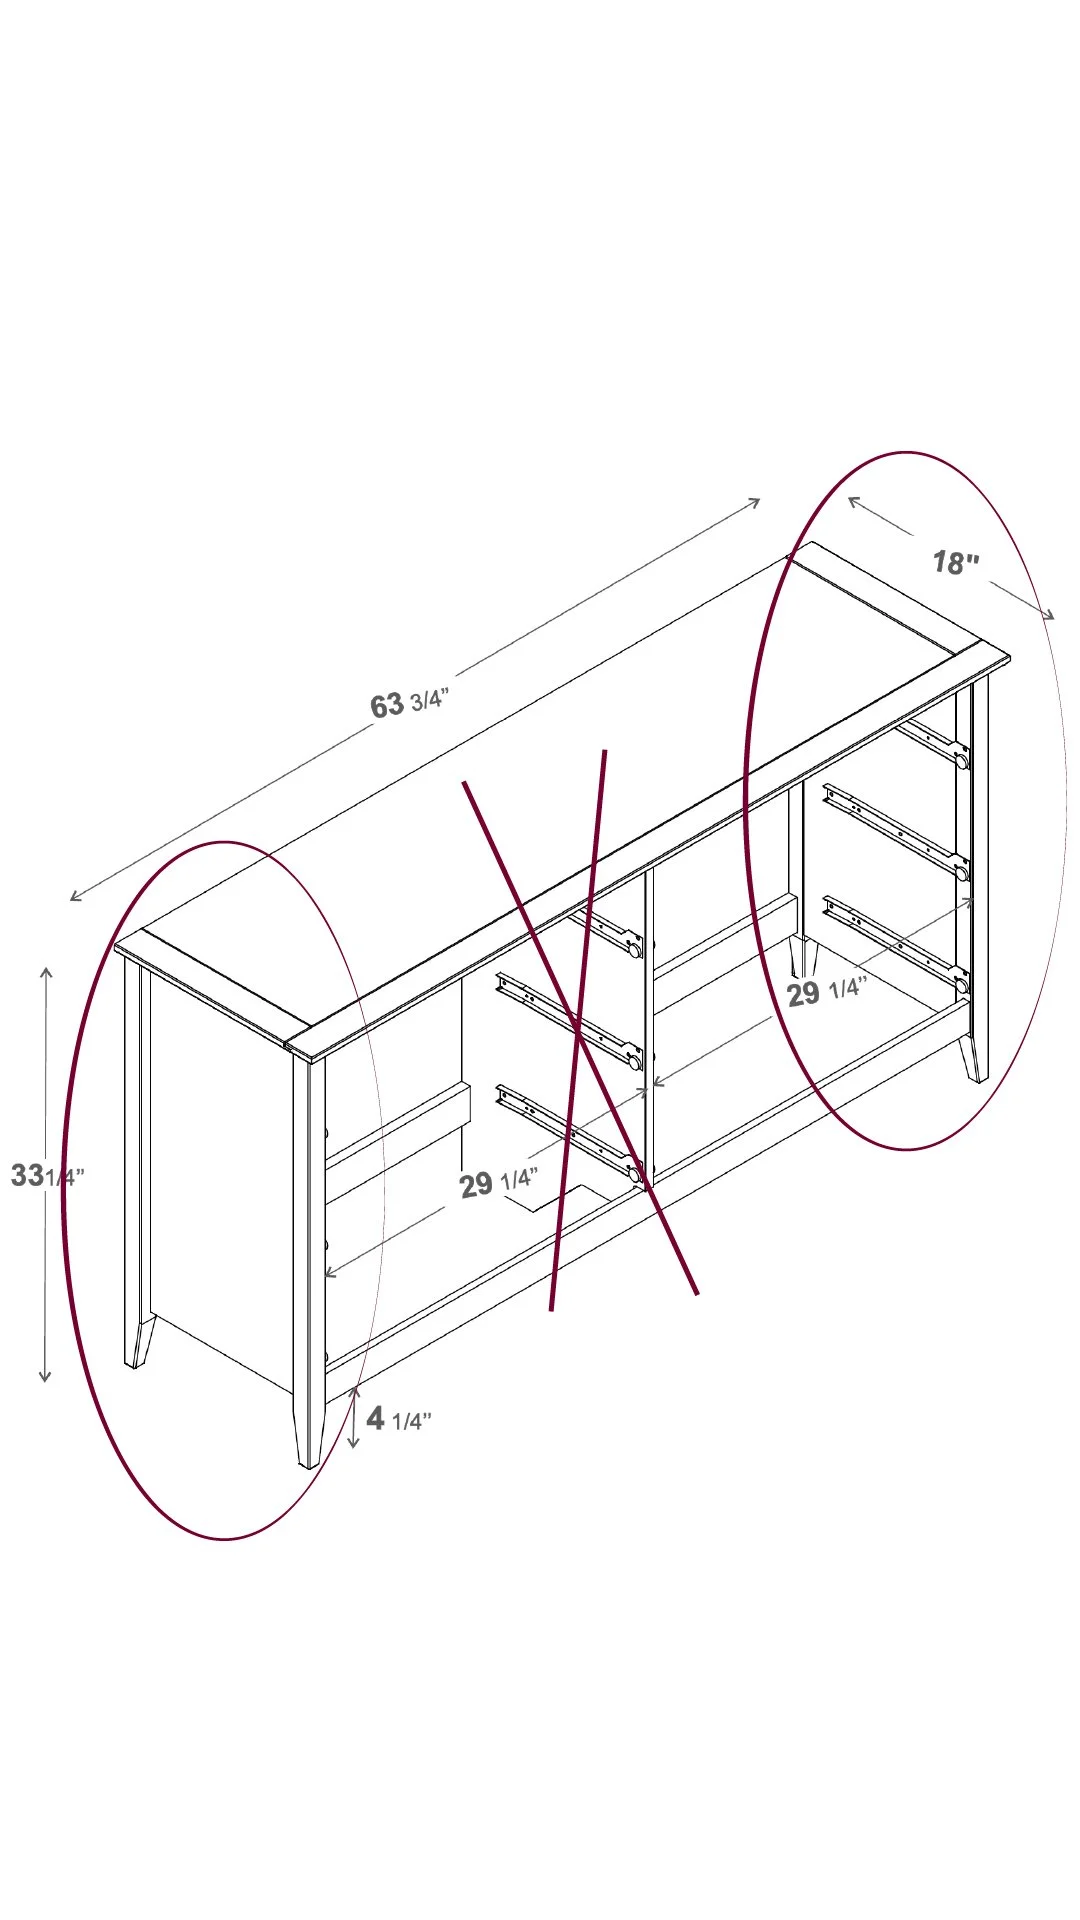
Removing the center support and using the outer sections.
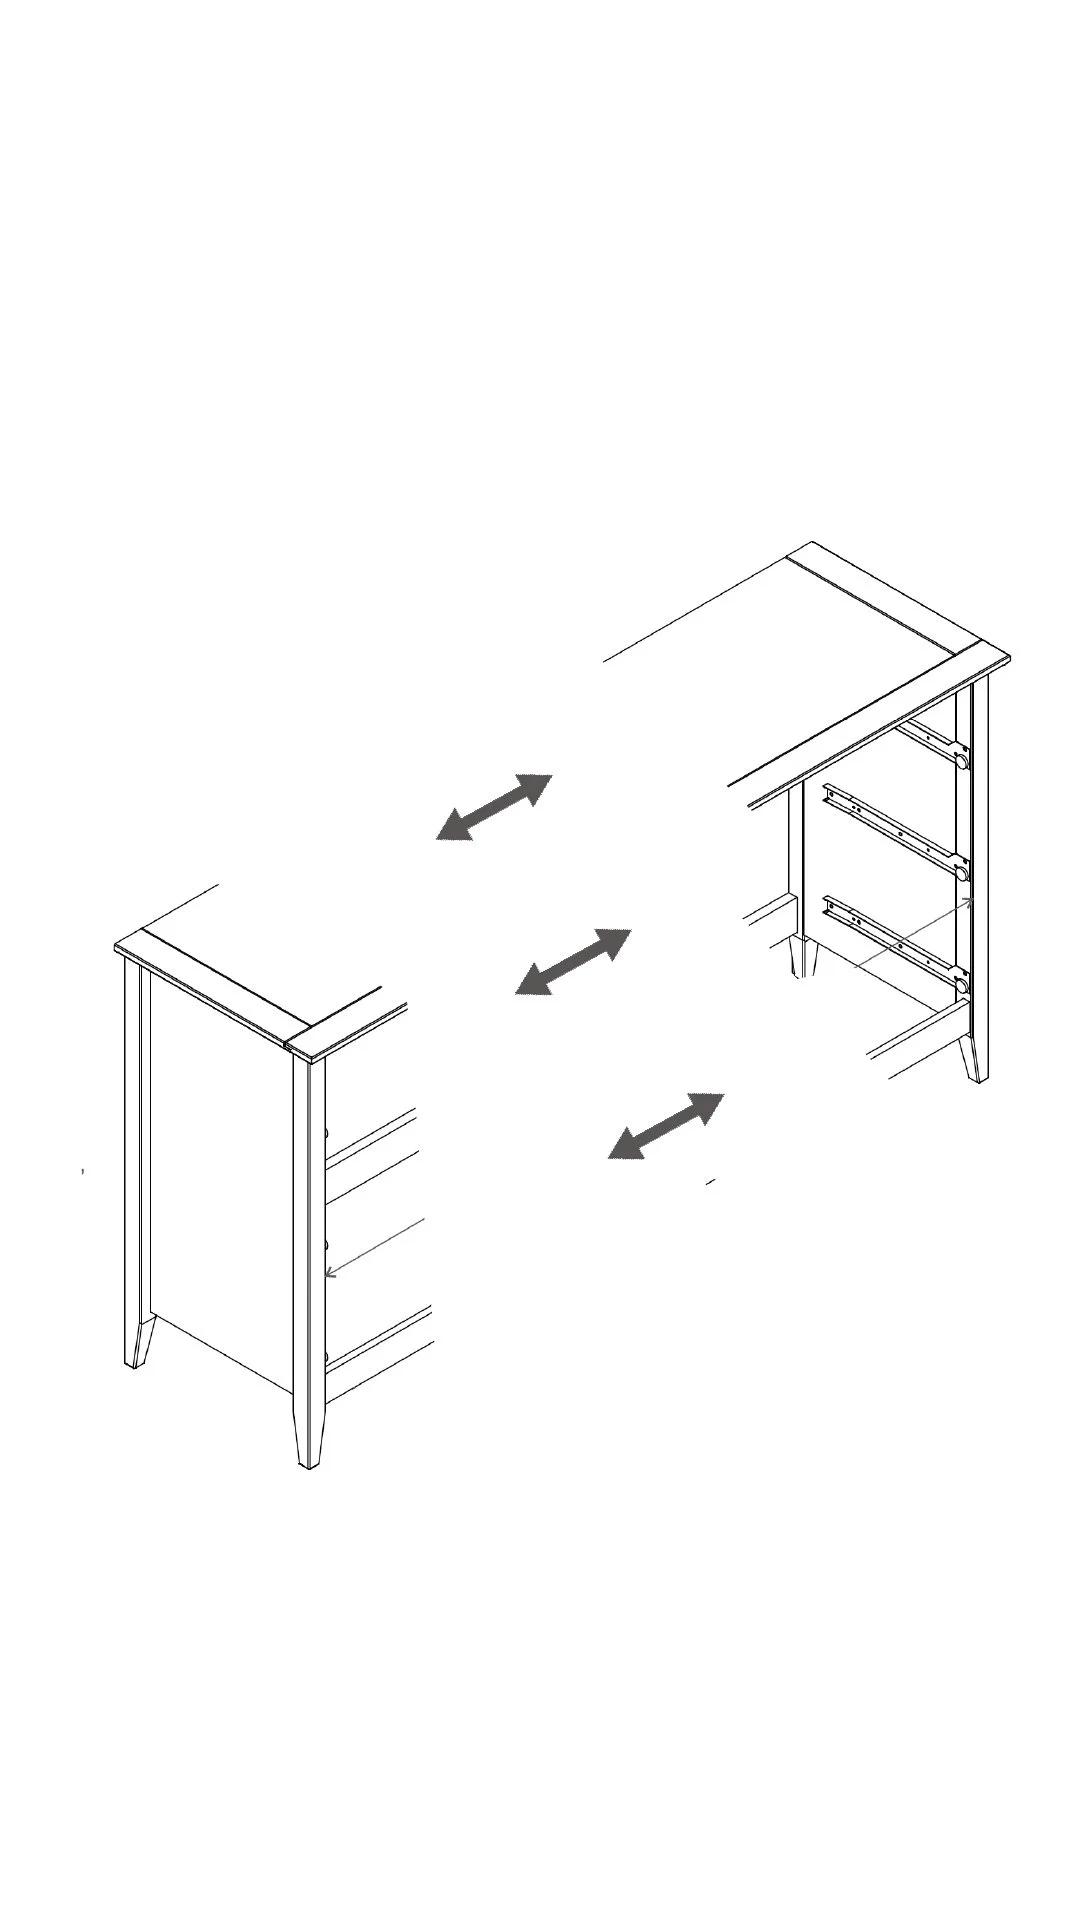
The remaining outer sections now form a three-drawer dresser.
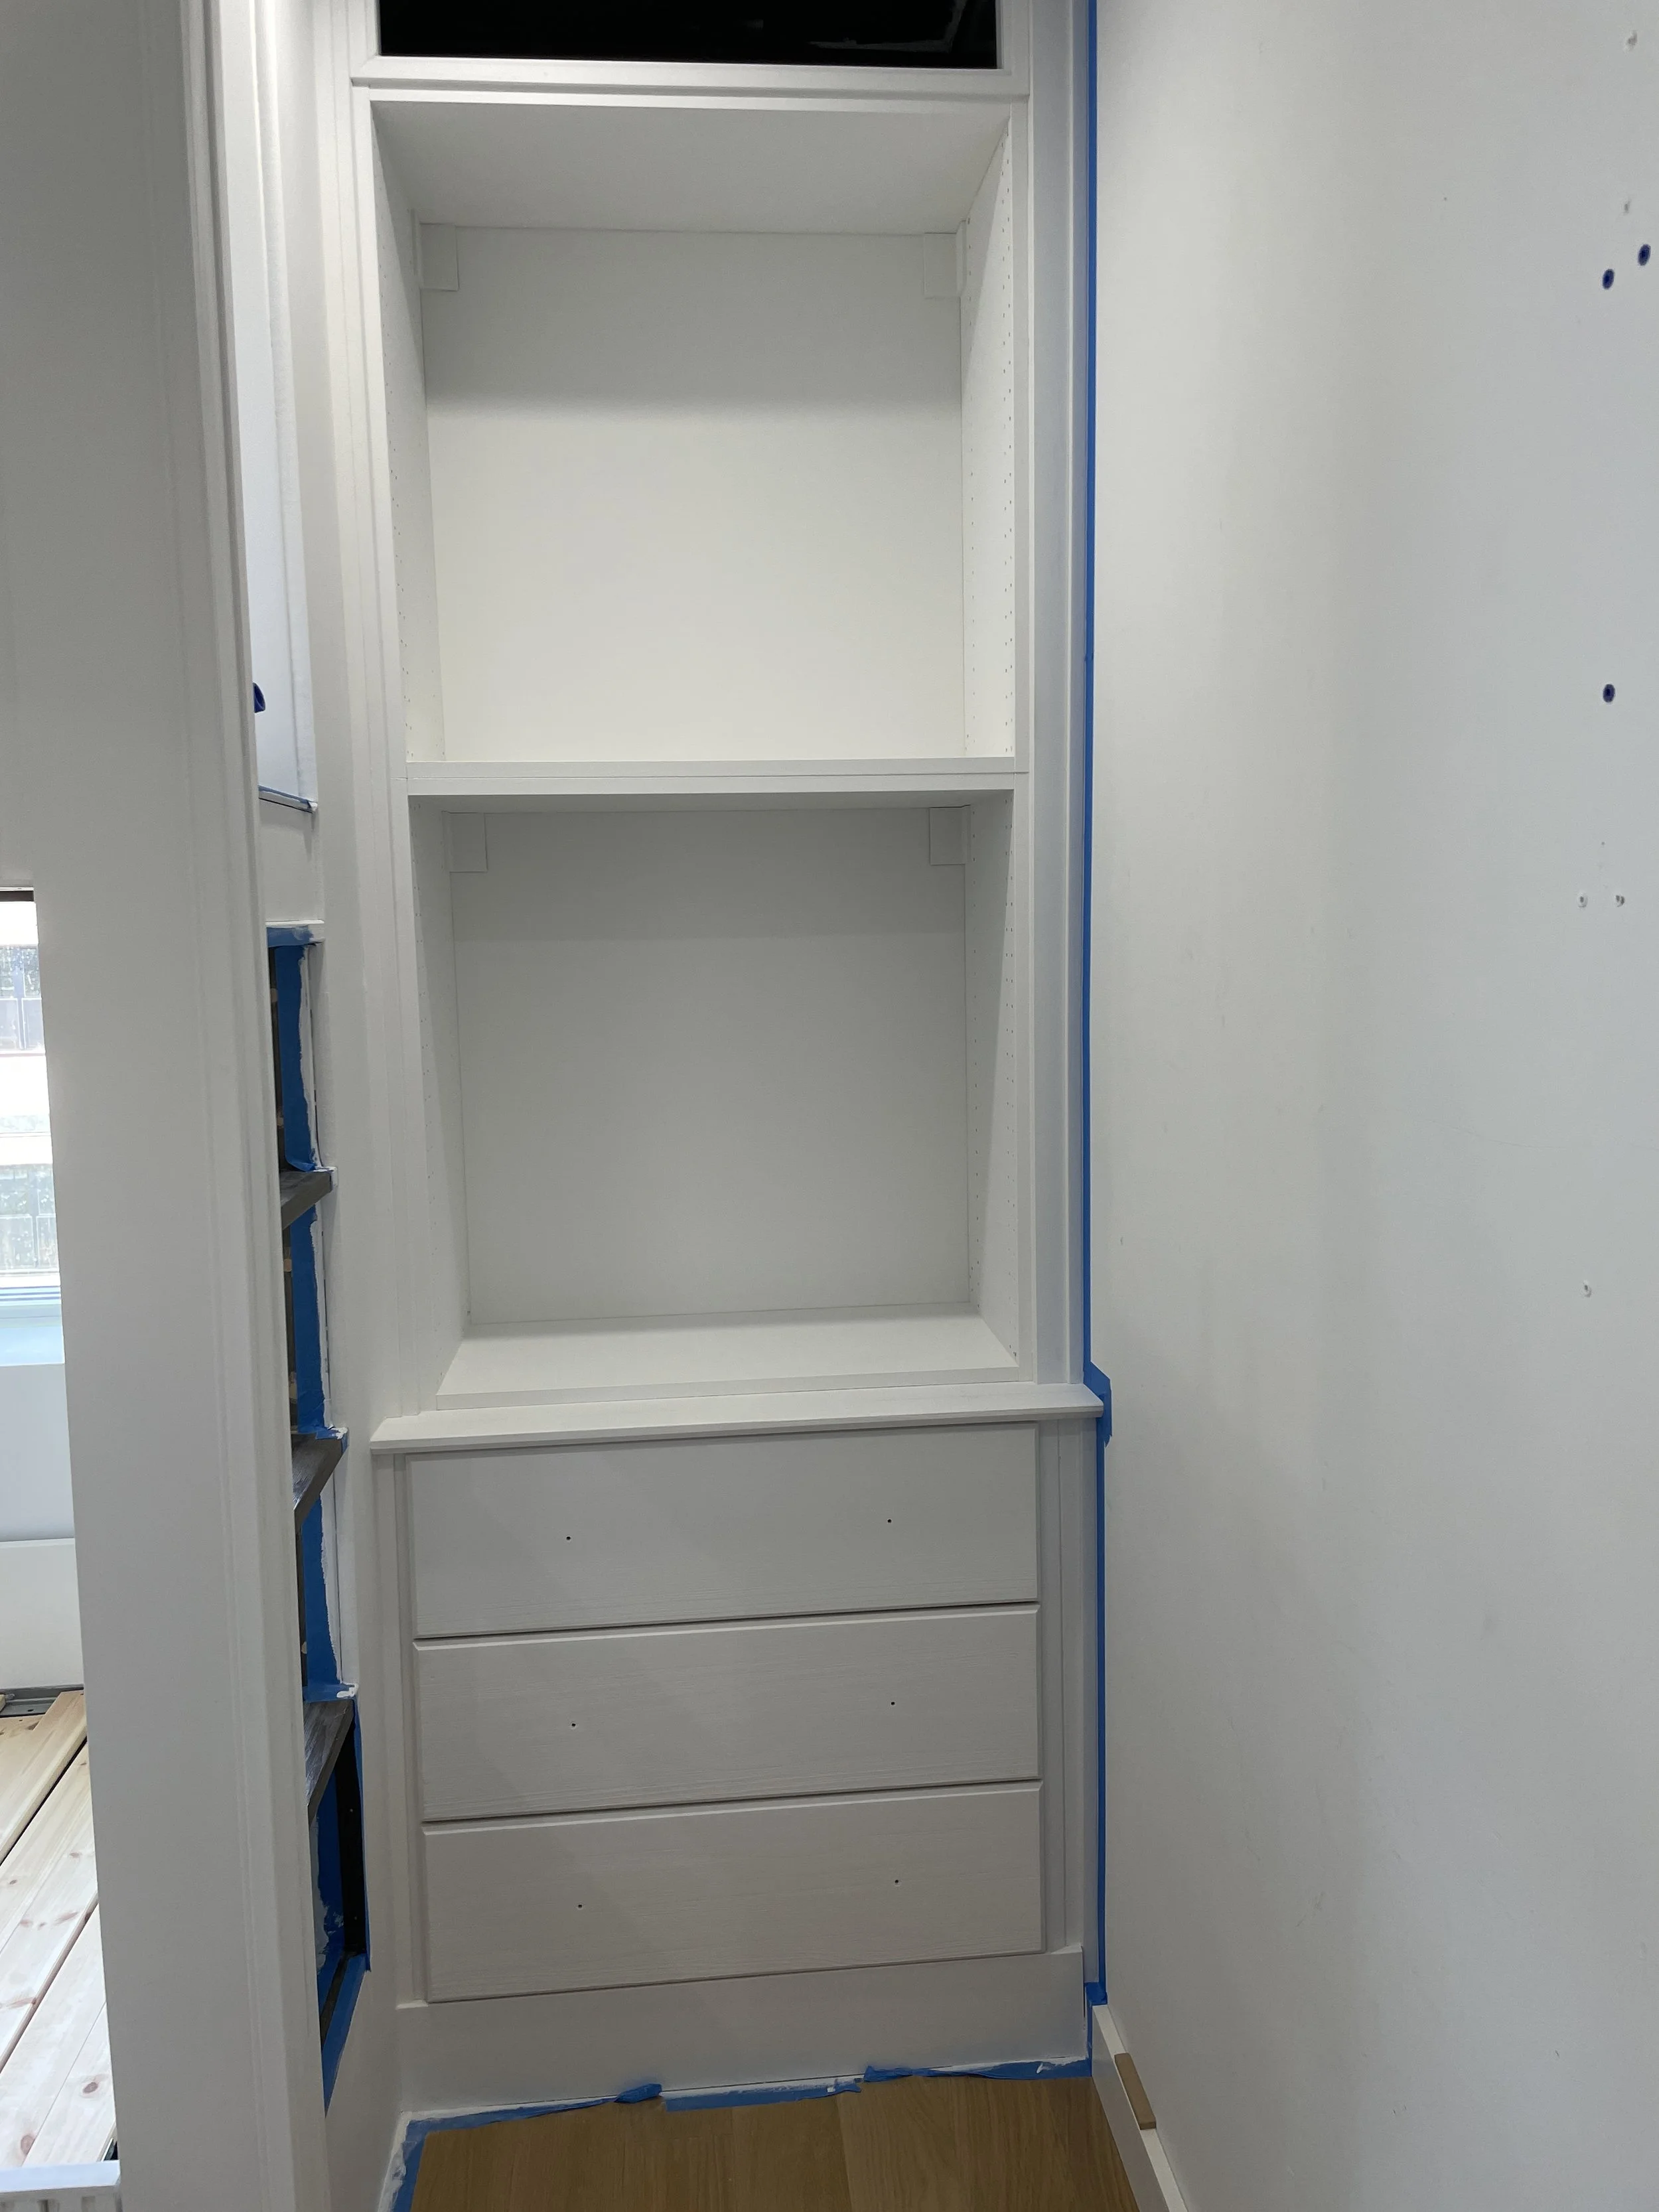
The Build
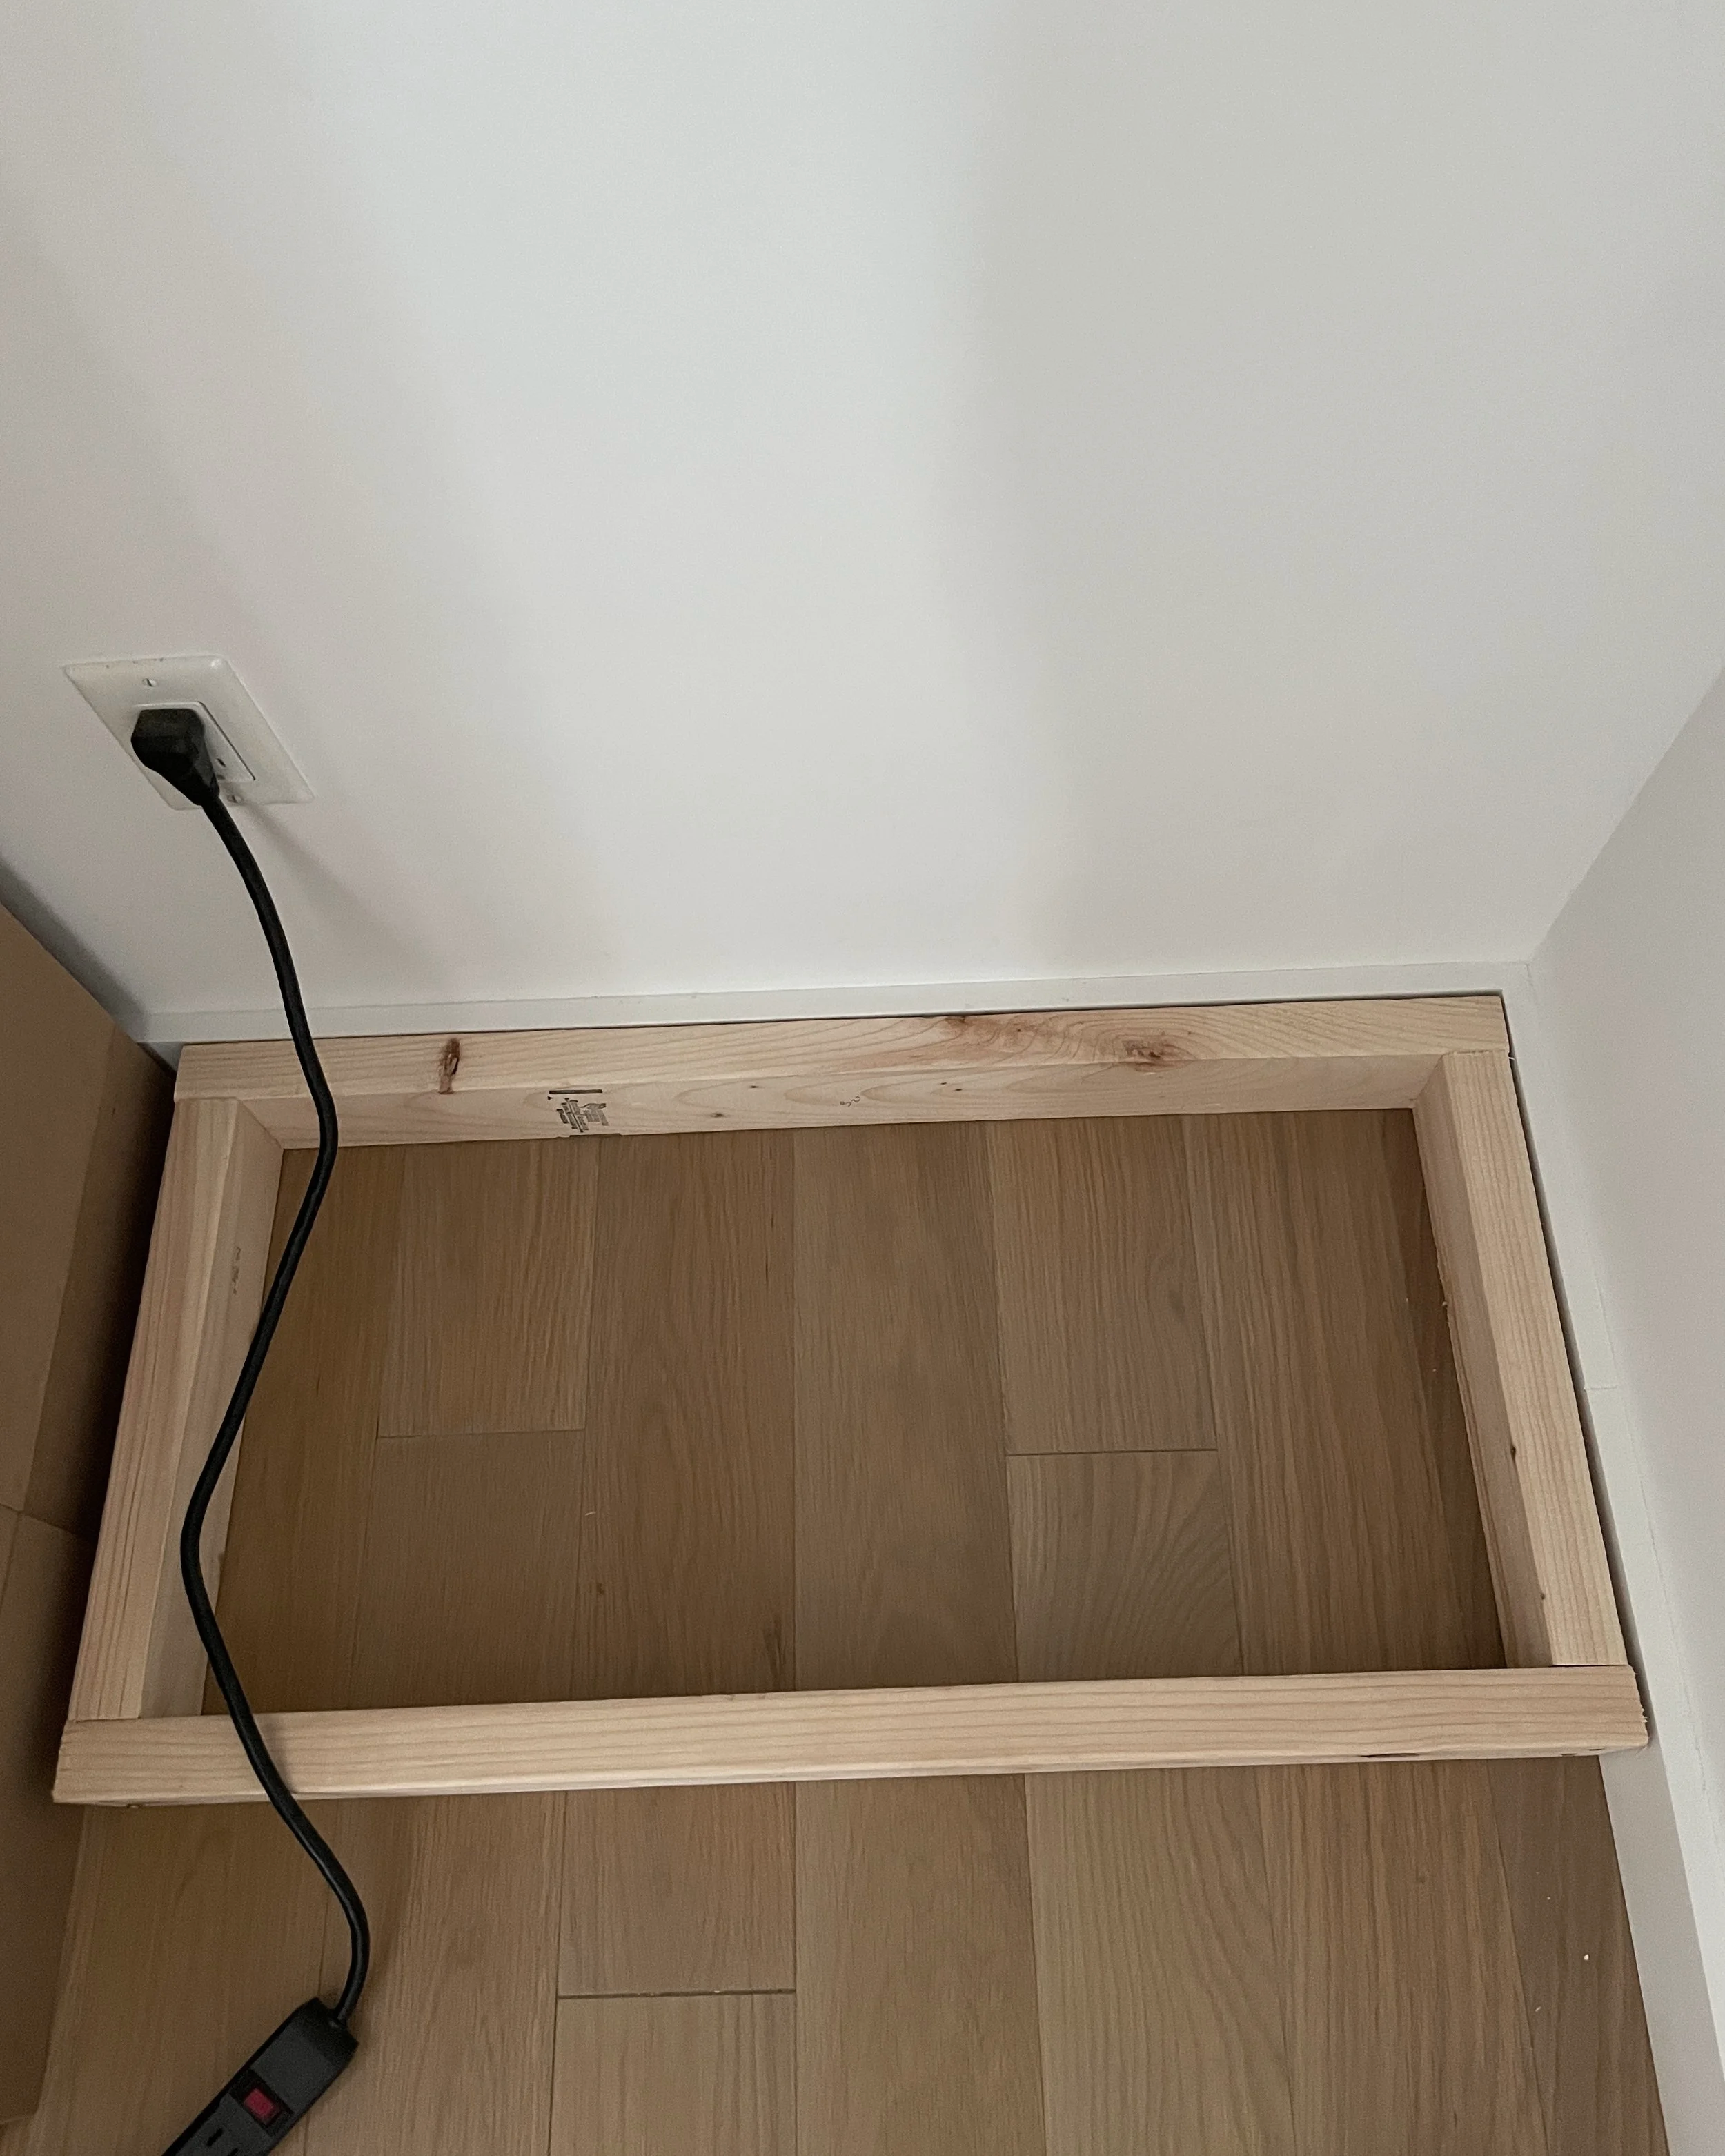
Built-in Base Constructed from 2×4s
1. Build the base. Because I was using reclaimed dresser components rather than a standard cabinet, the original legs were removed. I built a base to bring the dresser portion to standard height — 30 to 36 inches — and to allow the bottom drawer to slide freely. I also accounted for the baseboards and the height of the dresser top when planning the base.
2. Secure the dresser to the base and studs.
3. Cut the dresser top to fit.
Repurpose What You Have
A six-drawer dresser reworked into a built-in three-drawer dresser.
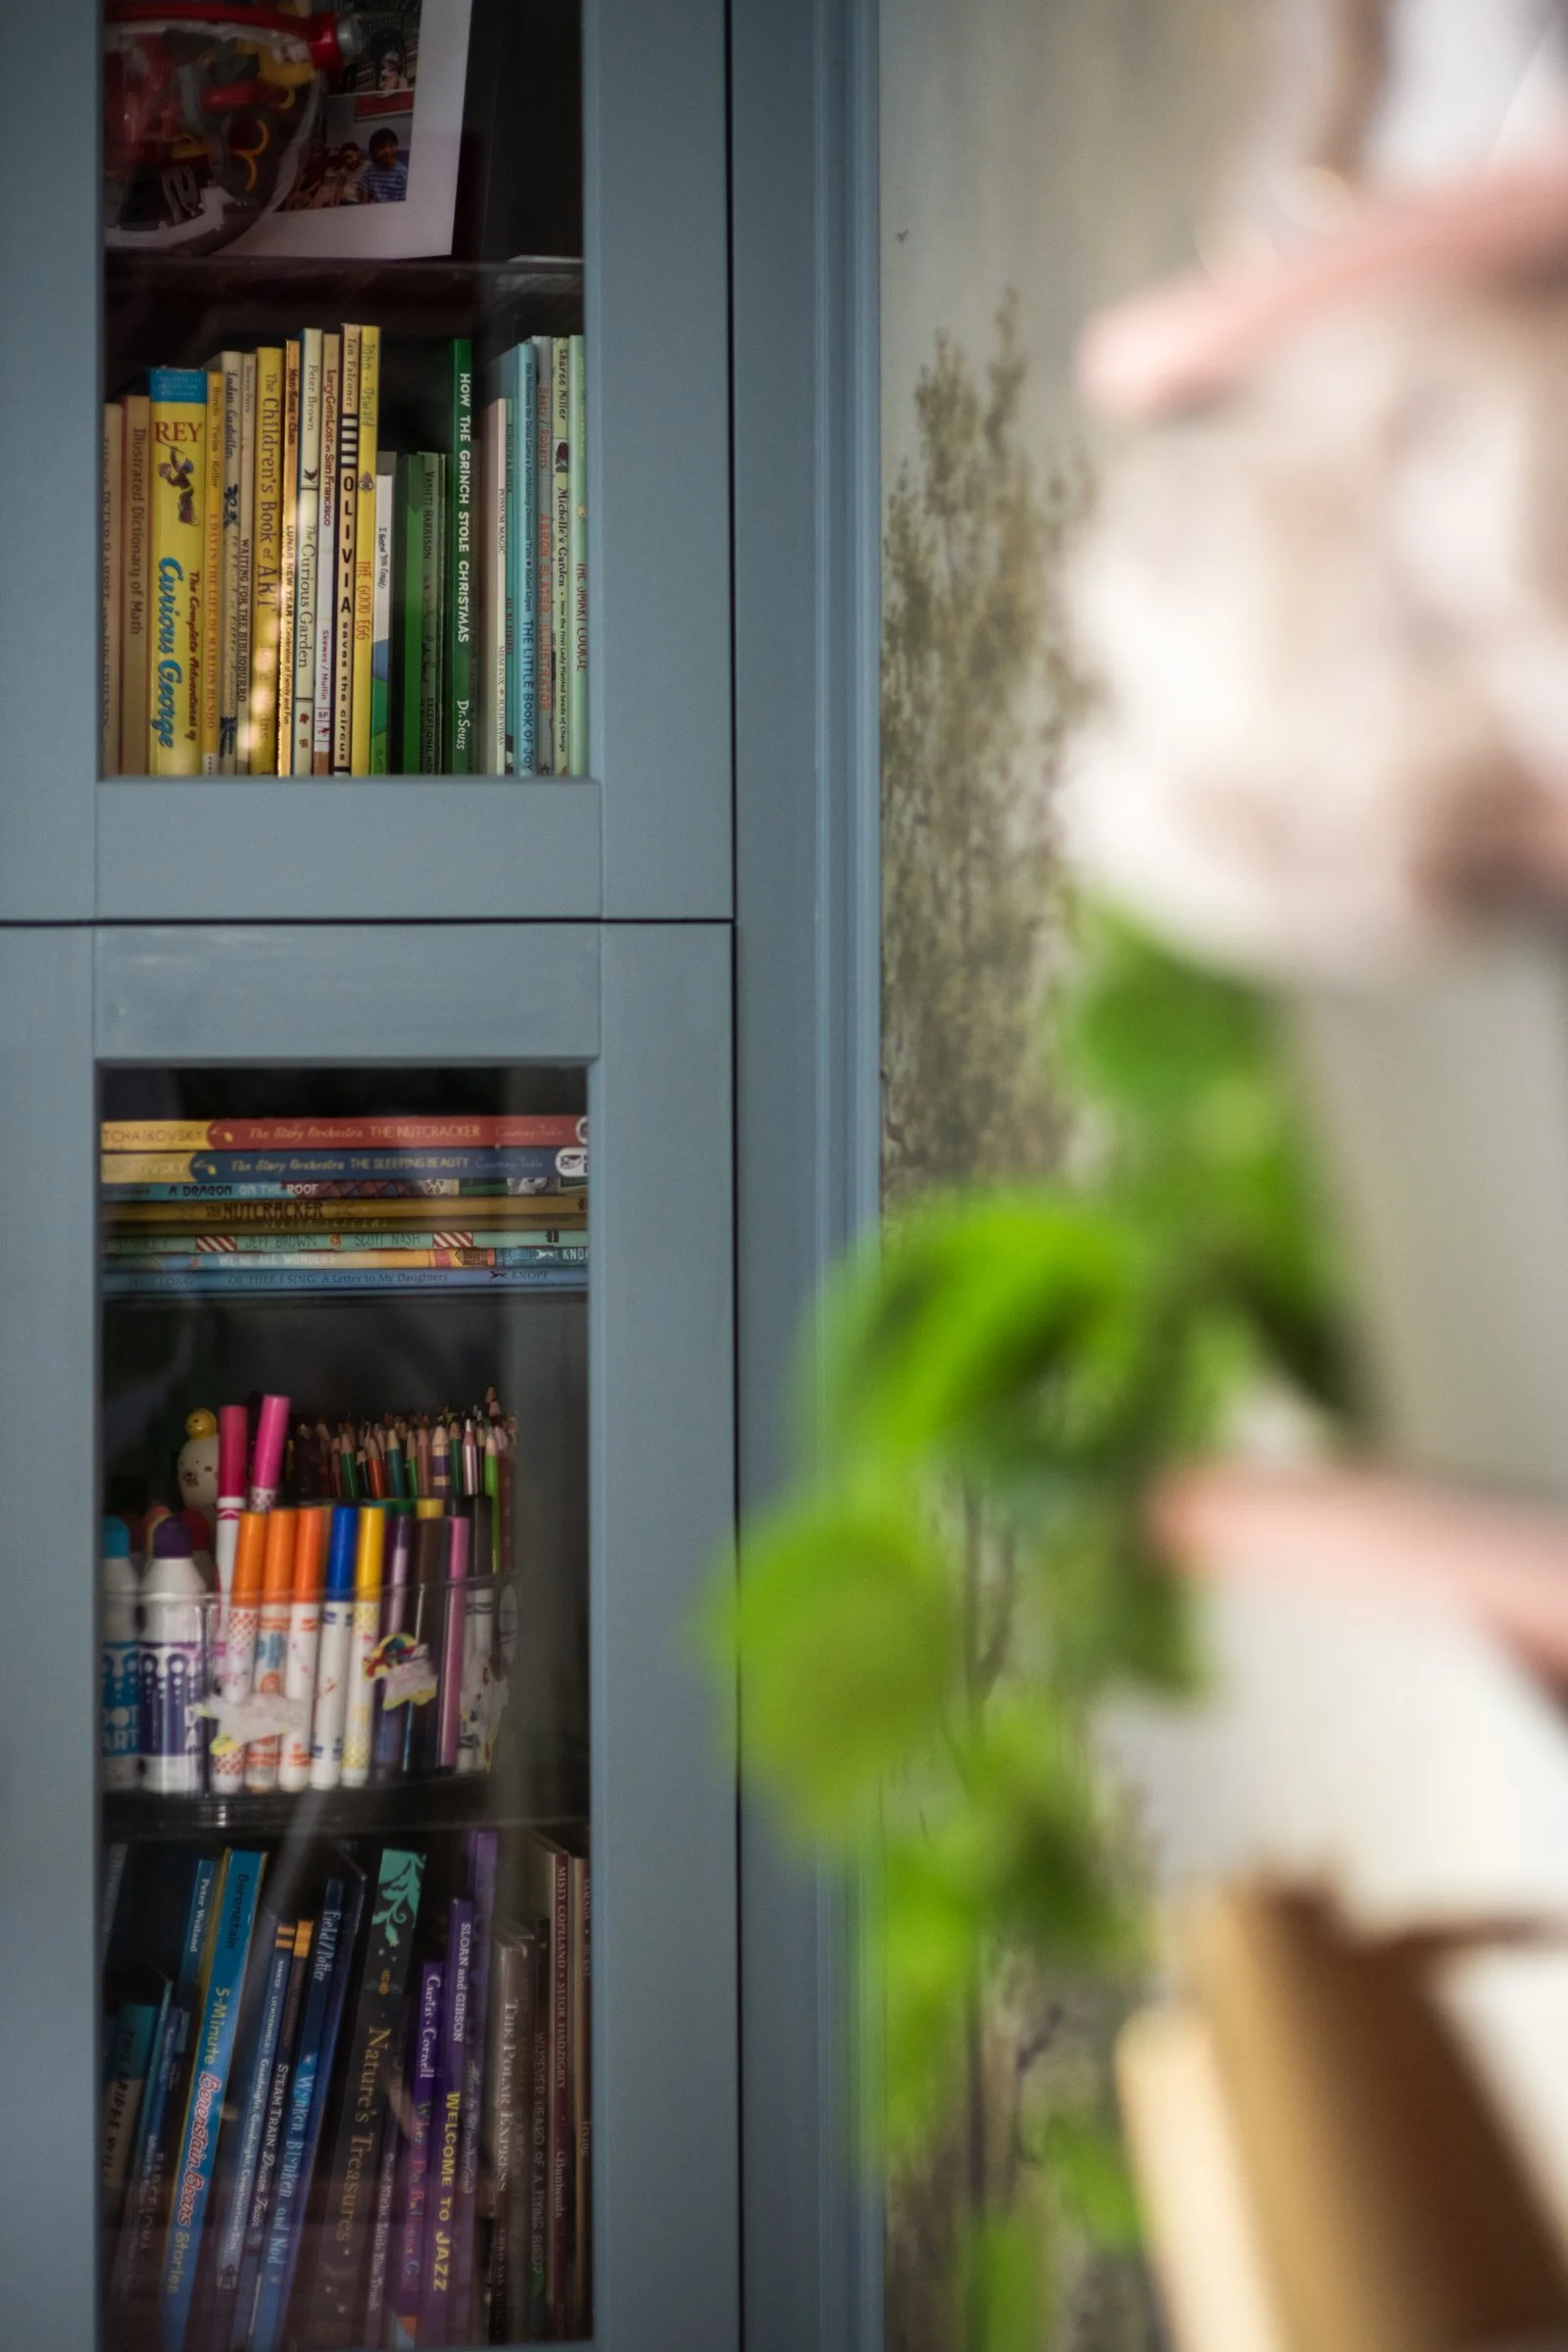
4. Build the upper bookcase and secure it — both to the studs and to the lower dresser unit. (Ikea Sektion wall cabinets come in a multitude of sizes. I stacked two 30 x 14 ¾ x 30 units to create this built-in.)
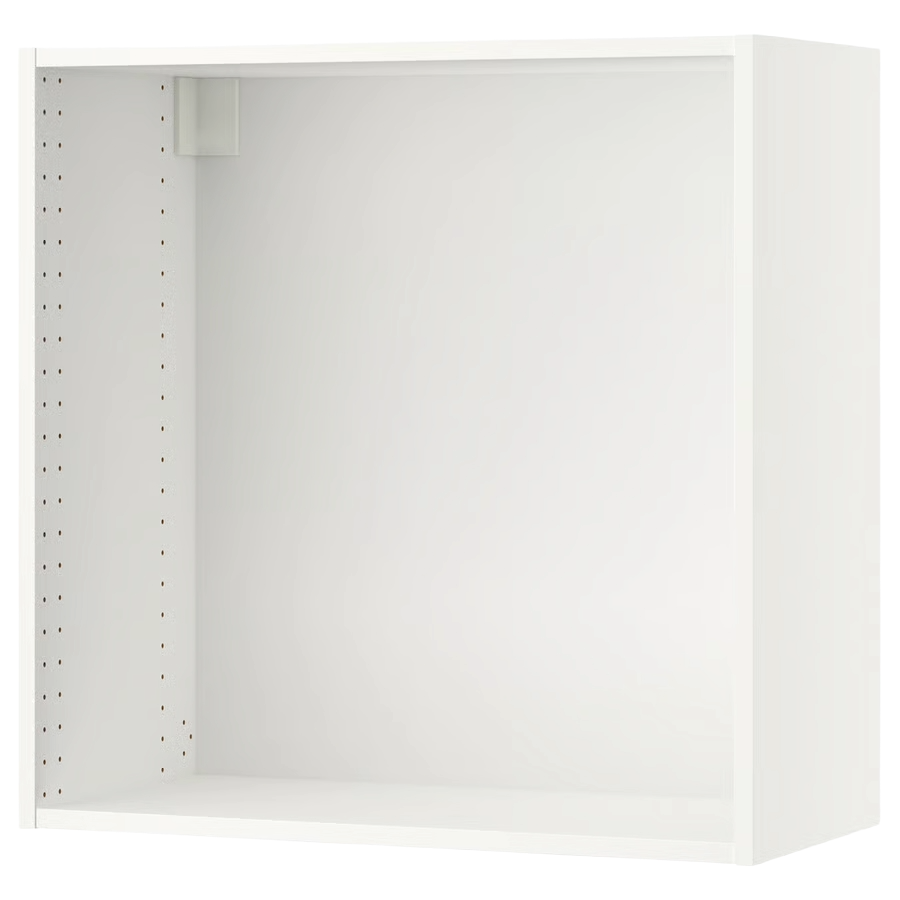
Ikea Sektion Wall Cabinets make a great base for customized built-ins
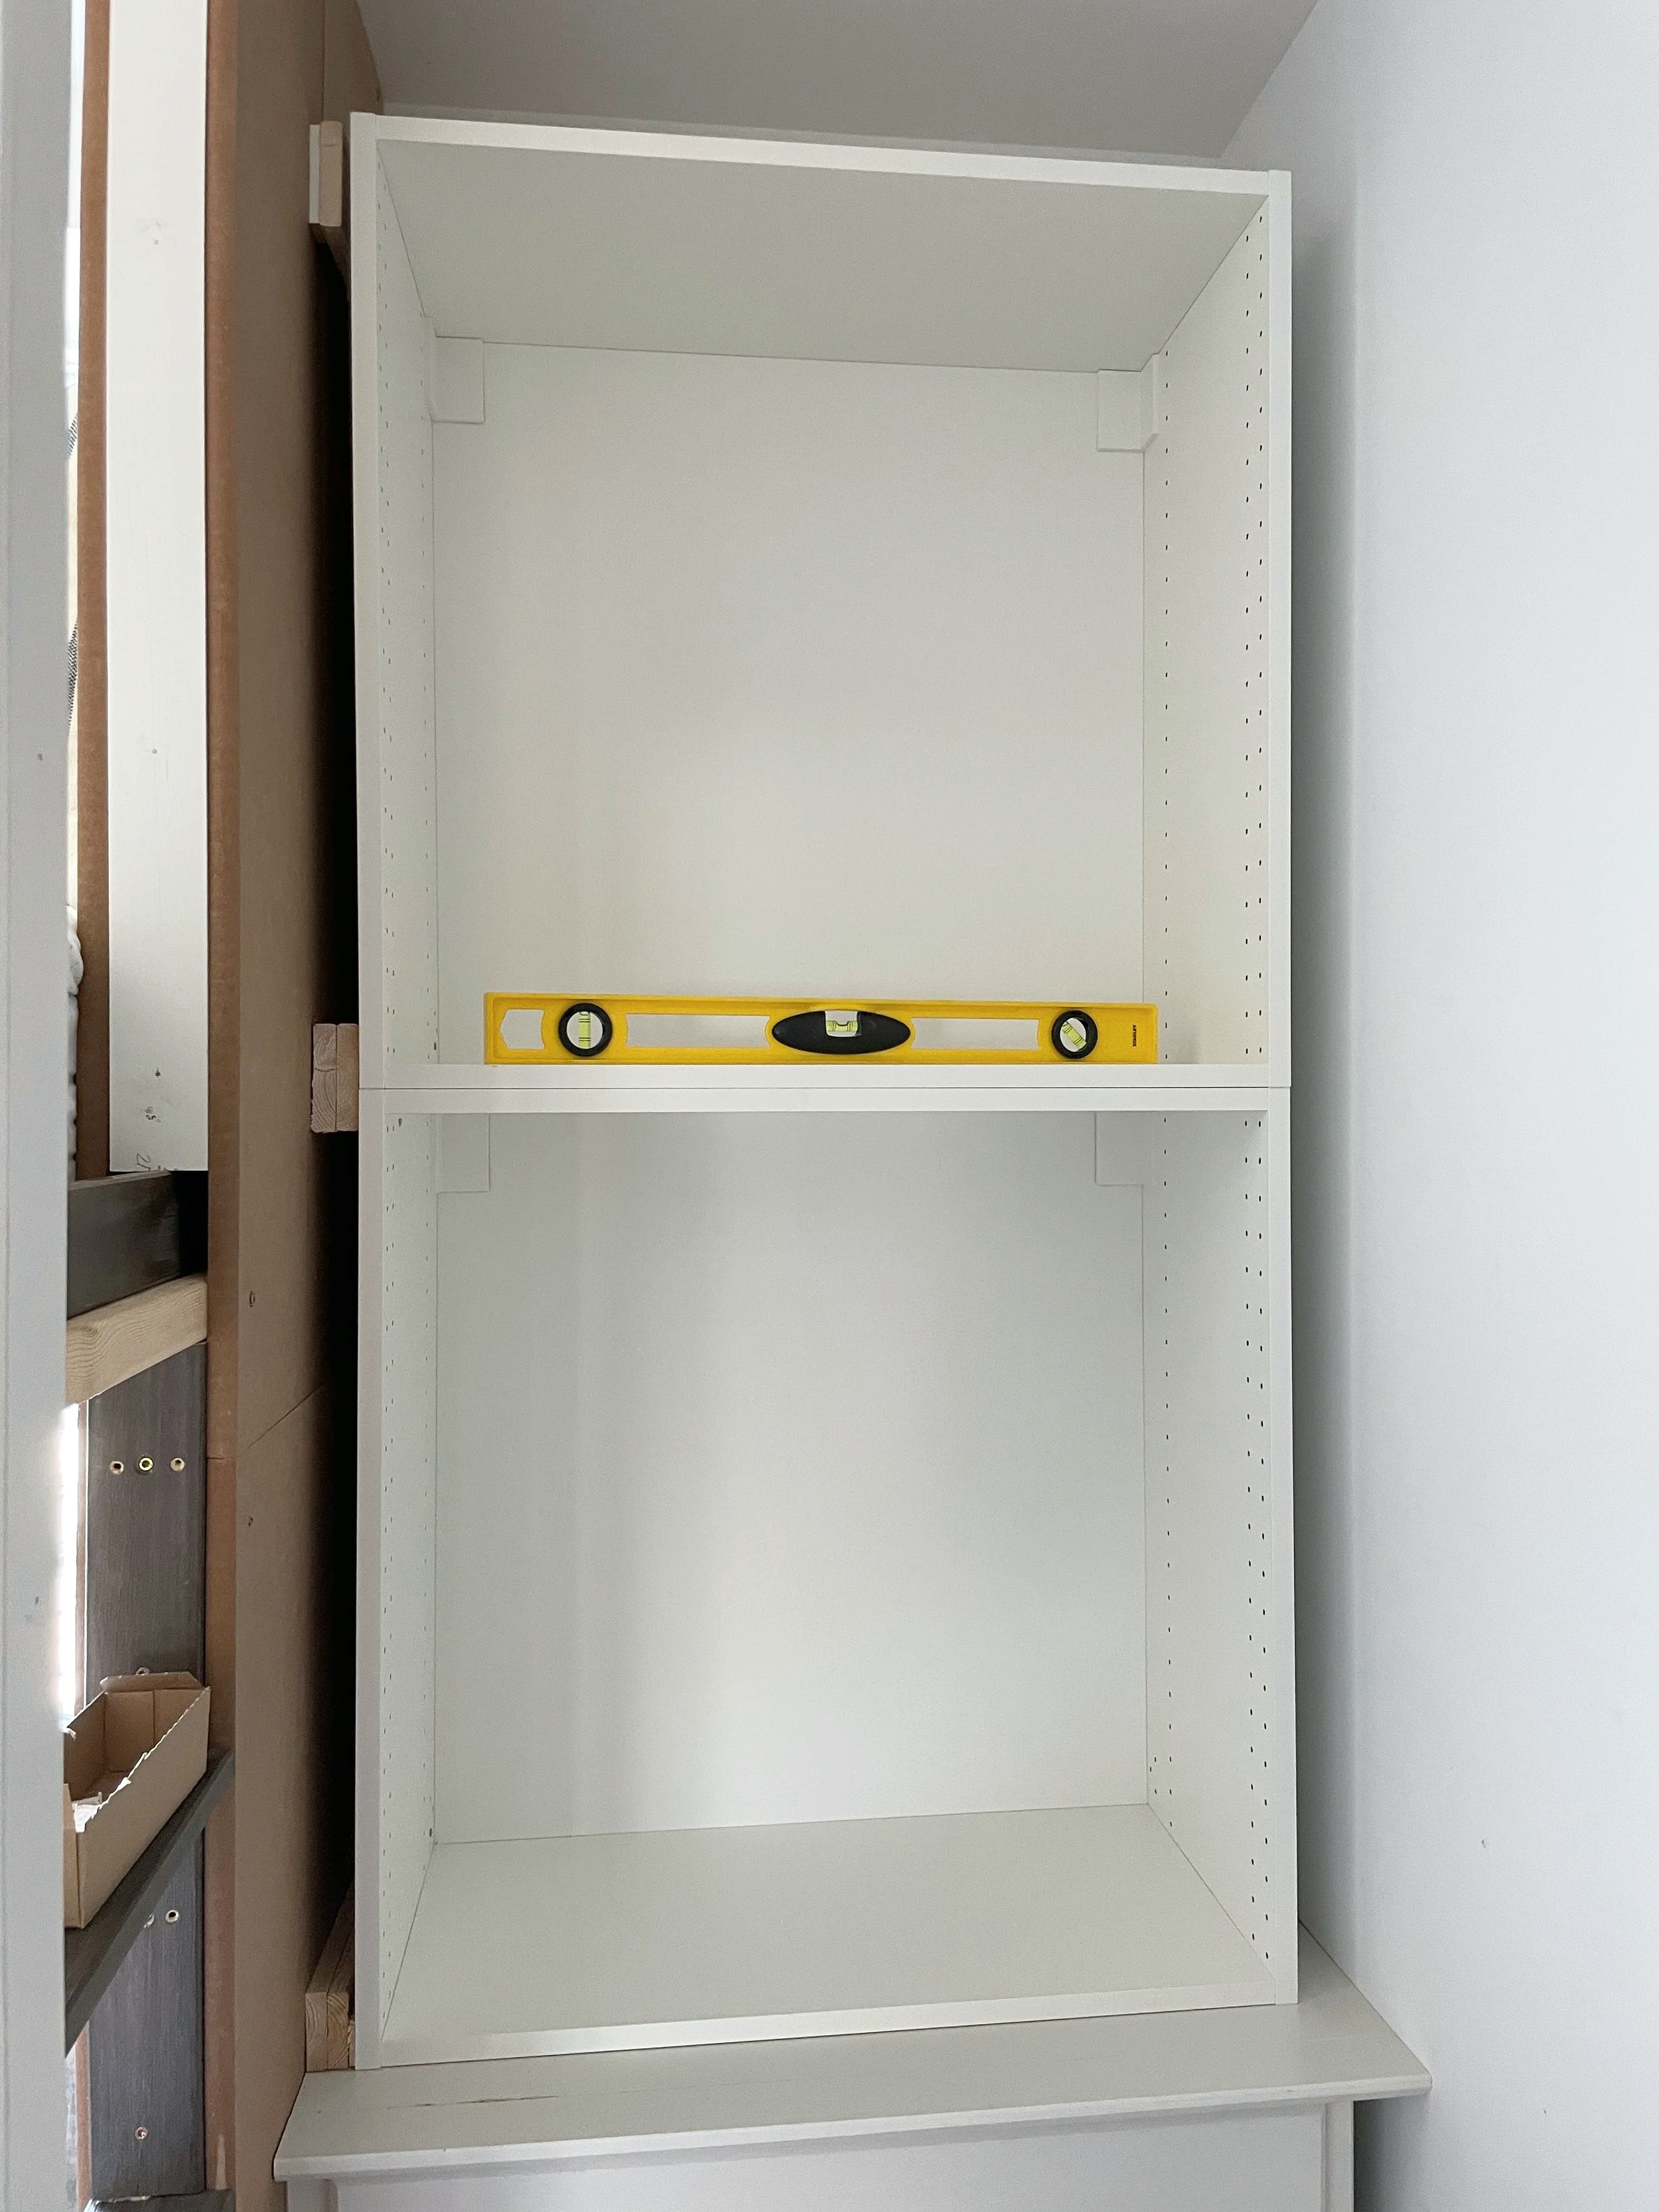
I stacked two Ikea Sektion Cabinets to create the bookcase
5. Trim out the edges, base, and top.
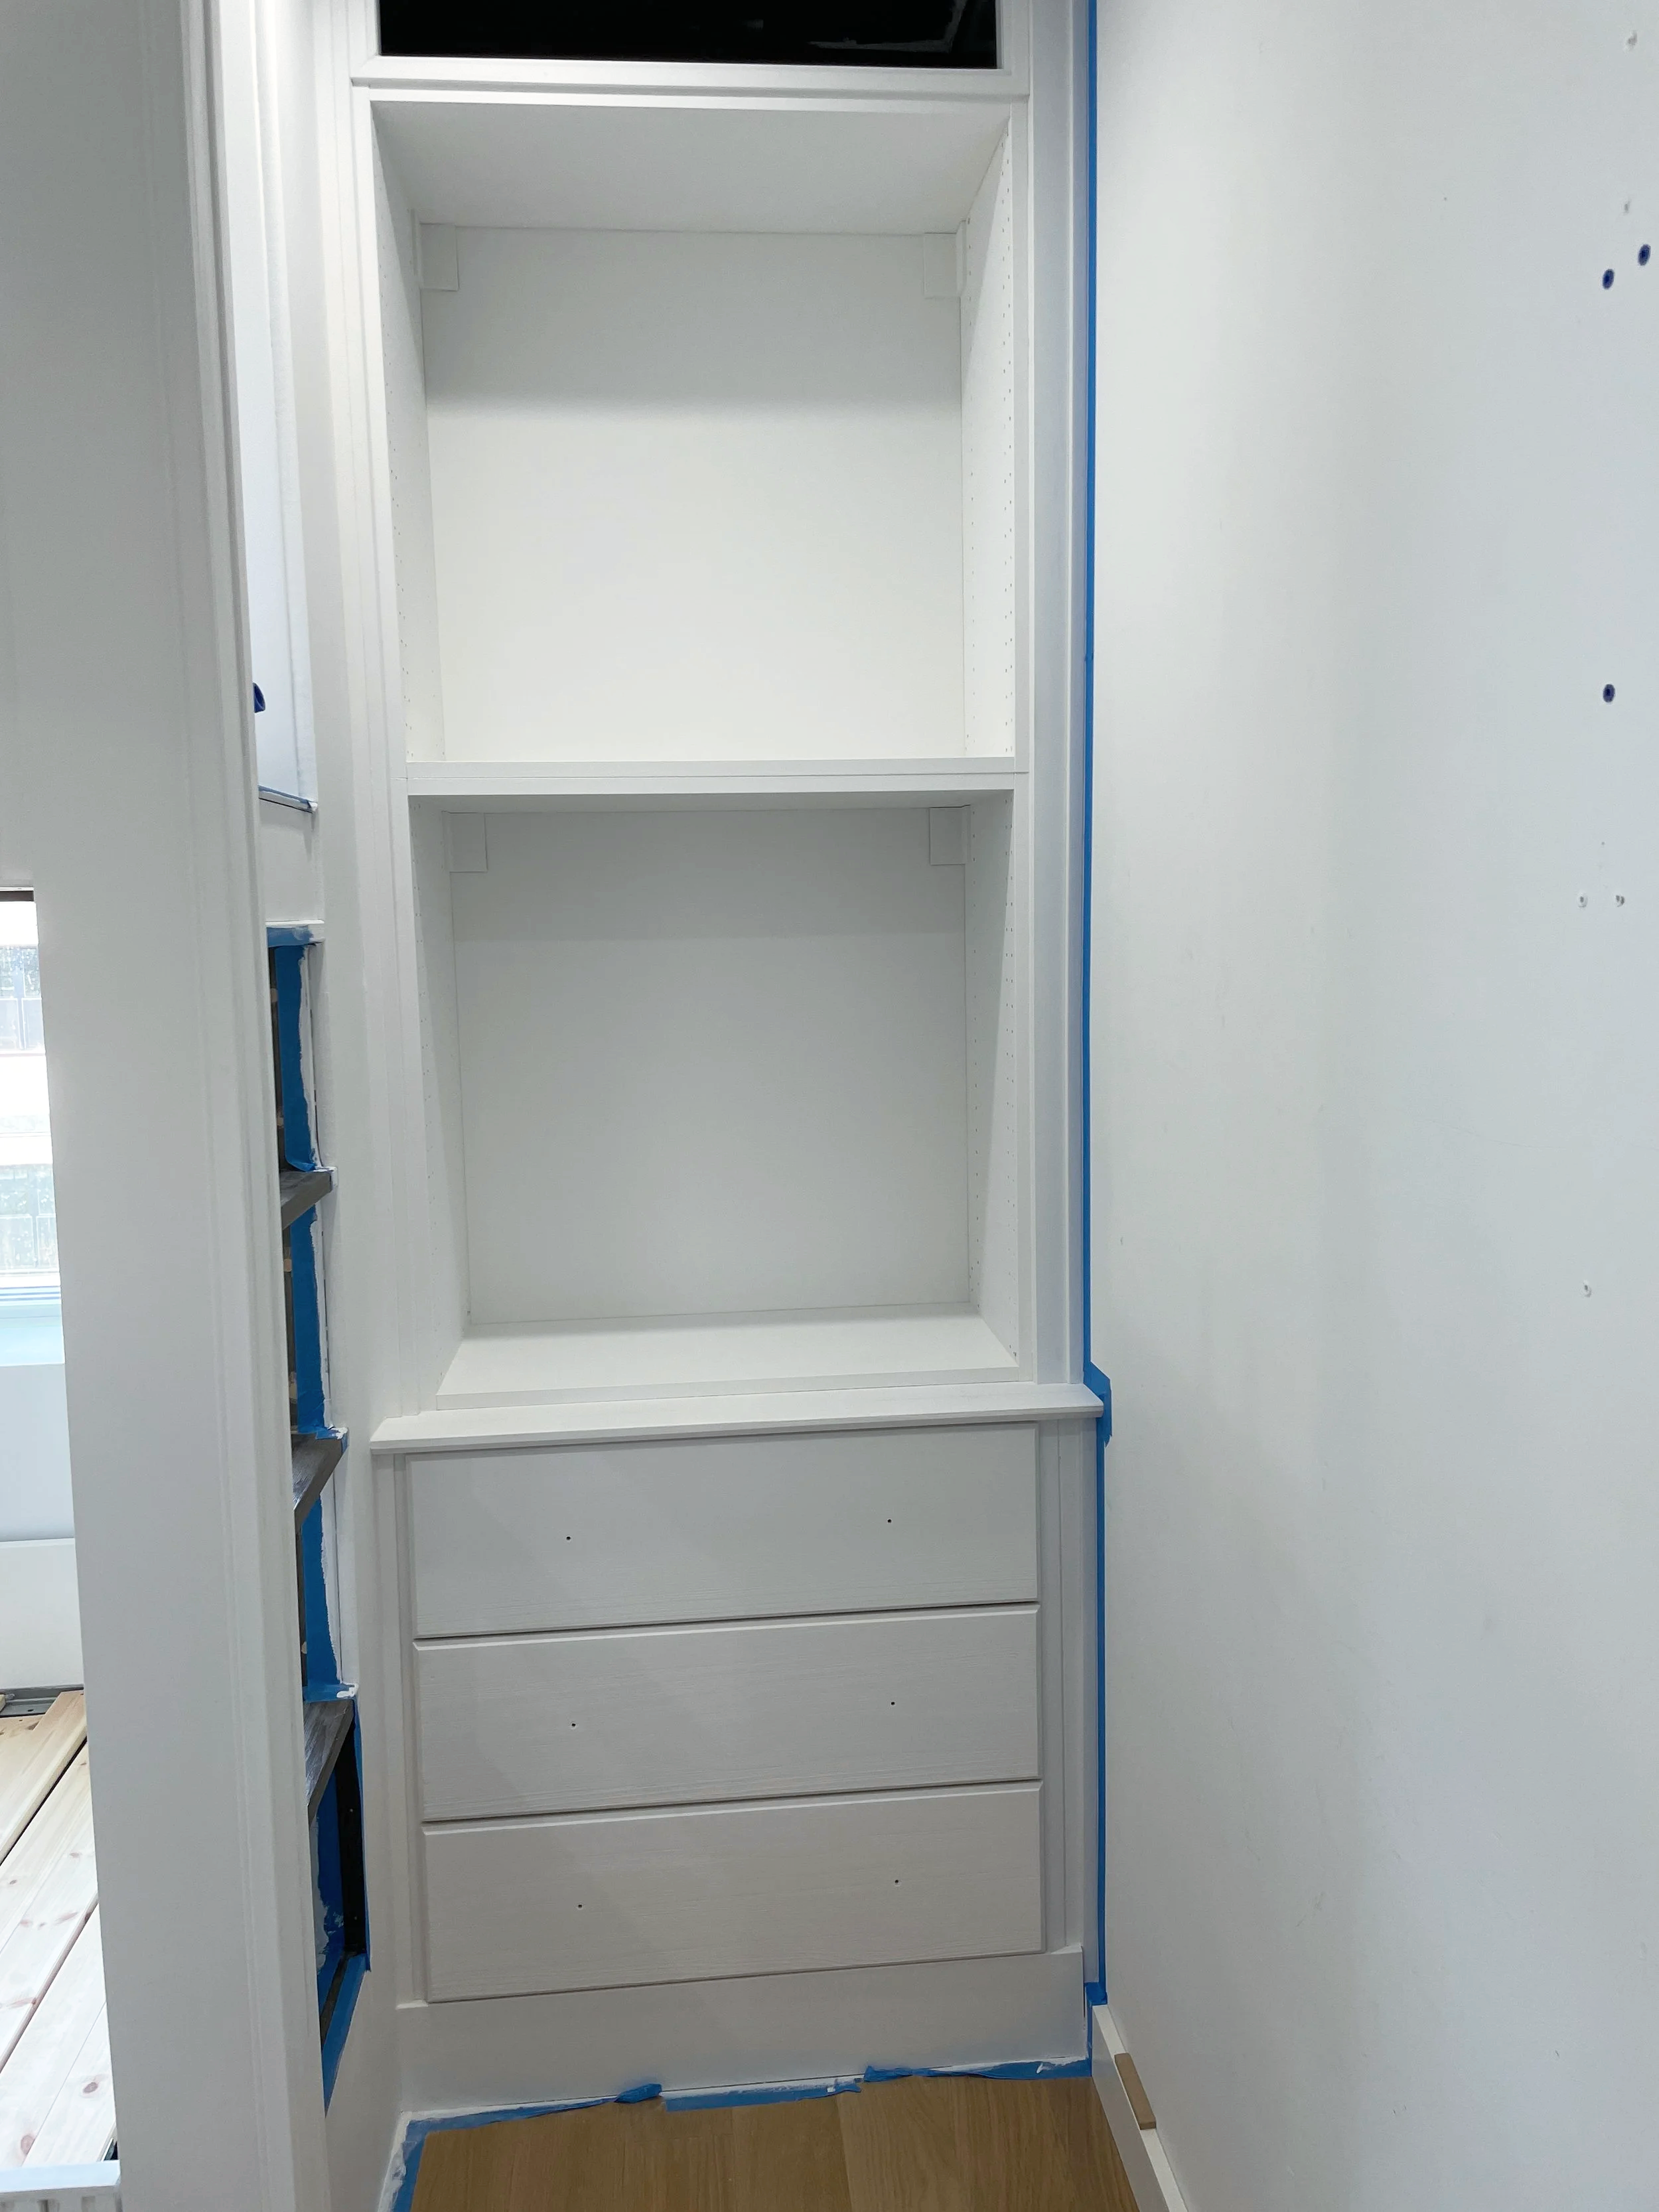
Trim Changes Everything
Simple trim turns two separate structures into one fully integrated piece.
6. Sand and prime. I use
7. Paint. I used Sherwin-Williams Emerald Urethane Trim Enamel. In a kids’ room, durability matters, and this finish has held up remarkably well. Whatever finish you choose, follow the manufacturer's drying times precisely; the paint needs to fully cure before it can do its job.
The Result
Together with the built-in bunk bed, this dresser and bookcase transformed the room. There's significantly more storage than before, space for two desks, and — harder to achieve than either of those — enough visual breathing room that a 10x10 room doesn't feel like one. That last part is what I'm most proud of.